
While using blender pens for In Color markers has made me such a happy stamper (since I could then have stamped images multi-coloured direct to rubber with In Color colours), constantly having to refresh them can be a drag, let alone you are limited to one size of tip. Using a proper marker for the base means you can direct-to-rubber even the most compact of locations (like the "mane" on the seahorses here), you have a nice fine tip for journalling and you will have consistent colour intensity for a very long time.
 First, you will need a pair of tweazers, a small glass of water (Winnie the Pooh image optional), and a Stampin' Up! marker. I like to choose whatever I feel is the closest to the In Color I am making it. Here I have Garden Green, this will become my Wild Wasabi marker.
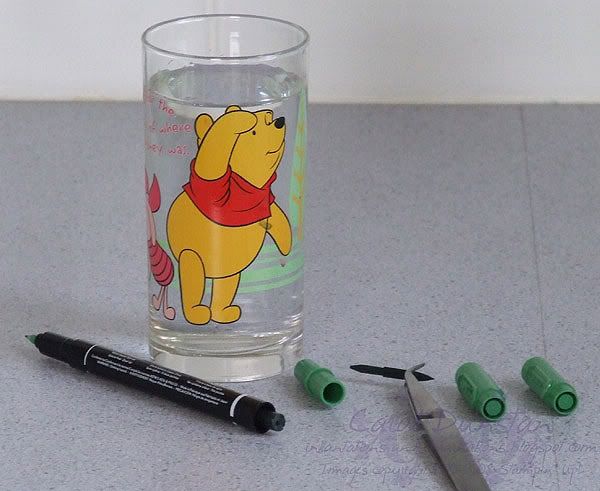 Remove the lids from both ends of the marker, use the tweazers to remove the felt tip (it comes out very easily) and remove the coloured part that holds the felt tip from the rest of the black barrel. You'll need to get your teeth into that, but they aren't so stuck that you'll have sore teeth at all.
 Pop the felt tip and the barrel insert into the glass of water. Straight away colour will start coming out. Here you can also see that one end of the insert wasn't fully green. I never actually used this marker as I bought it solely for this purpose (remember, you can still by markers individually till December 14th - just a week away), but as long as the ink is going through the middle it doesn't matter if the whole outside of the insert is not soaked in ink.
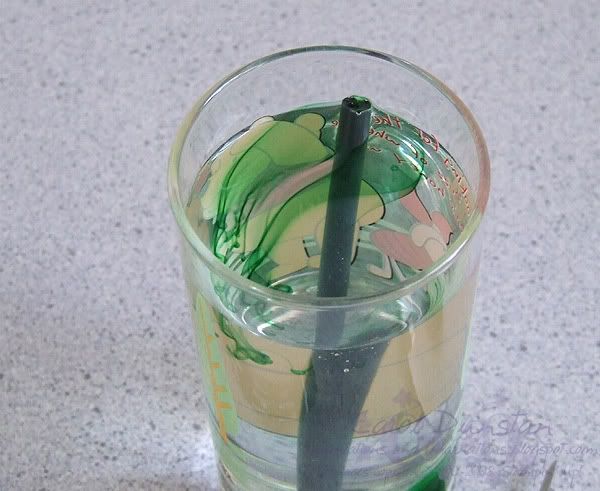 Oooh, pretty swirly patterns!
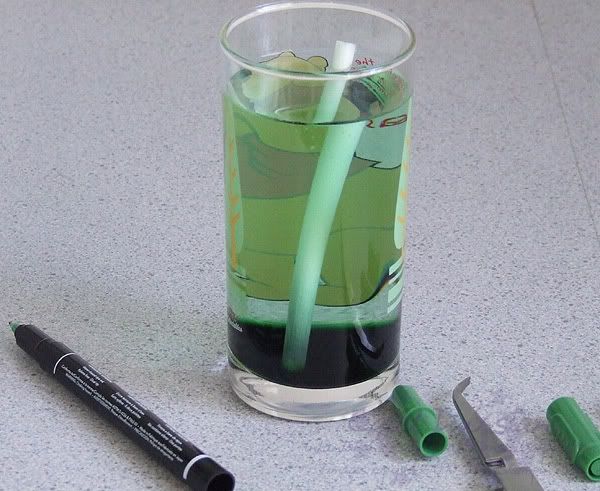 Here we are 2 hours later. You can see that a lot of colour has come out of the insert.
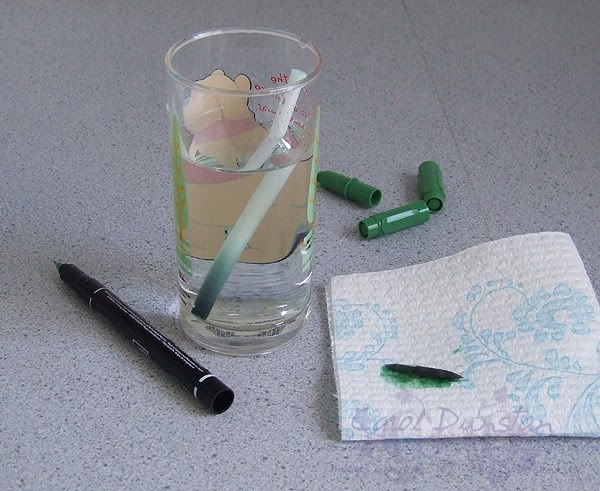 Now, fish the felt tip out, discard water and fill up the glass with nice clean water. I can't stress enough that you need to get the felt tip before turfing the water... if it goes down the drain you are stuffed. Place felt tip on kitchen towel to dry.
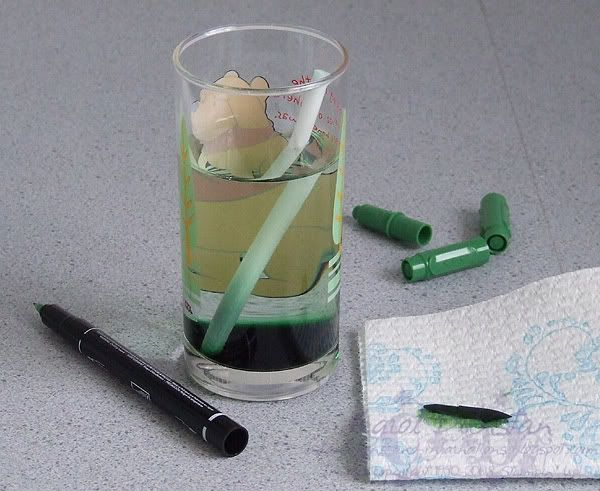 Another 2 hours later. Even though it looked like most of the colour had already come out of the insert plenty more has come out now. Discard water and refill glass.
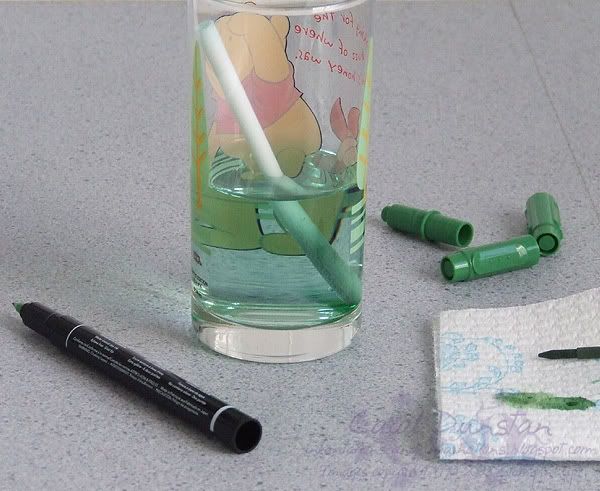 Another 2 hours later. The water is a little discoloured but clearly this is as much colour that is going to come out this way. Discard water.
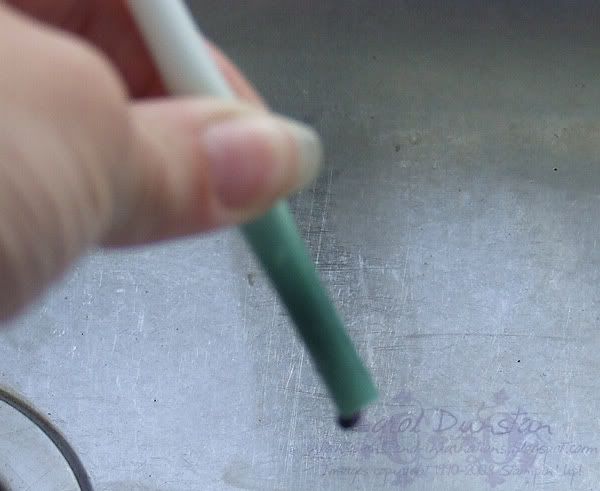 Over the sink, pinch the insert between your fingers and run them down the length of it to squeeze out any remaining colour. I was a little worried before hand that this would crack the plastic around the insert, but Jayne assured me it was fine which was good enough for me. Sorry about the dodgy photo, but I just couldn't get the camera to focus on my hand. I should go clean that sink shouldn't I?
 Once you have squeezed out the remaining colour, sit the insert up on kitchen towel to dry. There may be a little more colour come out, but it's no biggie.
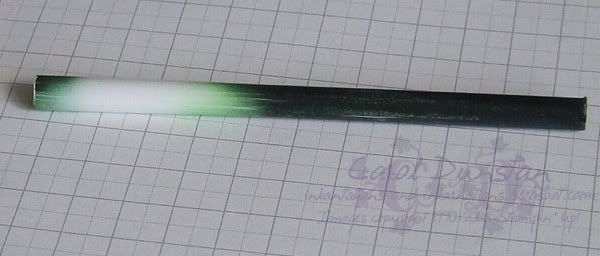 Pop insert into marker barrel and place drops of ink refill on the exposed end. Once the insert has soaked up a bit you will need to leave it longer and longer between drips to soak in. I like to also flip it over and put drops in the other end, but I still ended up with a rather large section of the inert that didn't soak up colour. This is just on the outside, I could see that colour had soaked through the core and when tested both ends worked fine. Once you get the marker insert half coloured it's a good idea to keep a close eye on the fine writing tip at the bottom... you'll probably notice tiny air bubbles coming up the top, but if the ink starts oozing out the fine tip the the insert has soaked up all it can. Once you have finished putting ink in the insert pop the coloured barrel end back into the barrel, reinsert the tip (I like to put a few drops of ink refill on the tip to speed up the ink flow into it) and away you go!
I used my brand new In Color markers on the flowers of this card, Other than needing to do a bit more conditioning of the rubber, the image has stamped really well and I am an even happier stamper now that using In Color markers has become even easier!
5 comments:
Hi!
Thanks for the great tutorial, I will definatly try this. Thanks for the step by step photos!
Chantal,
Québec, Canada
Wow, I would have never thought of that. Great tutorial.
Great tutorial...very clear instructions
Hugs
Brooke
I just found this tutorial carol, and I have many extra markers left fromthe promotion. I'm off to try this out NOW!!!! Thanks a million!
Thank you Carol this is awesome
Post a Comment