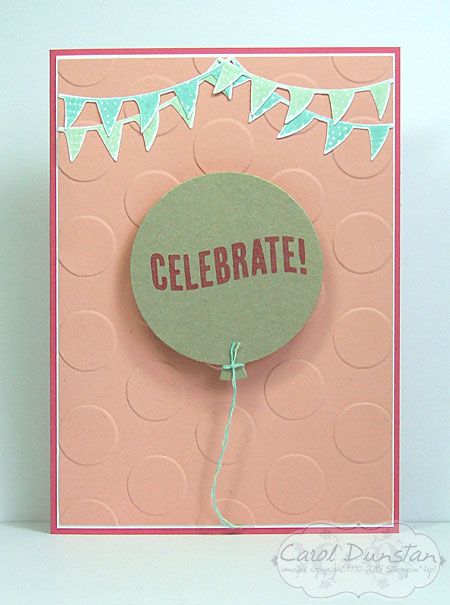
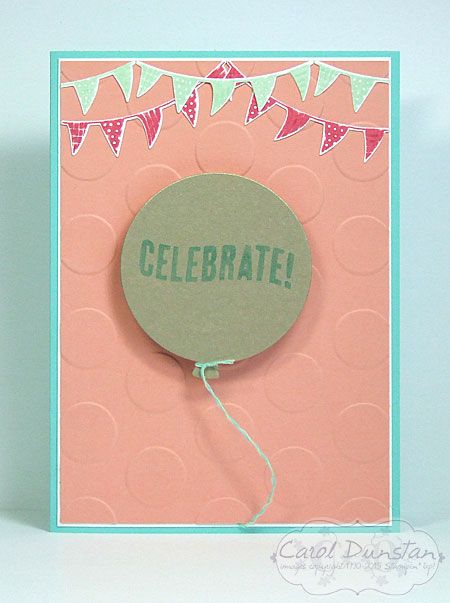
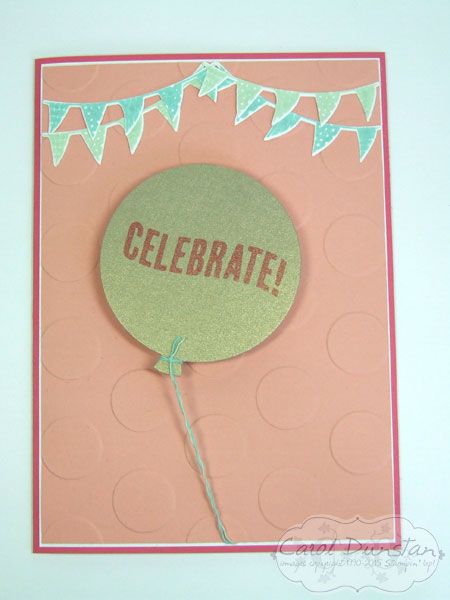
Another Partytime related post, this one is a card I made based on something demonstrated at Partytime. Technically it's two somethings since I made two cards that are slightly different...
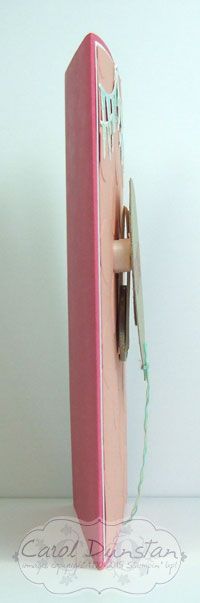
They probably look like pretty standard cards, but have a look from side on:
The ever fabulous
Teneale Williams showed us a variation of the spinner card, where part of the card wiggles rather than spins across the card. Mine is also a variation on her demonstration, where the mechanism was behind a large panel. Having made a few spinner cards in the past, I know how many dimensionals you can go through to make them - especially if you are like me and worried about them getting squished in transit so put them on it lots of places... What I thought with this one is: if the hole that allows the movement is completely hidden, there's no reason you can't have the supporting layer also be hidden.
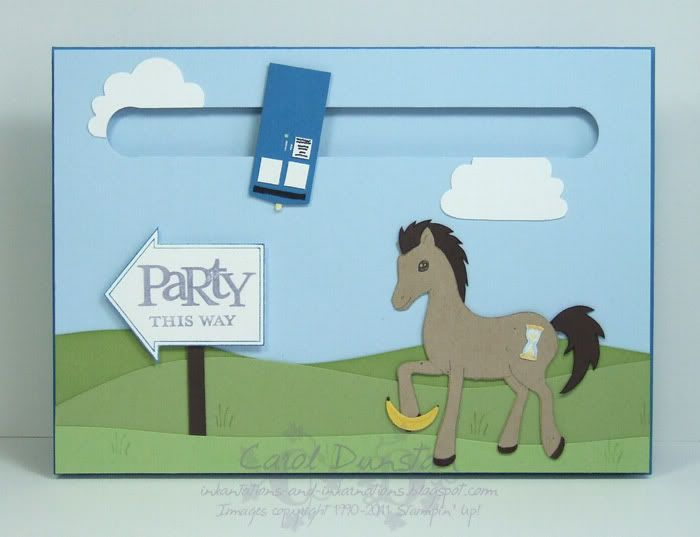
These shots should give you an indication of the range of movement. Would you like to know how it's done?
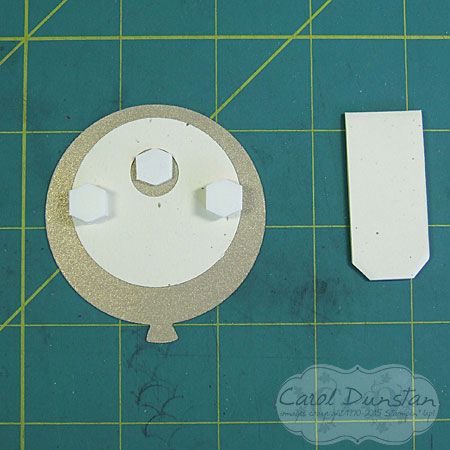
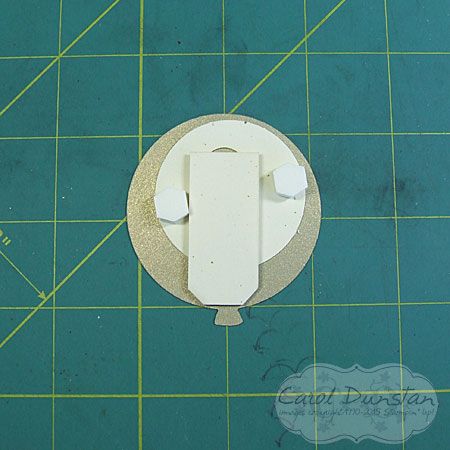
These are the basic pieces: your moving part, the supporting layer, and a piece that stops the moving part from going through the hole in the supporting layer. As Teneale demonstrated, it's just a piece of cardstock folded with a coin attached at the bottom so it's weighted. Thinking about it afterward, you could possibly make it like a regular spinner card with just a disc (typically also a coin) being attached on the other side of the supporting layer. I think doing that way would give it the ability to spin right round on the spot, but since I planned on having the balloon string attached to the card that wasn't necessary for this card.
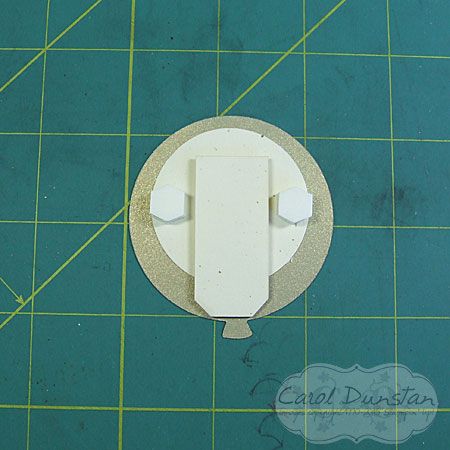
See how the circle in the supporting layer is larger than the dimensional? Room to move! The larger the hole the more movement you will get, and the more careful you will need to be with the placement of everything so the supporting layer isn't exposed.
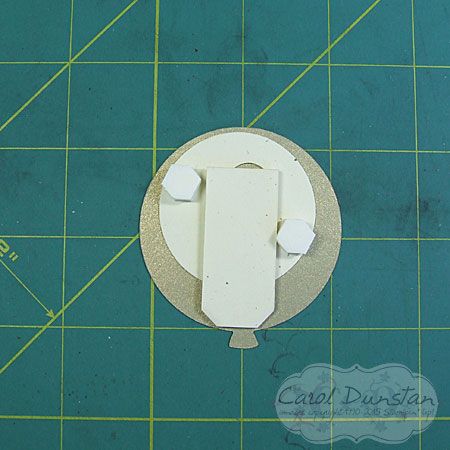
And then with the pendulum piece in place. I trimmed the corners on this one to make certain it also wasn't going to be exposed, although I could have also just attached it a little higher.
Moving the supporting layer around to show the range of movement. It's limited by the size of the circle, and with a pendulum on the back that also bumps into the dimensions for attaching the supporting layer. In theory just having a coin on the back this wouldn't happen.
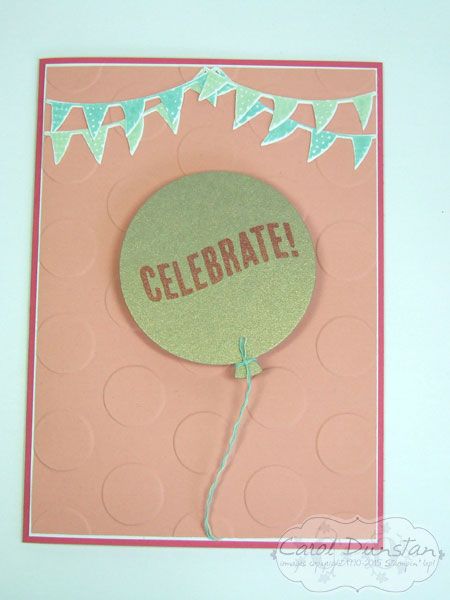
Well within the edge of the balloon - shouldn't have a problem with it showing from the front once attached to the card!


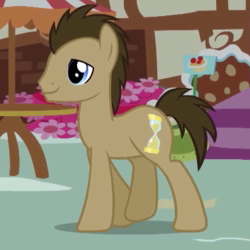 This is Doctor Whooves. He was an unnamed background character in the latest version of My Little Pony. That is, until fans noticed his hour-glass cutie mark and spikey brown hair and decided he was The Doctor in pony form (more precisely, the 10th Doctor). Now those involved in making the show even refer to him as Doctor Whooves apparently! Anyway, Shaelea loves horses and Doctor Who so I decided to combine the two for her birthday card.
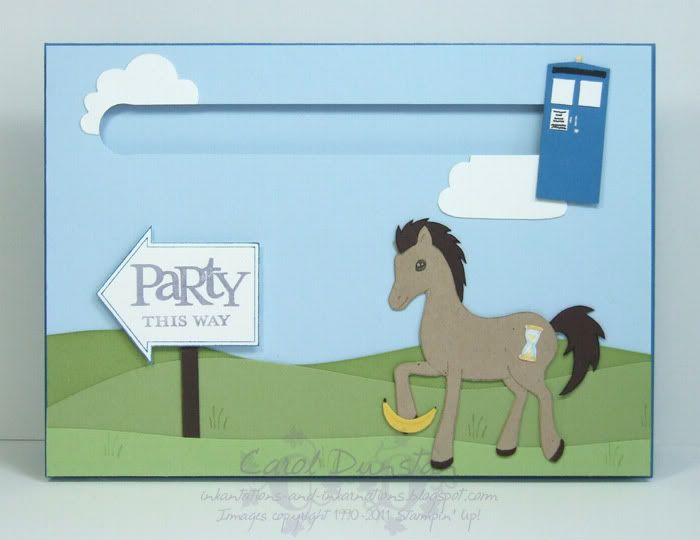

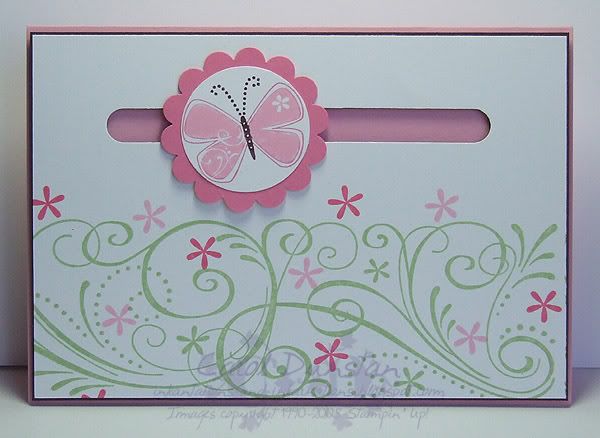 Last night was the September Inklings Cyberstamp, this month hosted by Lin Mei. This card was for the second challenge, to create a spinner card. Like many of the other Inklings, this is something I have thought of doing for quite some time and never got around to it, so it was great to have it on the "to do" list. I decided to use Priceless and So Swirly together again, and I am so happy with how this card came out I may just use it for Shaelea's birthday card! The colours were supposed to be ones from a Kristina colour challenge that I missed, but once I got creating I forgot that she had specified Very Vanilla and I had used Whisper White... oh well!
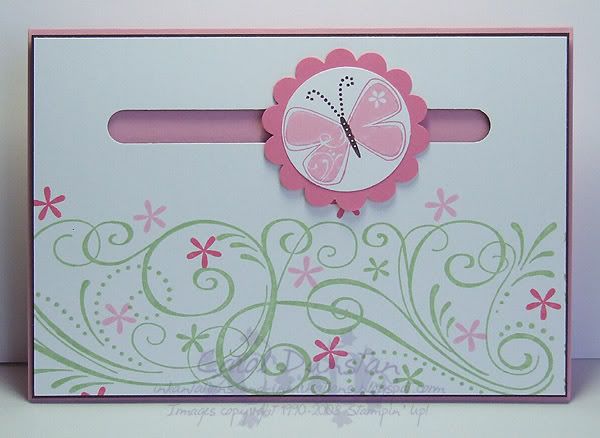 The idea with spinner cards is that part of the card spins along a track. Unfortunately, my pictures don't really reflect that... I didn't even attempt taking an "action shot", but I failed to realise that the butterfly was pointing in the same direction after it's bit of a spin!