
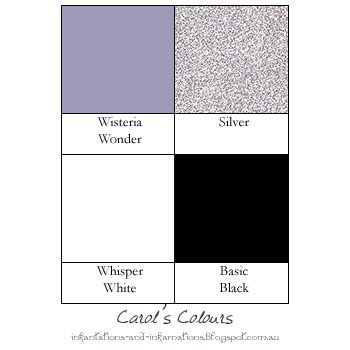
Today's colours:

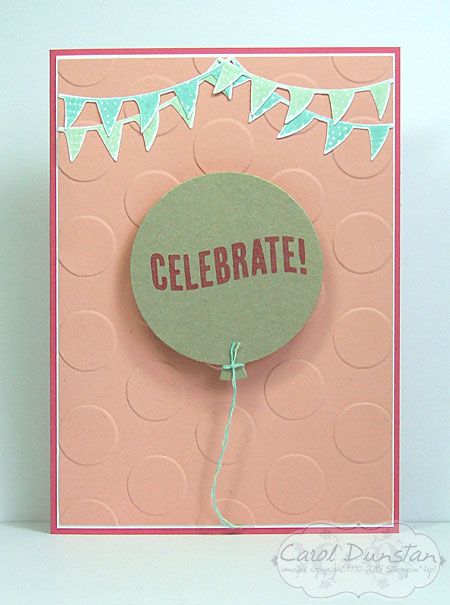
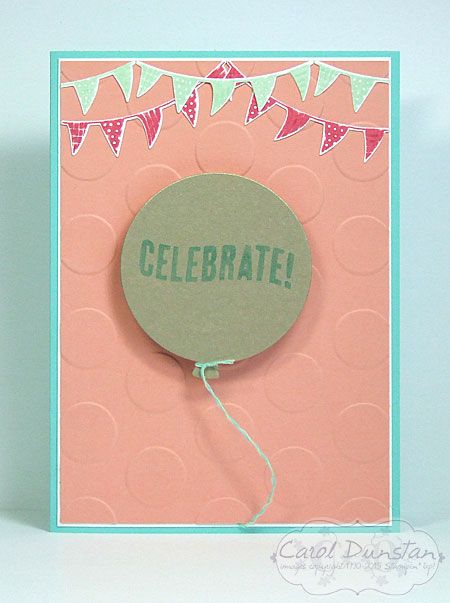
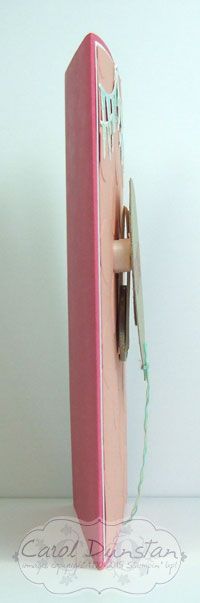
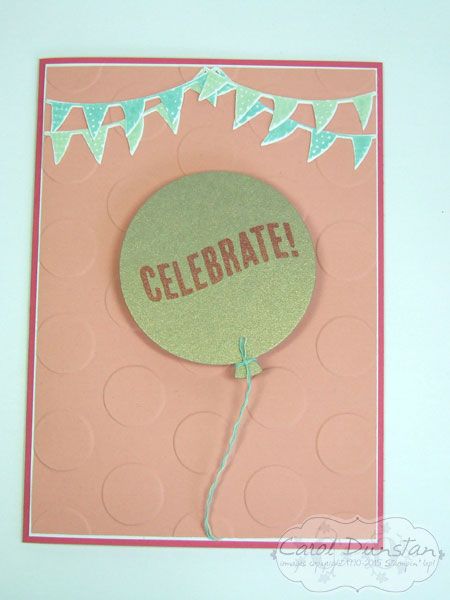

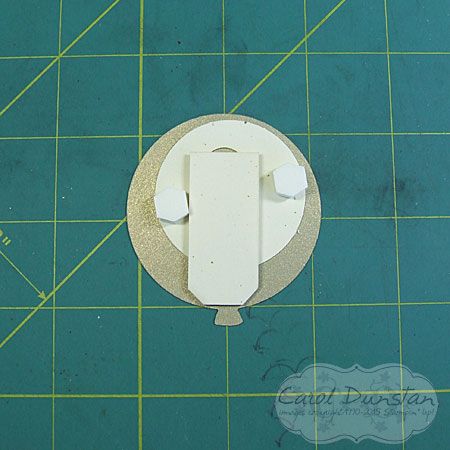
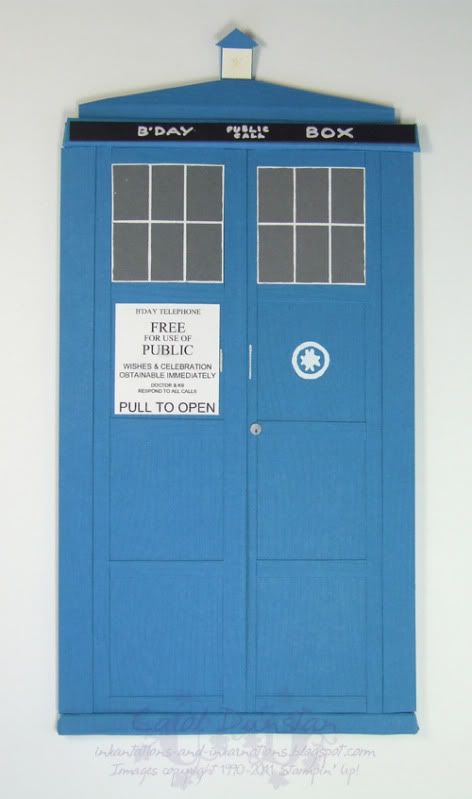

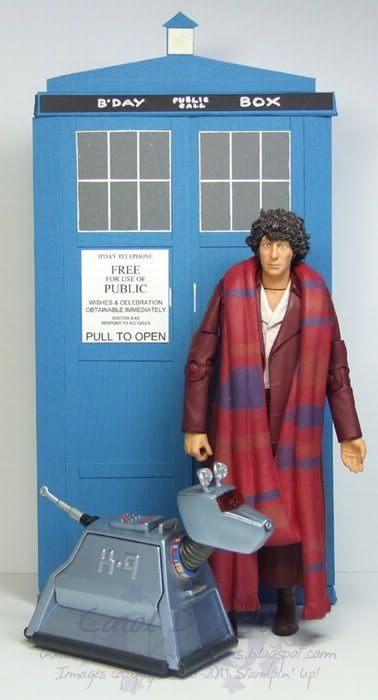
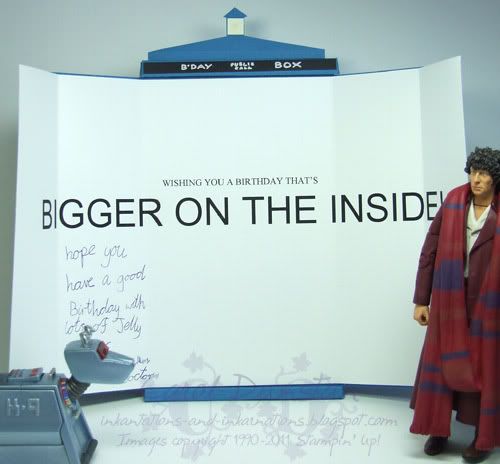
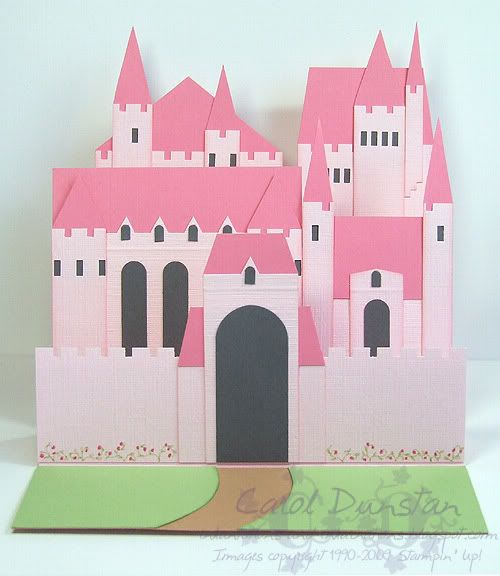
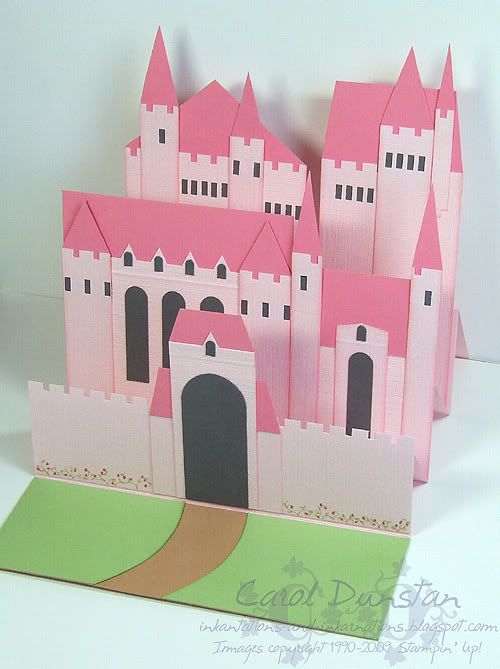
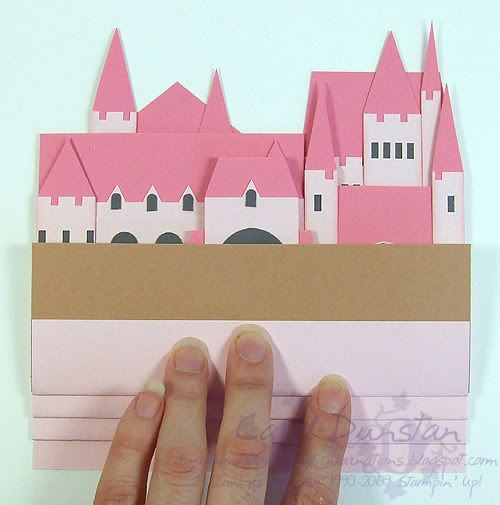
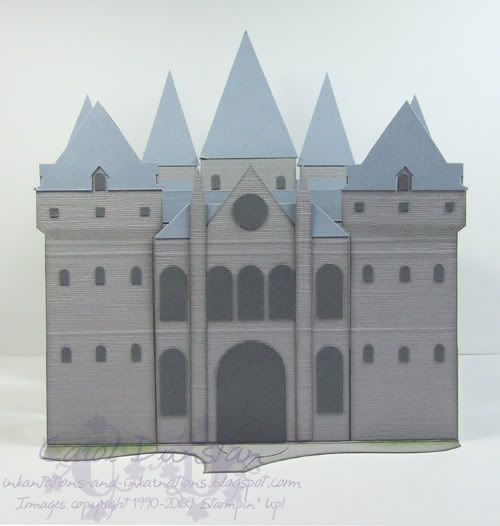
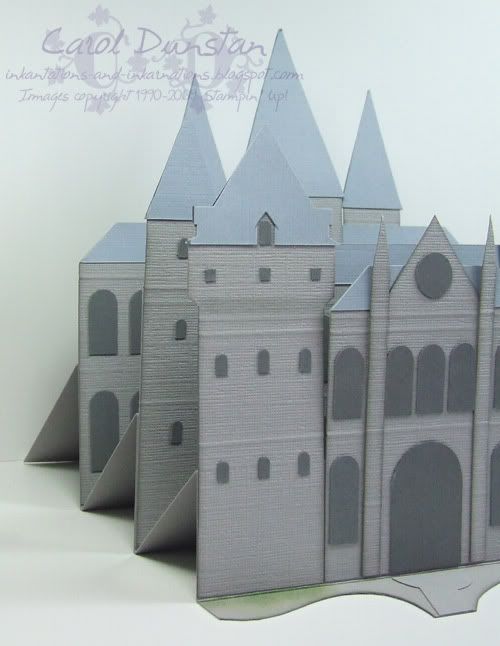
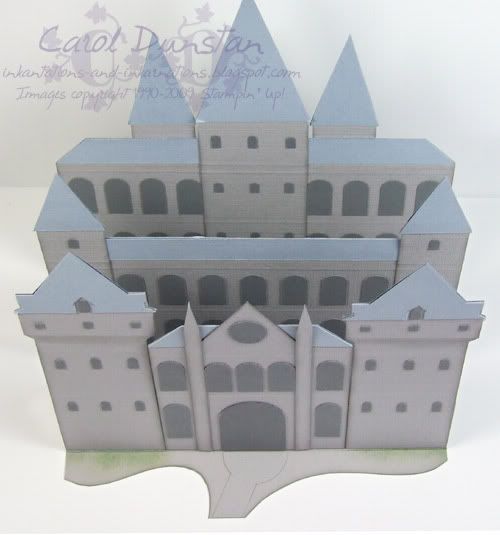

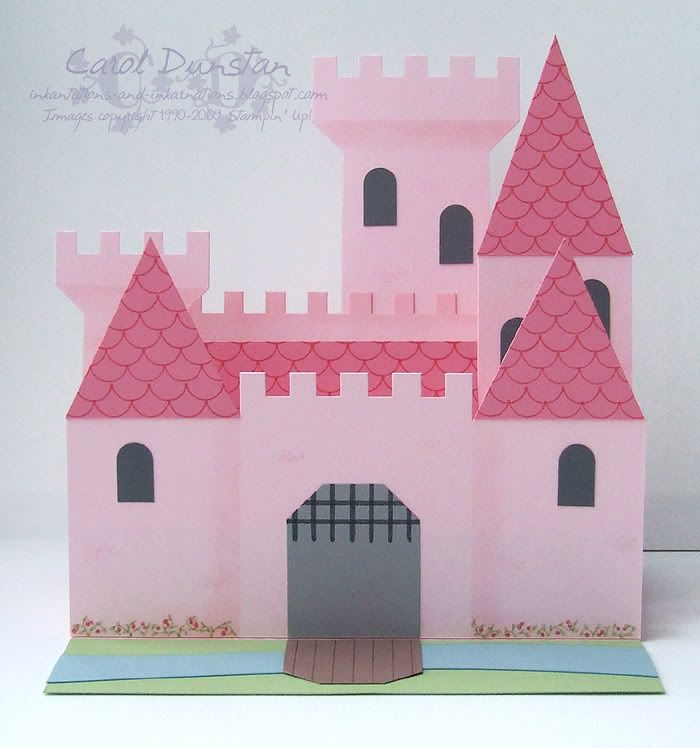 I'm pretty ecstatic about how this came out! I had intended it to fit in a large square envelope, but now that I have finished it I am not sure it will... I haven't tested it out yet. It does fold up flat for postage, but I wanted it big so I could get some details in.
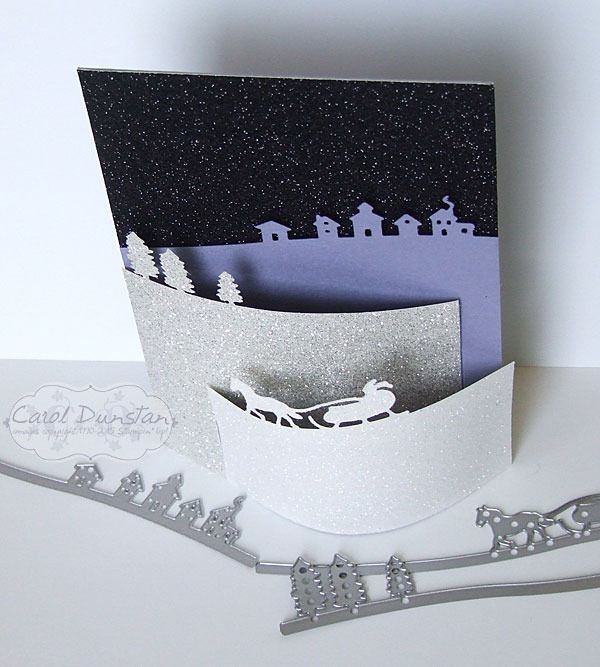
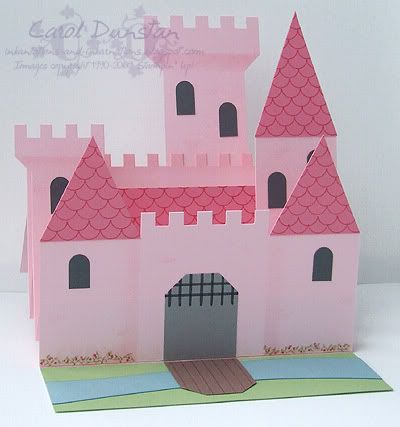 Here's a side view so you can see the concertina-style base that all the elements are stuck to. The scoring wasn't as precise as I had intended, so I have had to prop the back up a bit for photos, but I've already figured out a tweak so that the card won't need propping up, and the elements will sit pretty straight (rather than all tilt back).
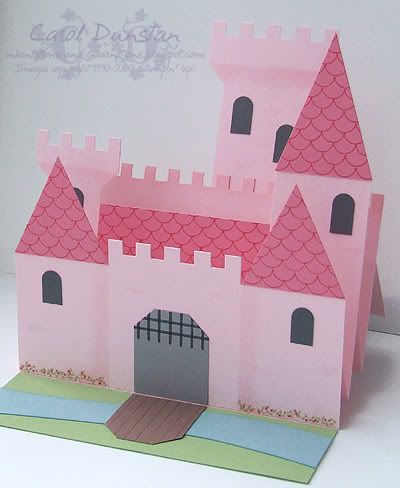 And now a shot from the right. The Baja Breeze moat was cut using the cutting tool of the Cutter Kit. The edges were sponged with Baja Breeze ink. The drawbridge and entrance are large Tag punches with details drawn on with marker.
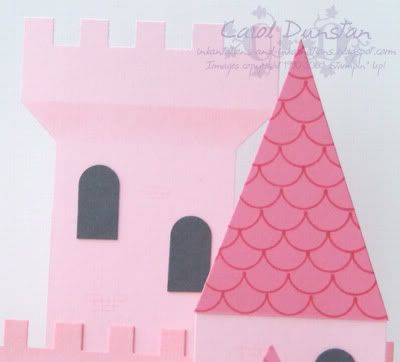 Above you can see some of the details on the towers. The shingles are stamped - the only stamping on this card! Windows are, appropriately enough, done with the Word Window punch. I've drawn on random bricks with my Pink Pirouette marker. This is the main thing I would change with the card - I had intended on using textured cardstock but completely forgot to pull it out. I realised my mistake only after everything was cut, so thought this solution would be the best alternative. I think the textured cardstock would give enough of a texture to make do for brick work. Oh well! The notches were cut out with the now retired 1/4" square punch - made the job so easy! The Spiral punch would probably also work really well, especially on something of a smaller scale. I also did some masking and sponging to help add some apparent dimension. The tower in the background has been shaped with a tag punch.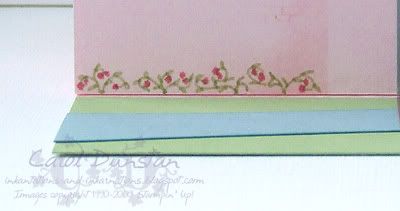
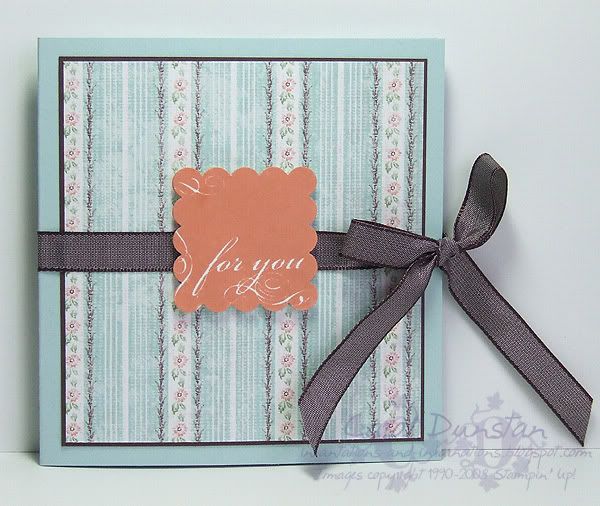 Here is my second piece from the Inklings cyberstamp, a card and a teabag holder. Since I already had the Afternoon Tea paper and matching cardstock out I stuck with it for this one, although I opted for an image from Say It With Scallops for the front of the card.
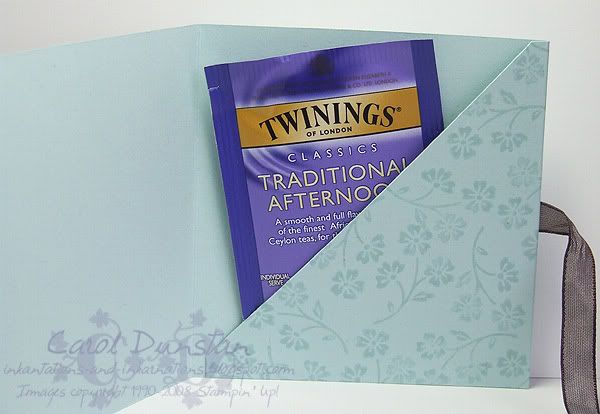 And inside is the tea... Afternoon Tea to boot, LOL. What was an interesting coincidence to me was that the day that Margaret set this challenge for us and I made this was the same day that one side of the family have a cuppa in the morning, wherever they are in the world, to remember a family member on her birthday, who died in her sleep when she was only 3.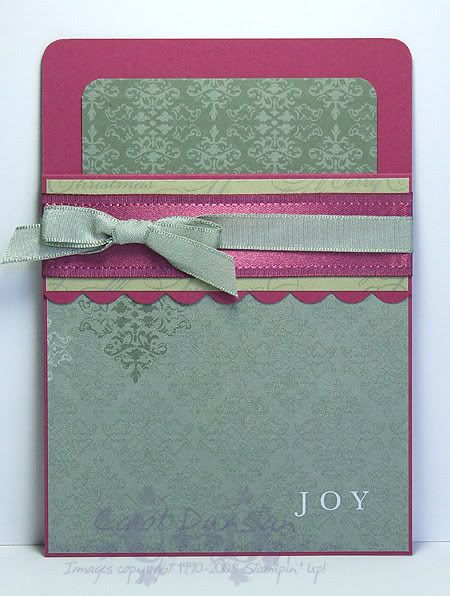
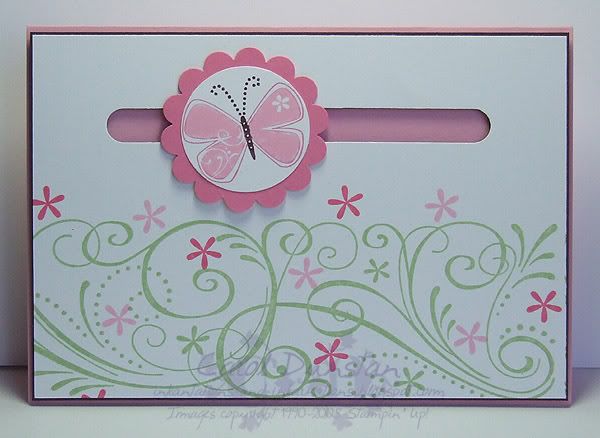 Last night was the September Inklings Cyberstamp, this month hosted by Lin Mei. This card was for the second challenge, to create a spinner card. Like many of the other Inklings, this is something I have thought of doing for quite some time and never got around to it, so it was great to have it on the "to do" list. I decided to use Priceless and So Swirly together again, and I am so happy with how this card came out I may just use it for Shaelea's birthday card! The colours were supposed to be ones from a Kristina colour challenge that I missed, but once I got creating I forgot that she had specified Very Vanilla and I had used Whisper White... oh well!
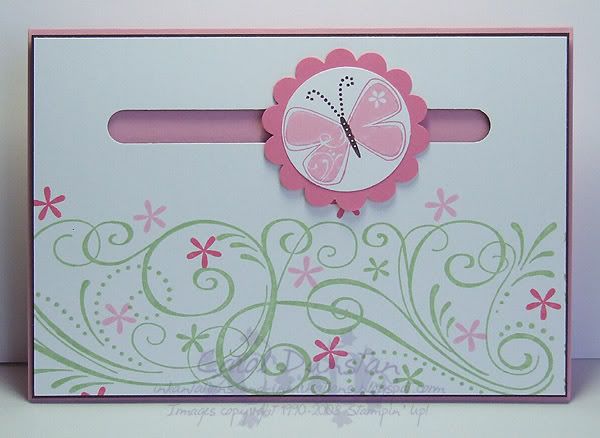 The idea with spinner cards is that part of the card spins along a track. Unfortunately, my pictures don't really reflect that... I didn't even attempt taking an "action shot", but I failed to realise that the butterfly was pointing in the same direction after it's bit of a spin!
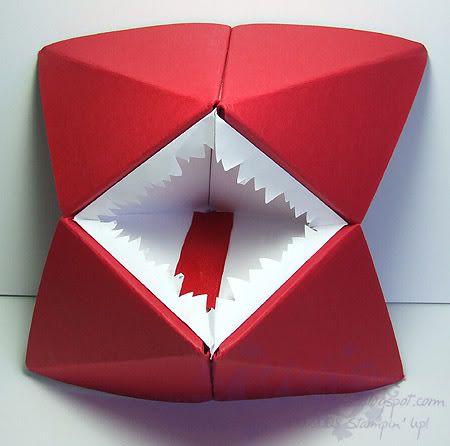 Saturday was Tiarna's birthday. She's a mad keen Harry Potter fan and has been since she first watched Philosopher's Stone when she was 18 months old. After years and years of dragon cards I decided to go with something a bit different this year, and made her a Howler. I first saw this on Melanie's blog about a year ago, however I have made mine a little different. The base is a 12x12 sheet of Real Red textured cardstock (I went with textured because it is a little thinner than the normal cardstock) and inside is a 21cm square of printer paper that isn't completely folded in the fortune/chatterbox/cootie catcher way (ie the last folds into the middle are not done). I had decided to stick the top and the bottom together in the middle (using sticky strip), so I trimmed the paper that was to stick in there a bit to take out some of the bulk, cut the teeth and stuck it in. This does mean that it won't lay flat but that's ok since I wasn't posting it. The tongue is a bit of 5/8" Real Red grosgrain ribbon.
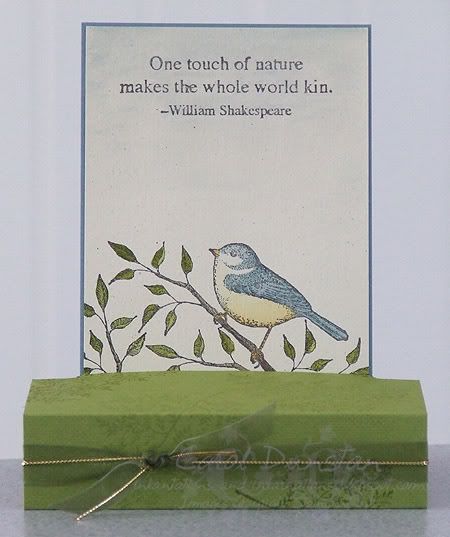 This is another card made for the Inklings cyberstamp. Challenge 1 was to make a free-standing pop-up card. I have made these before, but it took me ages to decide on what stamps I wanted to use! The images have been stamped with StazOn Jet Black on Ivory Naturals cardstock, then watercoloured with inkpads and an aquapainter. Colours used are Buckaroo Blue, Old Olive, Morning Marigold and a touch of Chocolate Chip and True Thyme for the branches. The base has been stamped with the fern image using Certainly Celery and Old Olive inks. Olive organdy and gold cord used for a finishing touch.
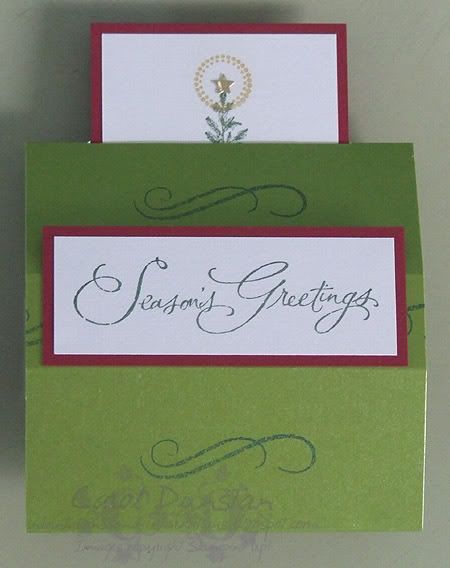 And here it is "open":
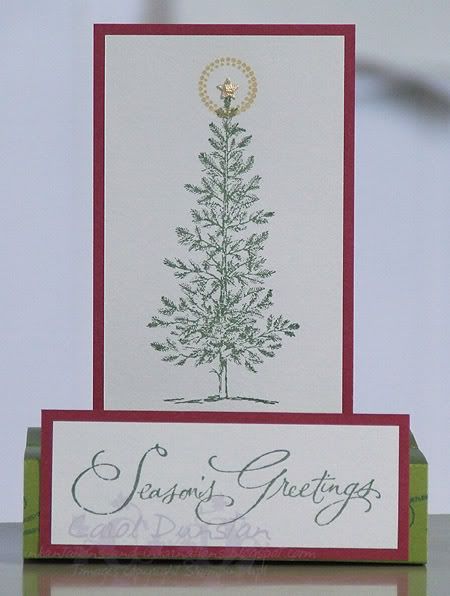 I've used Lovely As A Tree and Many Merry Messages sets for my main images, along with Finest Flourishes and Sweet Spot for some finishing touches. The tree, sentiment and flourish have been stamped using Brilliance Pearlescent Ivy (after yesterday's blingy card I stepped back a bit to just shimmery), and I used VersaMark to stamp the circle around the tree top, then applied Brilliant Gold Pearl Ex. The tree is topped with a star punchie. Cardstock is all shimmery stuff though I'm not sure of the brands now, it was bought from Eckersley's a few months back and efficiently stored on the table...
