
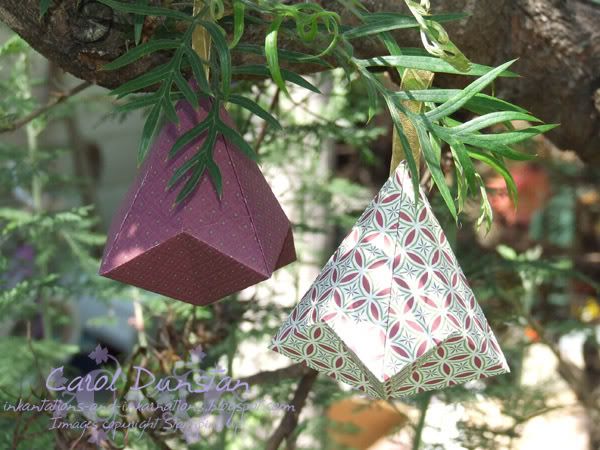
 Yesterday I posted this ornament over on the Elite Challenge blog, so I thought I would do a tutorial for it in case anyone else wanted to try their hand at it.
I first made these decorations some 21 years ago when my sister and I found a book on European Christmas decorations in the school library. I think we used to make a few other things from the same book, but my only lasting memories of it are elves and this decoration. It's quite simple so after you have done a couple you probably won't need to refer to instructions any more.
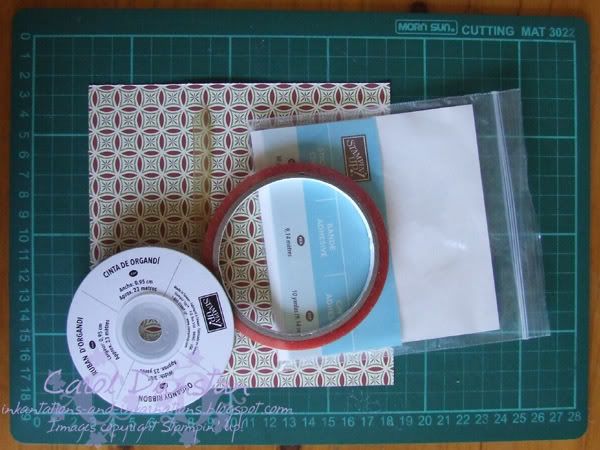 Supplies:
a square piece of paper
adhesive
something to hang the ornament with
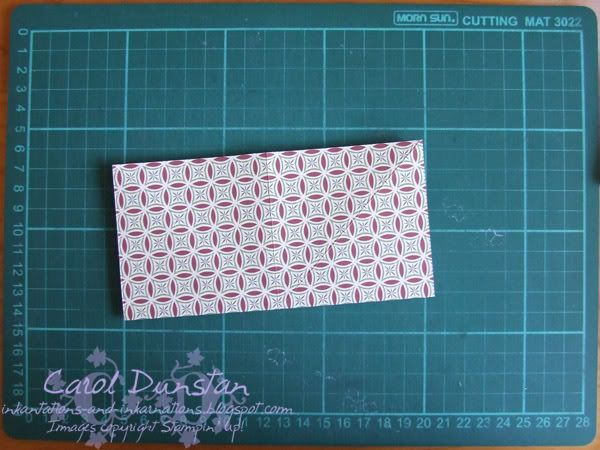
My piece of paper is 6x6 and makes an ornament about 8.9cm (or 3 1/2") from top to bottom. I've chosen sticky strip for my adhesive because you'll need something with some added strength for the final step, plus some extra assurance that the hanger wasn't going to pull out. I chose organdy ribbon to hang my ornament so that the ornament should stick together flat.
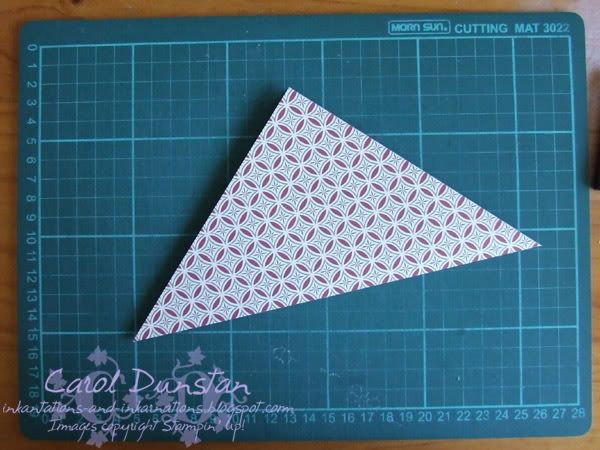 Step 1:
Lay your piece of paper on your work surface with the wrong/ inside facing up. Fold your piece of paper in half diagonally. Unfold and repeat with the other corners.
When you unfold your paper it should look like this, with a crease along each diagonal.
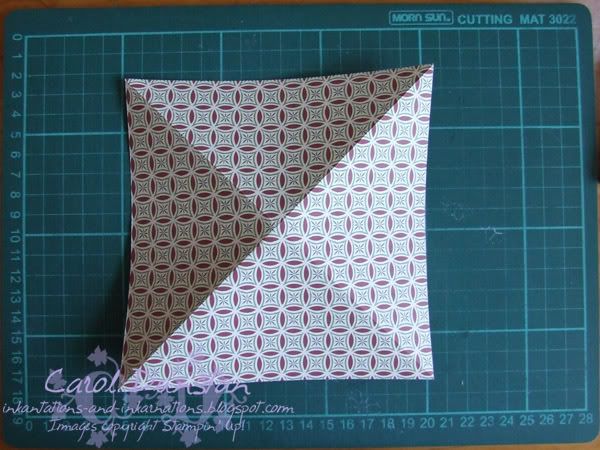
Step 2:
With wrong side facing up, fold the square in half (forming a rectangle). Unfold and fold in half the other way.
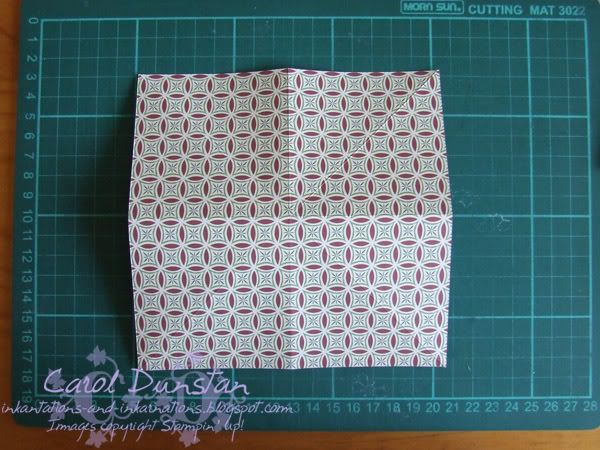
When you unfold your paper (and flip it over so right side is facing up) it should look like this.
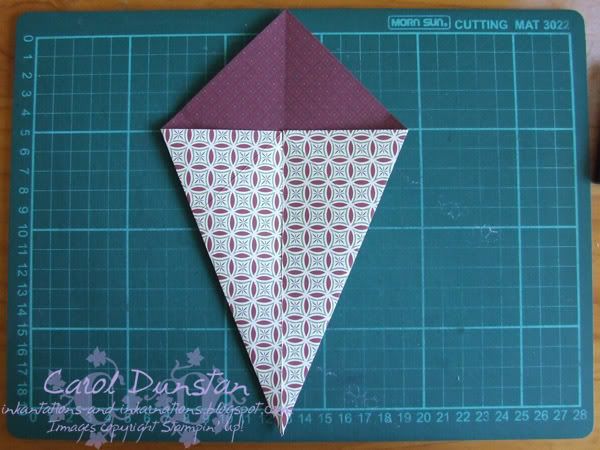 Step 3:
With wrong side facing up and one corner pointing at you, fold the two side corners in so the bottom edges meet along the centre line (forming a kite shape). Unfold and repeat this at each corner.
When you unfold your piece of paper and turn it over so the right side is facing up it should look like this.
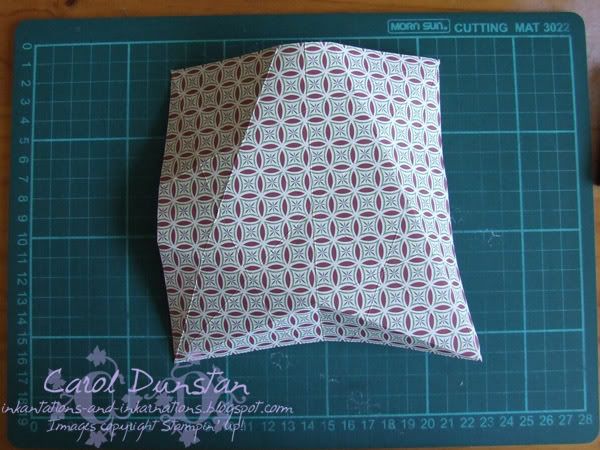
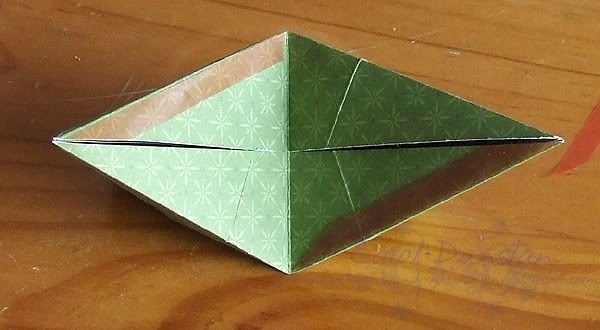
Step 4:
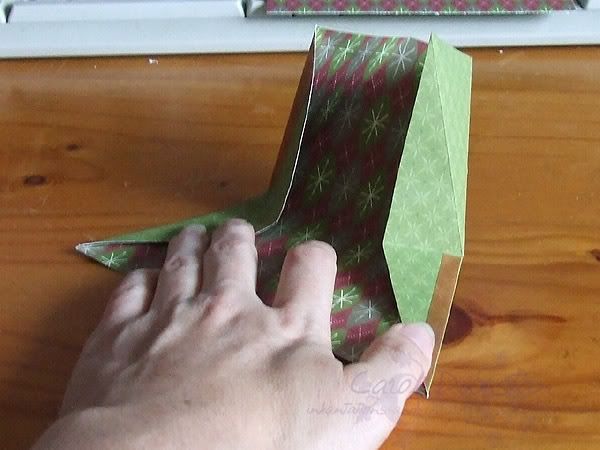
With the wrong side facing up, bring in the two sides and apply adhesive on the inside of the fold lines as shown in the photo.
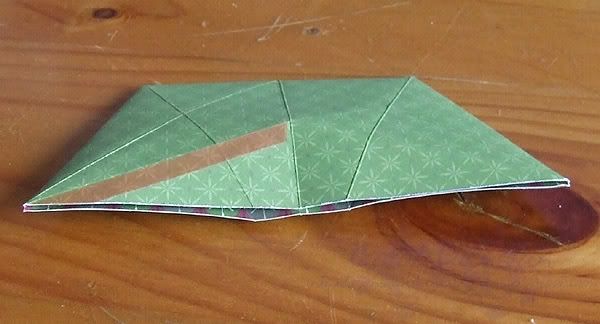
Step 5:
Remove any backing from your adhesive...
and bring the two sides...
together.
 Here you can firmly press along the adhesive because you can squish to your hearts content and not wreak your ornament!
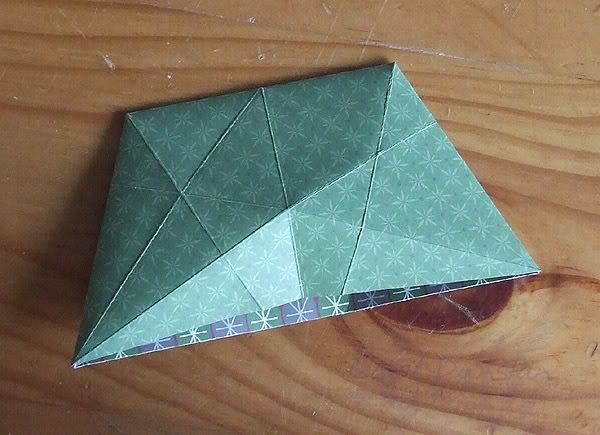
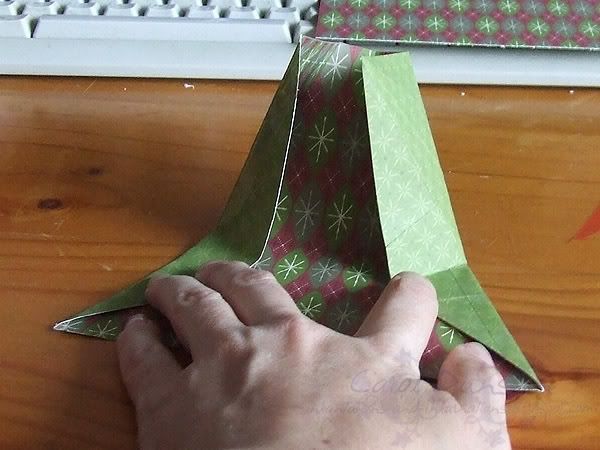
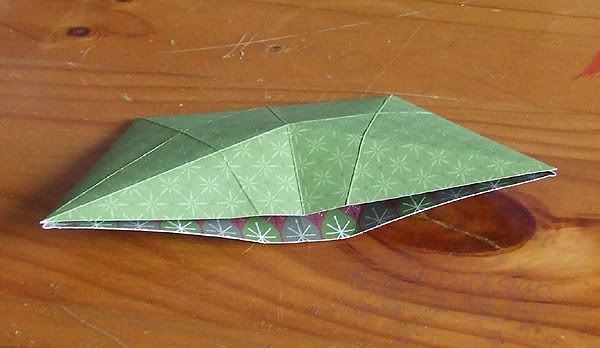
 Step 6:
Push the other...
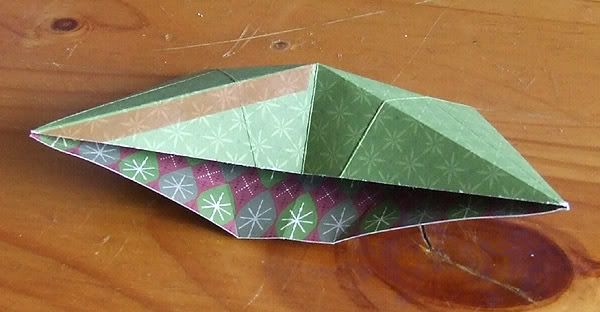
two straight edges...
 in and apply adhesive on the inside of the fold lines just like Step 4 (I applied the adhesive before as I forgot what directions I had given. Until you become familiar with the folds, I would put the adhesive on once it is in this bent shape, though it is probably easier to apply when the paper is still flat).
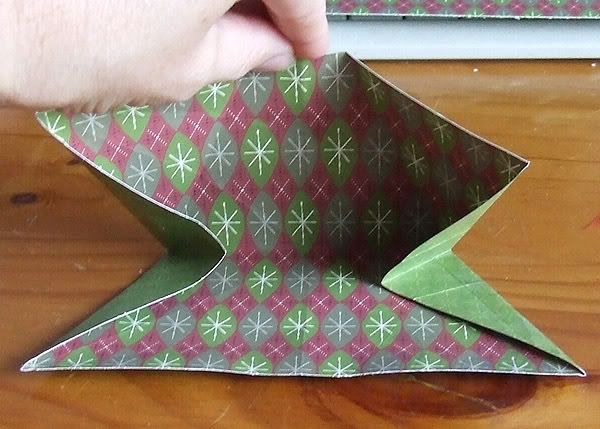
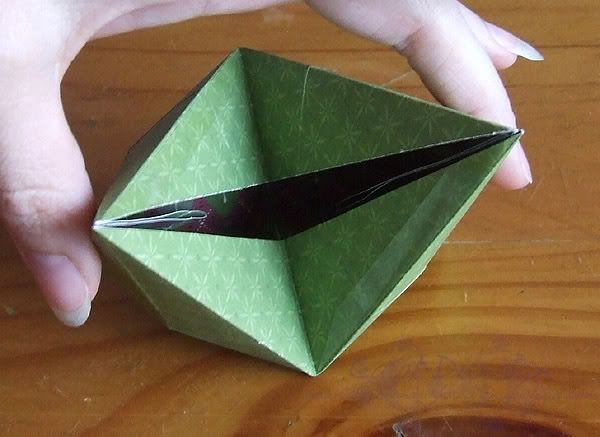 Step 7:
Remove any backing from your adhesive, prepare your hanging material (my ribbon was about 9cm/3 1/2" long) and hold it against one side (not shown in photo as other hand was holding the camera)
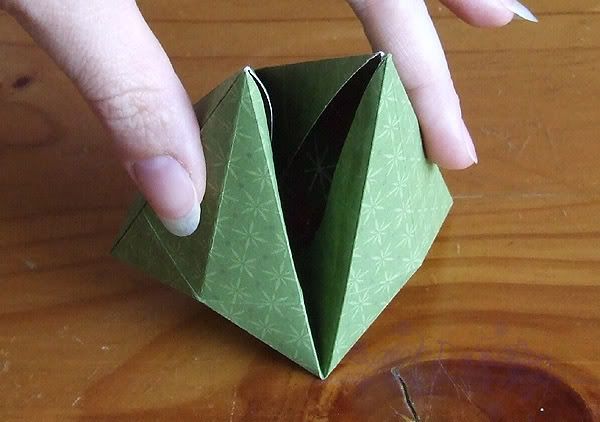
as you fold the other side up (this bit, particuarly in this colour paper, reminds me of Audrey from Little Shop of Horrors...).
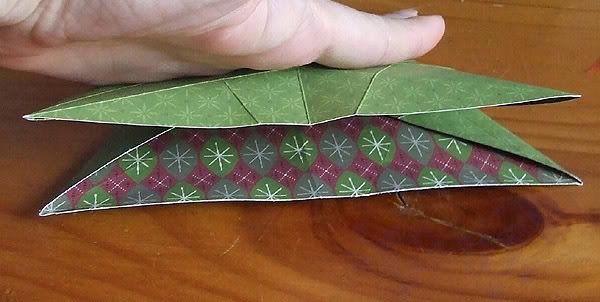
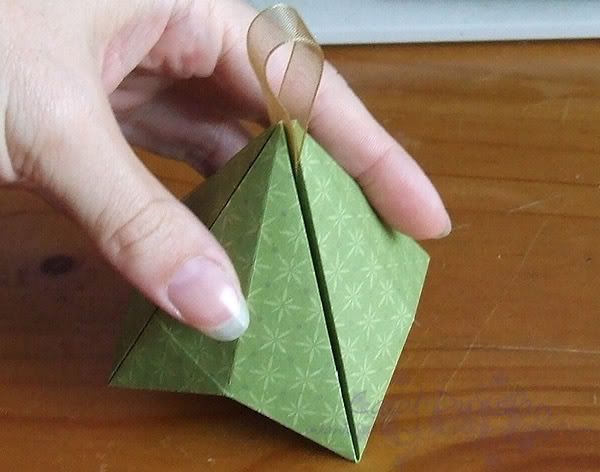 Gently, but firmly (if you can) press the sides together so your adhesive sticks. This is where a nice firm paper comes in handy because it won't buckle or crush as easily as flimsy paper. Voila, you have a funky hanging ornament!
You can of course play around with how you decorate your piece, maybe stamp your bit of paper before folding (but make sure the ink is dry before you start folding!), add some glitter etc. Have fun!
This is my first tutorial, so if you have any comments or tips (I know already that it probably wasn't such an idea to keep flipping the paper over to show the right side when that's not what you'd do when making it, I just thought the creases showed up better that way) I'd love to hear them.
10 comments:
This looks very cool...great job!
These look great. Well done on the tutorial. TFS
I love making my own ornaments. Thanks for the challenge!
Oooo, I must try these - they're wonderful! TFS. Blessings to you~
ohhh I just love these, and I've tried and tried,..... and I got stuck at step 5 and it all ended in tears!!!
ok Vicki, I'll have a go at some better photos!
Carol!!!!
I did it!!!
I did it!!!
I love it!!
Now to attach the string, how dod I do that??I'll put it up on my blog and pt a link to here
Thank you
Im so excited!!!
Wow love these Carol.
Just found this tutorial an tryed it out. It's great, my sons and me are going to make a lot of these to decorate our christmastree. Thanks <3
Just found this tutorial and tryed it out, it's great. My sons and me are going to make a lot of them tot decorate our christmastree. Thanks, <3
Post a Comment