So here it is, a tutorial for the Lace Ribbon punch. Instead of simply remaking the
original card for this I made a completely different card for two reasons: black can make it hard to see things sometimes, and you don't
have to have an 18-shade rainbow (just in case you were wondering ;) ).
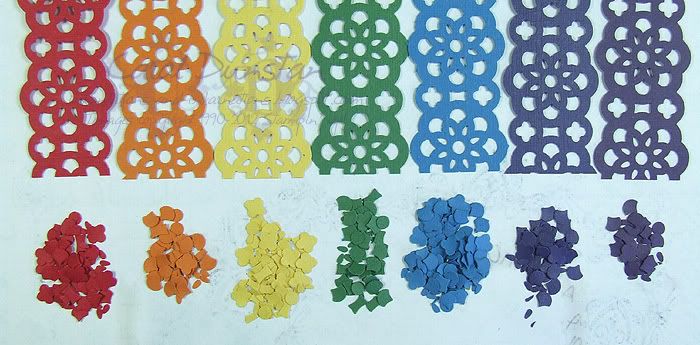
So to start, I punched the strip I will be insterting the little pieces into. I thought white would be nice this time.
Then punch the colours you want inside the lace ribbon. Still liking rainbows here so I chose these ones. These are actually left over from the other card, I kept the little pieces in zip-lock bags. The really little ziplock bags you get spare buttons and things in when you buy an item of clothing come in really handy for this. Individual ones save sorting out later (speaking from experience...), but I also keep the colour families in a larger ziplock bag to make it a little easier to organise.
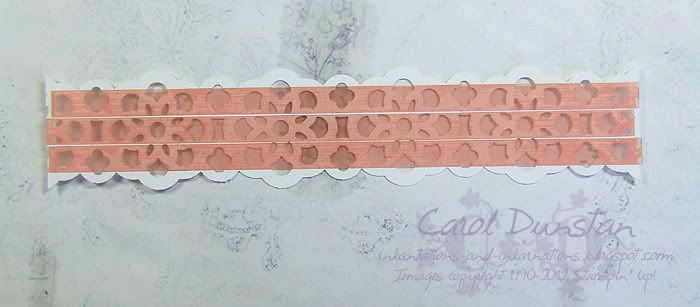
Attach sticky strip to the back of your lace ribbon piece. Three pieces fit nicely.
Attach lace ribbon to your cardfront or layer. It's hard to see the sticky strip now that the red backing has been removed, but it's there peeking through the 'holes'. I like to attach a slightly larger than needed piece and then trim it down as it is easier to center.
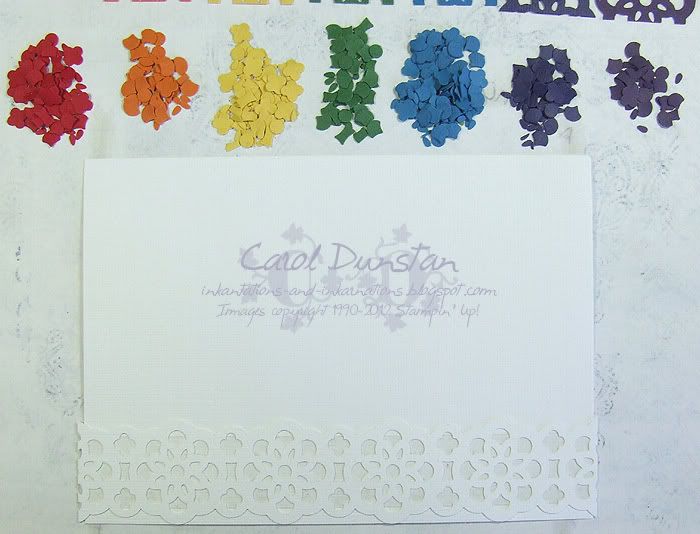
I think start filling the "holes" in. I do the large ones first and then do the smaller inside pieces next to reduce the chance of sticking yourself tot he card (speaking from experience). There's a couple of pieces I ran out of so I had to punch a few more to finish it off.
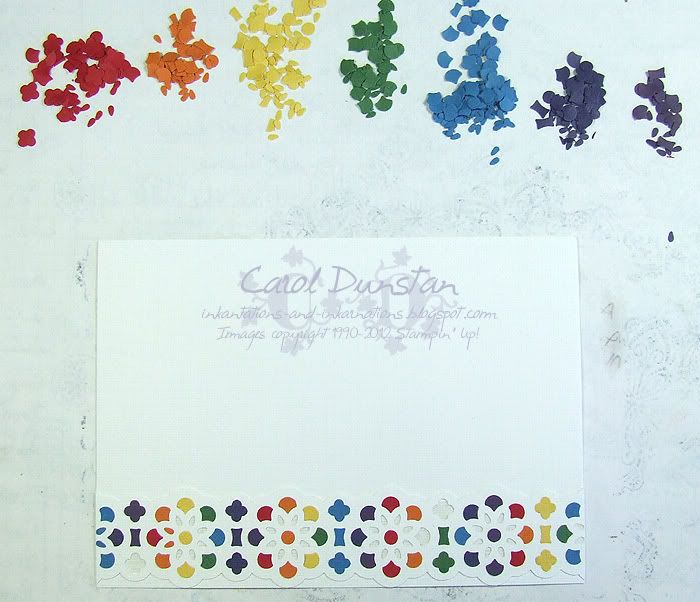
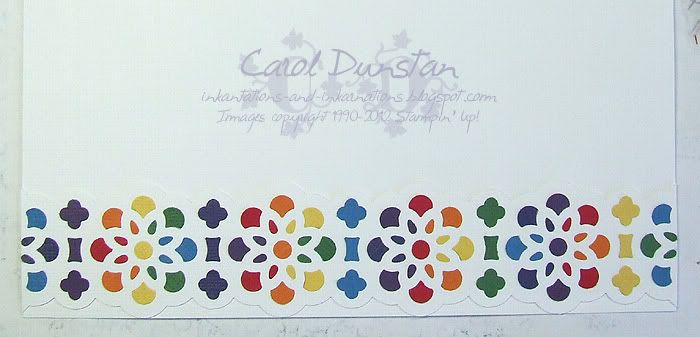
And here it is, all filled in! You may have noticed that I changed the colour of some of the small inside pieces. I had put a few in place, then after looking at it with all the larger pieces in realised it would look better if I changed how i did those inside pieces. Sticky Strip being very sticky in nature, I had to use the paper piercing tool to carefully dig them out.
And here's the finished card! I like keeping the rest of the card very simple so the lace ribbon really stands out.
All supplies by Stampin' Up!
Cardstock: Whisper White, textured
cardstock in Concord Crush, Elegant Eggplant, Real Red, Pumpkin Pie, Daffodil Delight, Garden Green, Pacific
Point
Stamp set: Perfect Punches
Ink: none!
Accessories: Lace Ribbon punch, Decorative Label punch, Extra Large Oval punch, markers in Concord Crush, Elegant Eggplant,
Real Red, Pumpkin Pie, Daffodil Delight,
Sticky Strip, dimensionals
Show watched while creating: Sherlock


15 comments:
That is very stunning!!
this is stunning! I LOVE the sentiment on here! that is too cool :) thanks for sharing the tutorial :)
WOW, that's a HUGE amount of work
FABULOUS! Thanks for this great tutorial, Carol. Your cards are little masterpieces!
Beautiful Carol. You've used the colours beautifully again....& such patience. Thanks for sharing how you did it. Di :0)
That is Gorgeous.
Girl, you have more patience then I do when working on something like this but can see it's well worth the little bit of effort.
Thank You for the great tutorial.
I have found that the little clear jewerly bags work good for small items, even punched out paper pieces.
Colleen
I've done the same thing, using the fine point of a stampin write marker. A lot less tedious, and no tiny pieces to manage.
sure, marker is less fiddly. Depends on the look you want. Which is also why I used textured cardstock instead of normal
Your rainbow card is amazing, doubt I have the patience but "well done you!"
Hello!
What a wonderful idea! Perfection! I am going to use this technique today! Wishing you a beautiful Sunday!
Hugs,
Barbara Diane
WOW! Wonderful use of color! I have to try this technique. Don't have this punch but maybe another one I already have.....Great way to use scraps.
this is such a creative idea-I love it
Beautiful! Looks like stained glass. I love rainbows. I'm always reminded of God's promise when I see them to never again destroy the world by water. I never wanted this punch til it ended up on the retiring list, now I'm seeing amazing things done with it! lol
Wow, such a lovely color, it is a great.
WOW gorgeous card. Love the supply list - you made me laugh with 'show watched while creating'. Great show too :)
Post a Comment