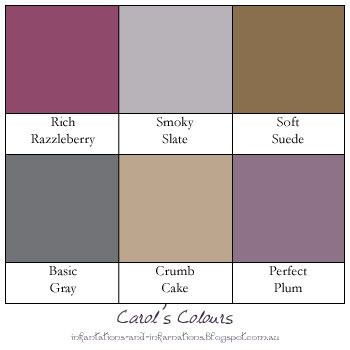
Showing posts with label Soft Suede. Show all posts

Monday, October 19, 2015

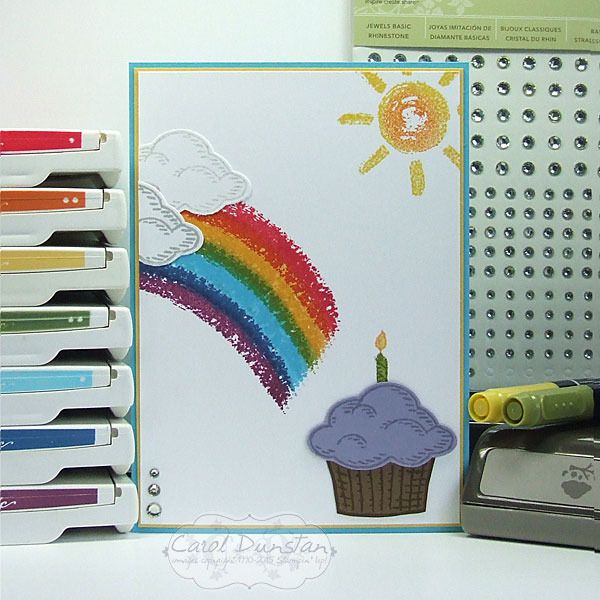
Cupcake At The End Of The Rainbow

It's well past time I cracked open my Over The Rainbow set, and once I got this idea I just had to make it...
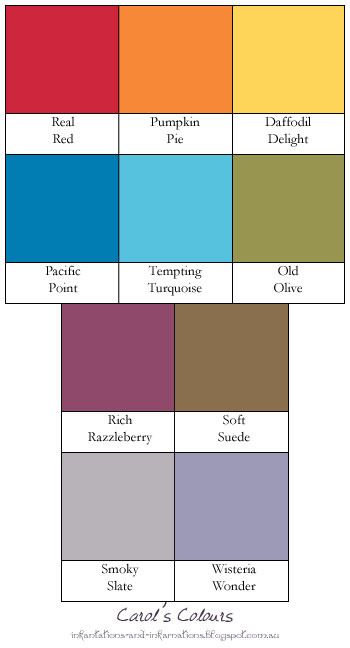
A cupcake is a far tastier treat to find at the end of a rainbow! Most of this card is pretty straight forward, but I got a little creative to make the rainbow. I inked up the rainbow "stripe" stamp from Over The Rainbow in one colour, then wiped a lot of the colour off with a tissue before sponging on the next colour. When I stamped the subsequent "stripes" I overlapped them. So for the first stripe I inked in Real Red, wiped some off the lower edge and sponged on Pumpkin Pie in it's place. I then cleaned the stamp, inked up in Daffodil Delight and wiped off some ink from the upper edge and sponged on Pumpkin Pie in it's place... and so on to finish the seven colours of the rainbow. For the sun I sponged a little Pumpkin Pie in the center after inkling it up with Daffodil Delight ink.

Todays loooong list of colours:
Built for Free Using: My Stampin Blog

Saturday, August 22, 2015

Father's Day In The Garden

Anyone else feel like the year is rushing by? I can't believe we are coming up to Father's Day already!
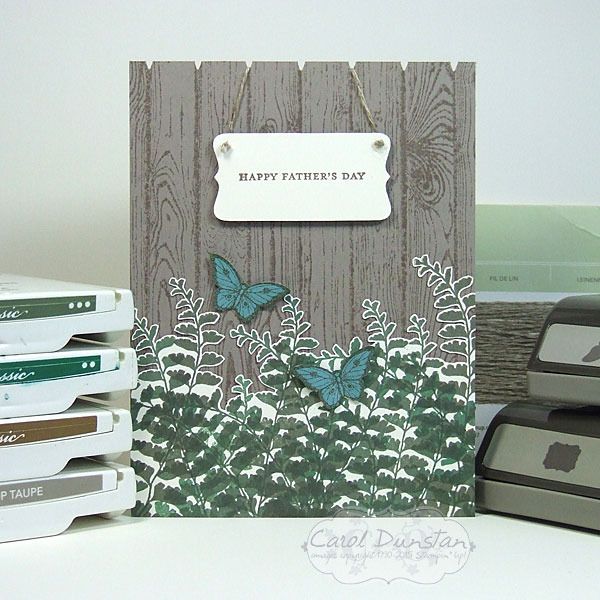
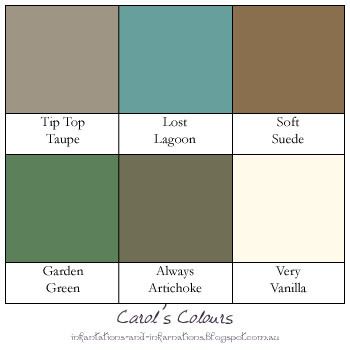
My Dad is a keen gardener, and ever one to buck the system I decided to make a male card with butterflies on it. This card was a lot of fun to make as I took advantage of the flexible nature of photopolymer stamps and varied how it was shaped as I randomly stamped it in Always Artichoke and Garden Green. I even mixed my inks a little as I skipped cleaning the stamp between inking it up, when I wasn't just sponging a bit of the other colour on to give the fronds some colour variation. Cutting out the fronds wasn't quite so much fun, but it is funny how you can zone out and time flies when doing something like that. To create the little sign I simply trimmed down the cardstock after stamping and punching it out. To get the even notches at the top of my "fence" I lightly penciled a line across on the back of the cardstock at the desired distance from the edge, then used the Christmas tree punch cut the little wedge out between the pailings.

Here are the colours I used:

Built for Free Using: My Stampin Blog

Thursday, July 02, 2015

TBT - Petite Pennants

My desk is generally tidy - I've got no space to create otherwise - but I was doing some more tidying last week and camea cross a background piece I had made quite some time back and decided it was time to actually make it into a card.

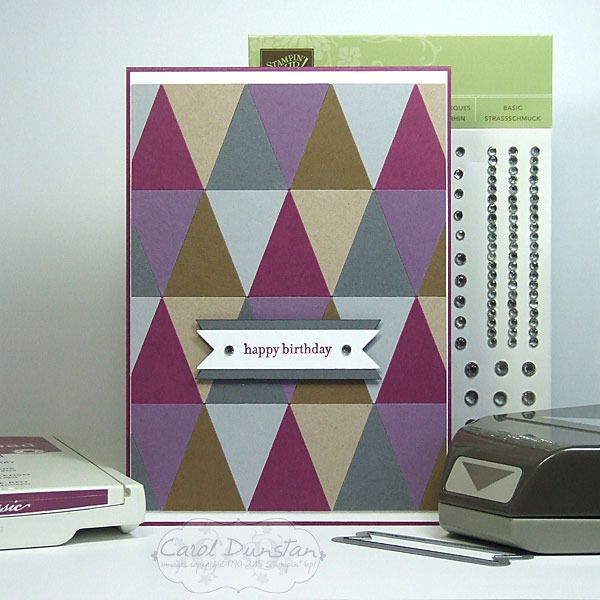
I used the straight edge pennant from the Petite Pennants punch to make a bunch of triangles and then arranged them into this background. With the background already made, this card was pretty quick to put together. Though I remember the longest part of making the background was just deciding where I wanted each colour... the actual sticking them down went together much faster! I do remember at the time I deliberately avoided using the triangle punch for this effect as they would be smaller and take longer to put together, but in true Carol style that idea is grawing at me from the back of my head so I might end up giving it a go one day. Both the pennant and triangle punches are now retired, but you can pick up the triangle punch from the Clearance Rack while stocks last.

Some what amazingly, all the colours I used are still current!

Built for Free Using: My Stampin Blog