Showing posts with label Sahara Sand. Show all posts

Saturday, November 07, 2015

Jolly Jumping Reindeer

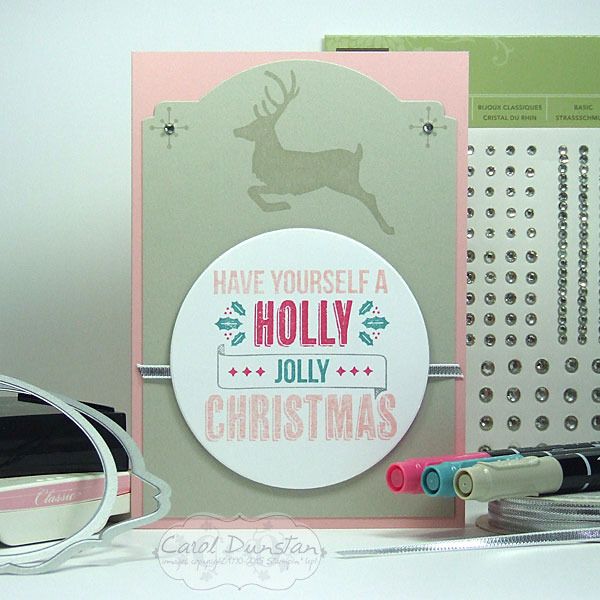
I haven't got very far with making Christmas cards this year, but got back into the swing of it with the Jolly Christmas set.

As is often the case, the idea that came to mind was multiple colours on an image, so out came the markers for some direct to rubber technique. I did cheat a little bit in using the Blushing Bride inkpad to ink up the top and bottom lines. As I was working on this my brain was ticking over how I would do the rest of the card, and initially I thought I would have the reindeer leaping more to the right hand side of the card, but when I started spacing things I found there wasn't a lot of room at the side... but plenty at the top.  The idea to shape the top of the reindeer layer came not long after, and I have to say I am really pleased with how it came out. I trimmed the Sahara Sand cardstock to the width I wanted, then positioned it so it was half in/half out of the Deco Labels framelit so just the top edge would be cut.

Almost traditional Christmas colours used today:

Built for Free Using: My Stampin Blog

Saturday, August 22, 2015

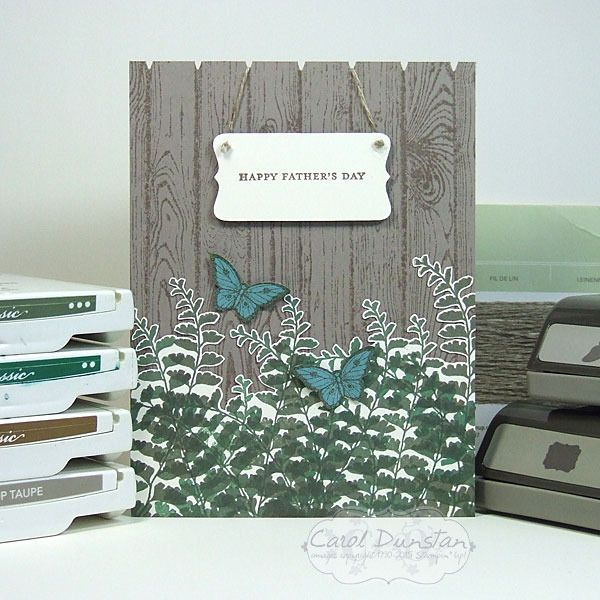
Father's Day In The Garden

Anyone else feel like the year is rushing by? I can't believe we are coming up to Father's Day already!
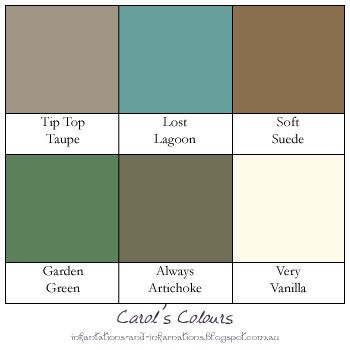
My Dad is a keen gardener, and ever one to buck the system I decided to make a male card with butterflies on it. This card was a lot of fun to make as I took advantage of the flexible nature of photopolymer stamps and varied how it was shaped as I randomly stamped it in Always Artichoke and Garden Green. I even mixed my inks a little as I skipped cleaning the stamp between inking it up, when I wasn't just sponging a bit of the other colour on to give the fronds some colour variation. Cutting out the fronds wasn't quite so much fun, but it is funny how you can zone out and time flies when doing something like that. To create the little sign I simply trimmed down the cardstock after stamping and punching it out. To get the even notches at the top of my "fence" I lightly penciled a line across on the back of the cardstock at the desired distance from the edge, then used the Christmas tree punch cut the little wedge out between the pailings.

Here are the colours I used:

Built for Free Using: My Stampin Blog

Saturday, August 15, 2015

Peaceful Pines Sneak Peek

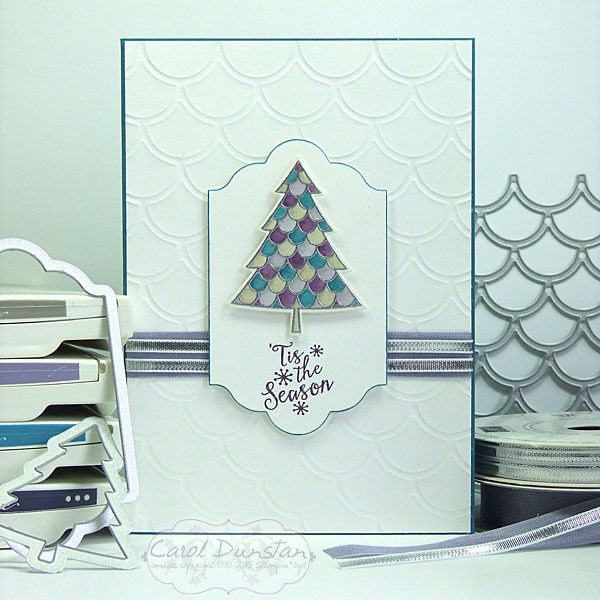
On September 1st Stampin' Up! will be launching this years Holiday Catalogue, and to whet your appetite here is a card featuring some products you will be able to order once September arrives.
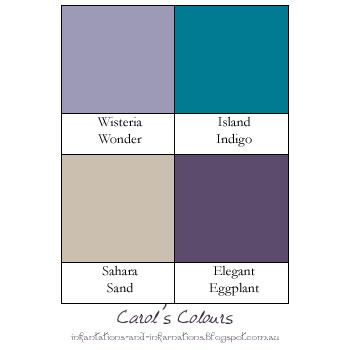
There are so many gorgeous items in this catalogue it's almost hard to know where to start! For today's card I have used the Peaceful Pines stamp set, which you can buy on it's own or bundled at a discount with the coordinating framelits dies. There are eight tree images in the set, with 3 different sized dies to cut them out, along with a number of accessories to go with the trees. I've been hankering to use the Striped Scallop die, so I decided to pair it with one of the tree images that also featured scallops. I stamped the tree on shimmery white cardstock using VersaMark ink then embossed it in silver. After cutting the tree out, I watercoloured the scallops with my aquapainter by picking up the ink from the lid of the inkpads. If you've never watercoloured like this before, it may surprise you how some colours come out. Depending on how the ink is made up, you may find you get quite a variation in colour from a single ink. In this card, the Sahara Sand ink has come out with quite a green tinge.

To create my background I used the Striped Scallop die but instead of layering the cardstock on top of a cutting plate before putting it into the Big Shot, I used the crease pad to emboss the cardstock rather than cut it. I had actually forgotten I had even purchased it until recently, so I'm keen to make up for lost time and use it quite a bit to turn dies into embossing folders. Of course the direction I wanted the scallops to go meant I had to reposition the die after embossing part of the card to emboss the rest of it. Having the reverse of the cardstock facing up (that is, the opposite side to where the die was pressing into the cardstock) helps to hide when you don't line things up perfectly.

As is pretty standard for me, I used non-traditional colours in this Christmas card:
Built for Free Using: My Stampin Blog

Monday, July 27, 2015

Festival of Triangles

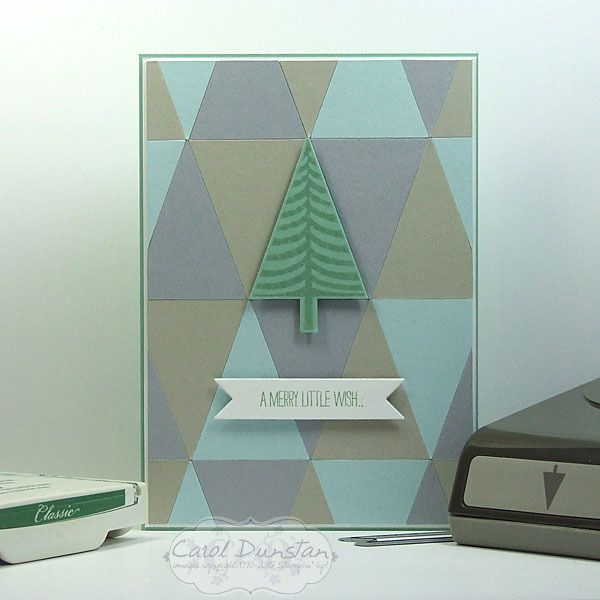
Sorry not a lot of creations to look at lately, been busy again! I started this card last month before the school holidays... and only finished it last week. Then it took me a few more days to take a proper photo of it! It was inspired by my last card, the Petite Pennants birthday card, but using all current products.
The background was created using the Tree punch. There were two ways to go about this: punch the whole tree out and trim the trunk off afterwards, or line the edge of my cardstock up with the bottom of the main tree section so there was no cardstock in the trunk to be punched. I opted for the later as it made it a little easier for using up cardstock scraps and fitting more trees into the limited space. Normally when making a background like this I would line one edge of the piece up with a straight edge of a base layer. This time though I wanted the stamped tree to line up with a triangle underneath it, and I could tell doing that my normal method would result in the tree being in an odd position. So instead I decided where I wanted the tree to go, lined up a ruler along the bottom of the main tree section, and then started placing the triangles up against this. It did mean I was having to trim off bits of triangle hanging off all four edges instead of three like I normally would have, but the overall result is far more satisfying so it's a small price to pay.

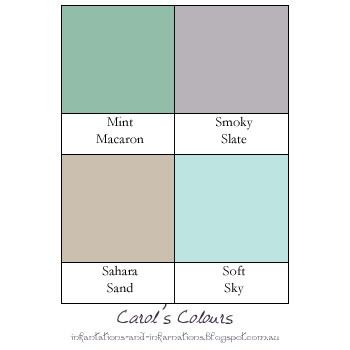
Here are the colours I used:

Built for Free Using: My Stampin Blog

Thursday, June 11, 2015

Mojo Monday 401

It's been a very long time since I played along with a sketch challenge, this week I finally got back into that swing of things with the Mojo Monday sketch.

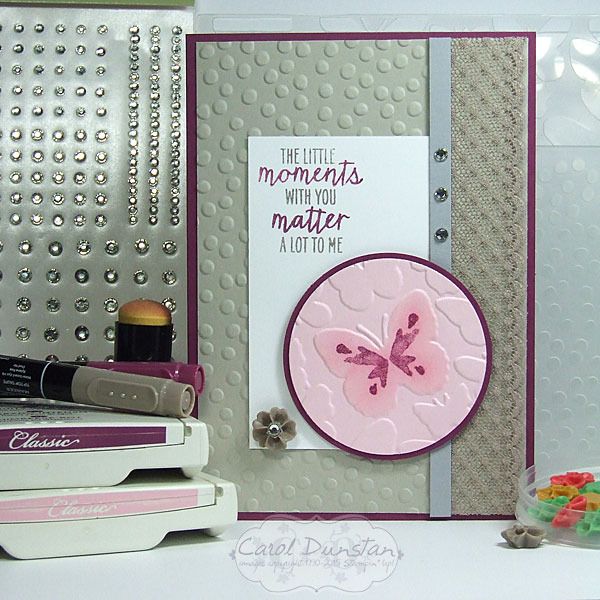
When my order from the new catalogue arrived last week I immediately noticed that one of the stamps from the Watercolor Wings could fit on some of the butterflies of the Fluttering embossing folder. I thought this sketch would suit highlighting that, so the rest of the card fell into place around that focal point. To really emphasise the butterfly I sponged some Pink Pirouette ink over the raised butterfly.

Here are the colours I played with for this card:

Built for Free Using: My Stampin Blog