Showing posts with label Smoky Slate. Show all posts

Thursday, December 03, 2015

Lighthearted Christmas

We still have a month left of the Holiday catalogue, but the items on the Holiday catalogue retiring list are only available while stocks last. Today I am sharing a card using two of the retiring sets, Santa's Gifts and Lighthearted Leaves.


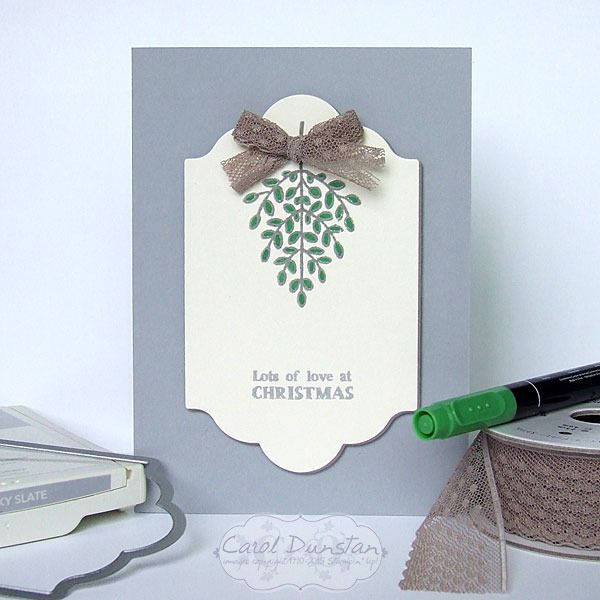
If it hasn't been said enough before, I'm adding another voice to the chorus: Lighthearted Leaves is such a versatile set! While the set comes with sentiments, the leaf images can easily be used for a wider variety of occasions. For this card I have used one of the images as mistletoe. For something different, I wanted the outline to be Smoky Slate. So the colour wouldn't run, I stamped the image in  Smoky Slate first, then stamped over the top with VersaMark and then embossed the image with clear embossing powder. One of the great things about photo-polymer stamps, as this set is, is being able to see through and see exactly where you are stamping. This is a little complicated when you are stamping with VersaMark as you can't see the clear ink! So to make it all easier, the Smoky Slate image was stamped with the assistance of the Stamp-a-ma-jig, which I left in place while cleaning the stamp and reinking with VersaMark. By keeping the Stamp-a-ma-jig in position when stamping both images it makes it even easier to have things line up exactly.

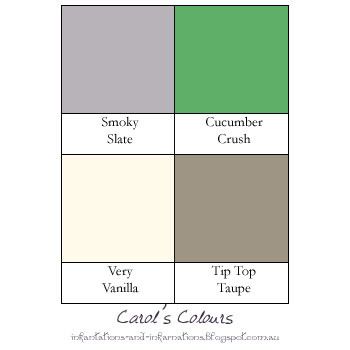
Todays colours are...
Built for Free Using: My Stampin Blog

Tuesday, November 24, 2015

Lovely As A Wonderland

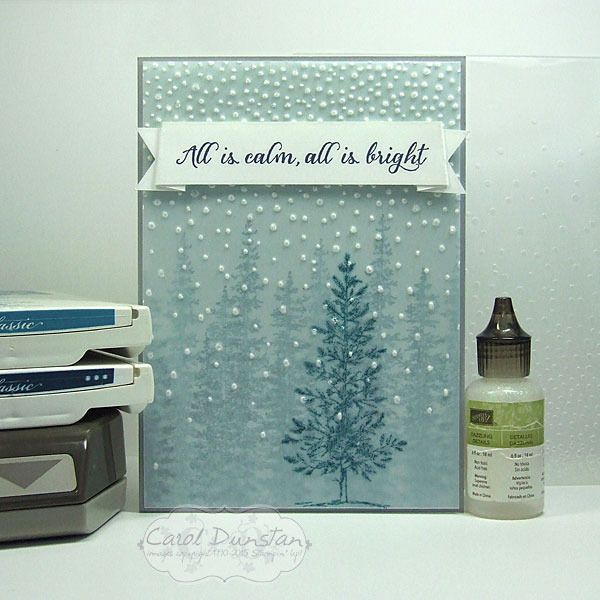
Back today with another Wonderland card for you. It really is going to be sad to see this one go, it pairs so nicely with Lovely As A Tree.


For this card I started off with a piece of Soft Sky cardstock and using Island Indigo ink stamped the Wonderland trees on it a few times side by side, then I stamped them inbetween after first stamping off on scrap paper to make the colour less intense. I then stamped the Lovely As A Tree image on a piece of vellum cardstock with the Island Indigo ink. Dye based inks are quick drying, except when you stamp them on something like vellum that won't absorb the ink straight away. While I was waiting for that to dry I stamped the sentiment on a strip of Whisper White cardstock and marked in some slightly slanted score lines so that when the banner was folded you would see a little underneath and the ends wouldn't be in-line with the main part. Once I had those score lines in place I could work out where I wanted the banner ends to go. The Triple Banner punch is made with guides for cardstock that is 1" (approx. 2.5cm), 1 1/5" (approx 3.8cm) and 2" (approx 5cm) wide. The strip I  was using was 2cm wide, but by holding it steady in the Triple Banner punch I was able to get a nice even banner finish to my cardstock. By now the ink on the vellum was dry so I was able to run it through the Softly Falling embossing folder in the Big Shot. It came out exactly how I hoped it would, the embossed dots turning the vellum white and looking a lot like snow. I put a bit of Fast Fuse behind the banner to attch the vellum at the top, then also placed a glue dot behind the tree, with a couple of little bits of glue dot snipped off and positioned behind and embossed dot to help hold the corners down. Once the card was all stuck together, I looked at it and thought "it's nice... but it needs a snowy sparkle" so I added just a touch of Dazzling Details glitter glue to the embossed dots - which of course doesn't show up int he photo but trust me it's there!

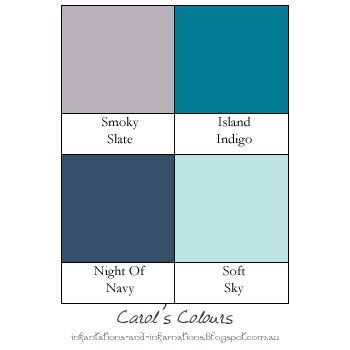
The colours for this card were inspired by Catelyn Stark from Game Of Thrones (Winter Wonderland is coming? hehehehe):

Built for Free Using: My Stampin Blog

Wednesday, November 18, 2015

Occasions Catalogue Sneak Peek

As I mentioned last week, over the weekend I attended one of the new events put on by Stampin' Up!, OnStage Local in Melbourne. Other than the usual catching up with old friends and making some new ones, we got to see a lot of new product from the upcoming Occasions catalogue - oh boy I think this one is going to be as popular as the current Holiday catalogue! We also got to see product the upcoming Sale-a-Bration catalogue. Everyone received a few of the new goodies, and I had to get stuck in and have a little play yesterday. Another perk of attending was being able to purchase more product before the pre-order period offically begins, so I am crossing my fingers that arrives before the weekend so I can have more of a play. I know, I know, I am teasing you horribly. So here's a glimpse of what is in store:


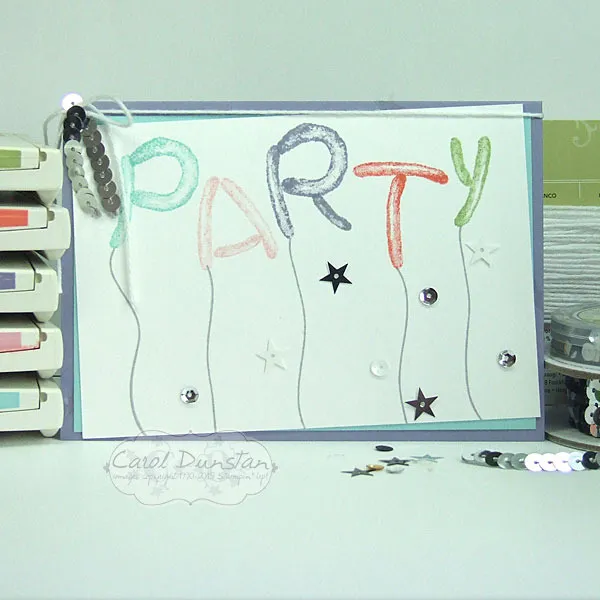
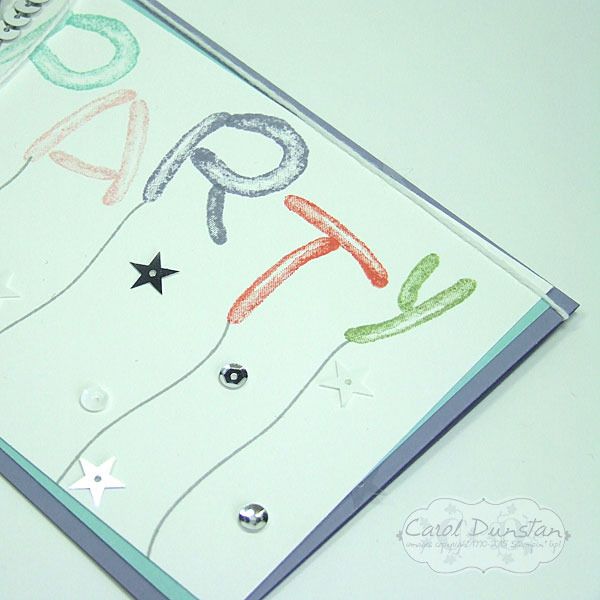
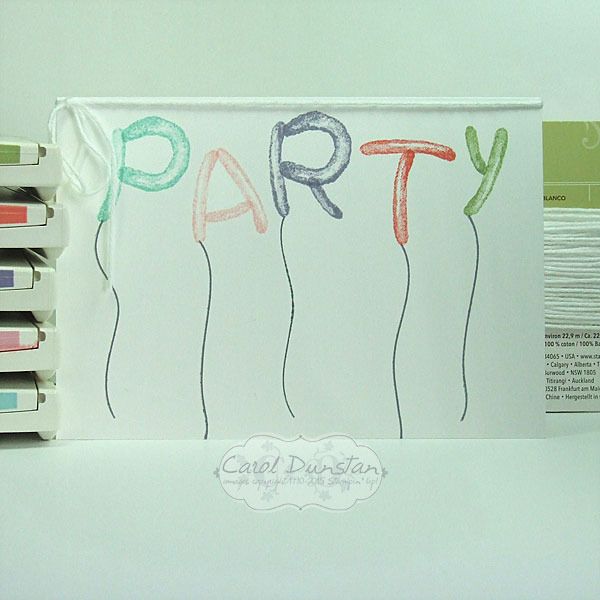
This is the Balloon Builders set, which has a variety of balloon shaped stamps that are fabulous for combining to create other images - it's a great one for letting your imagination run wild! Along with the stamped images I used some sequins (just like those that were scattered on the tables at OnStage, that felt fitting) to jazz the card up a little. I even tucked some clear ones behind my cardstock layers, which you might be able to see a little better below (above the T and diagonally up to the left from my watermark):

I also decided to make a stripped back version, for those who don't like the jazzing-up:


Like what you see? Let me know if you'd like to receive a catalogue, when they become available I can pop them in the mail for you to drool over. If you book a workshop you could even earn some of the products for free!

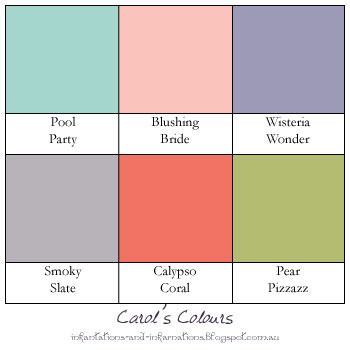
Colours used:

Built for Free Using: My Stampin Blog

Monday, October 19, 2015

Cupcake At The End Of The Rainbow

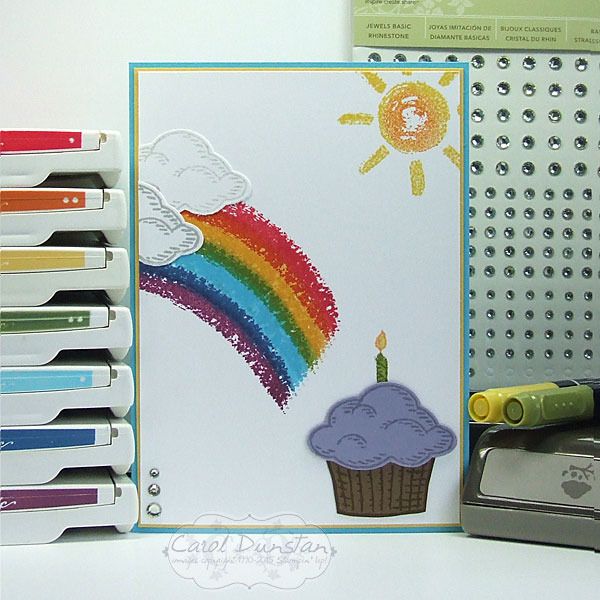
It's well past time I cracked open my Over The Rainbow set, and once I got this idea I just had to make it...
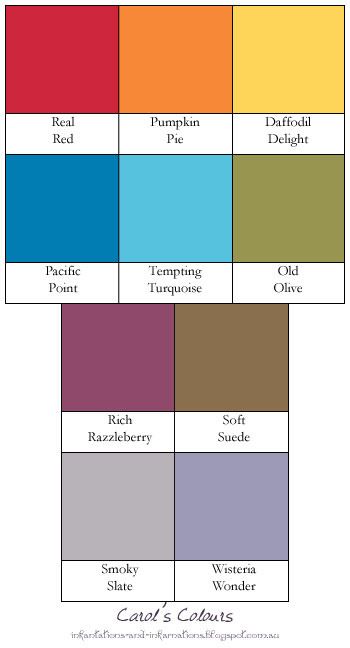
A cupcake is a far tastier treat to find at the end of a rainbow! Most of this card is pretty straight forward, but I got a little creative to make the rainbow. I inked up the rainbow "stripe" stamp from Over The Rainbow in one colour, then wiped a lot of the colour off with a tissue before sponging on the next colour. When I stamped the subsequent "stripes" I overlapped them. So for the first stripe I inked in Real Red, wiped some off the lower edge and sponged on Pumpkin Pie in it's place. I then cleaned the stamp, inked up in Daffodil Delight and wiped off some ink from the upper edge and sponged on Pumpkin Pie in it's place... and so on to finish the seven colours of the rainbow. For the sun I sponged a little Pumpkin Pie in the center after inkling it up with Daffodil Delight ink.

Todays loooong list of colours:

Built for Free Using: My Stampin Blog

Monday, October 05, 2015

Inklings Cyberstamp

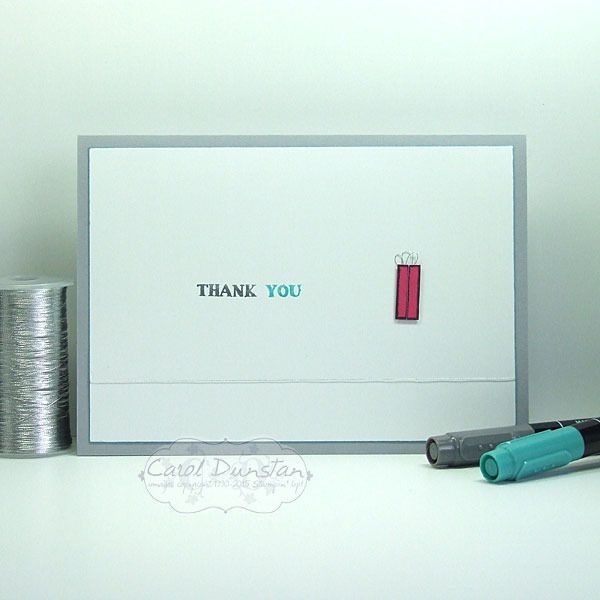
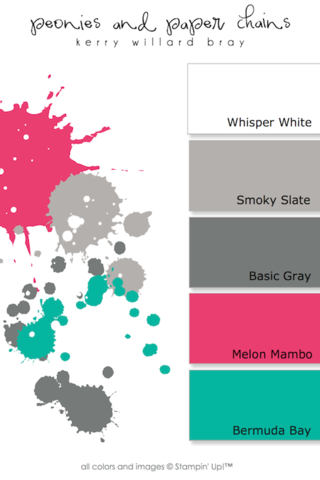
It's been some time since the Inklings team had a cyberstamp, but we had our first one in a while on Friday night. I didn't get a whole lot done as I just wasn't in the right headspace, but I did make one card that combined two challenges. It's become a common thing to make a Christmas card using non-Christmas stamps, but Jayne flipped that on it's head and asked us to make a non-Christmas card using Christmas stamps. I combined that with the second challenge of the night, which was a colour combination from Kerry Willard Bray.
I didn't see a lot of options among the Christmas sets I have, and maybe not the most imaginative of cards, but sometimes super simple is what you need.

Colours were:

Built for Free Using: My Stampin Blog

Saturday, August 29, 2015

Sponged Scallops

I have't quite finished playing with the Striped Scallop die, and have used it in a more expected way for this card (another Father's Day card, but works just as well for a birthday card if you wanted).
Well... a little more expected than using it to embossing the design into cardstock. I did use it to diecut this time, but have used the little cut out pieces to create my background this time. I cut the die out three times from Shimmery White cardstock to give myself plenty of scallops to play with. I then applied some temporary adhesive to my grid paper, laid down the scallop "frame" and placed the scallops back into it and getting them to stick. I then lifted the "frame" up and sponged the scallops. I thought I had taken a photo of the grid paper once I was finished as the effect was equally cool, but alas there was no such photo when I connected my camera to my computer :( After my scallops were all sponged I laid the "frame" onto the cardstock and stuck all the little scallops down before removing the frame and leaving the scallops all perfectly spaced. I was so happy with how this came out! Here's a close up of the scallops so you can see the shimmer better.
And here are the colours I used:

Built for Free Using: My Stampin Blog

Monday, July 27, 2015

Festival of Triangles

Sorry not a lot of creations to look at lately, been busy again! I started this card last month before the school holidays... and only finished it last week. Then it took me a few more days to take a proper photo of it! It was inspired by my last card, the Petite Pennants birthday card, but using all current products.
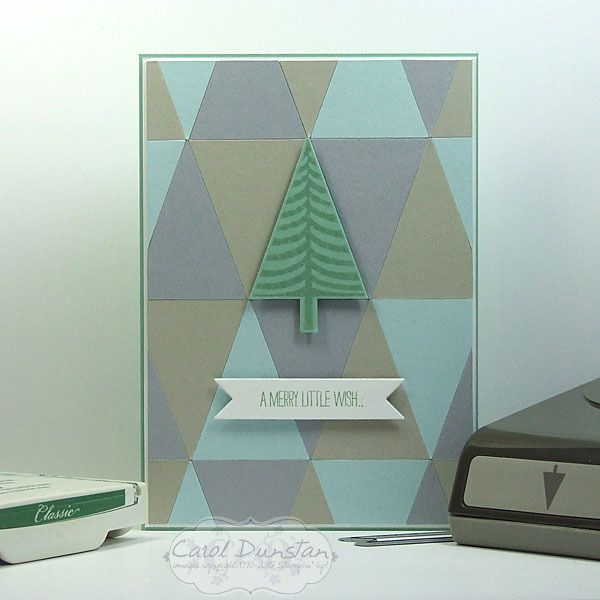
The background was created using the Tree punch. There were two ways to go about this: punch the whole tree out and trim the trunk off afterwards, or line the edge of my cardstock up with the bottom of the main tree section so there was no cardstock in the trunk to be punched. I opted for the later as it made it a little easier for using up cardstock scraps and fitting more trees into the limited space. Normally when making a background like this I would line one edge of the piece up with a straight edge of a base layer. This time though I wanted the stamped tree to line up with a triangle underneath it, and I could tell doing that my normal method would result in the tree being in an odd position. So instead I decided where I wanted the tree to go, lined up a ruler along the bottom of the main tree section, and then started placing the triangles up against this. It did mean I was having to trim off bits of triangle hanging off all four edges instead of three like I normally would have, but the overall result is far more satisfying so it's a small price to pay.

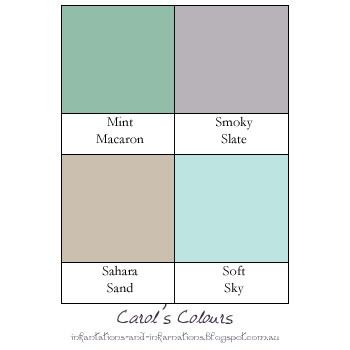
Here are the colours I used:

Built for Free Using: My Stampin Blog

Thursday, July 02, 2015

TBT - Petite Pennants

My desk is generally tidy - I've got no space to create otherwise - but I was doing some more tidying last week and camea cross a background piece I had made quite some time back and decided it was time to actually make it into a card.

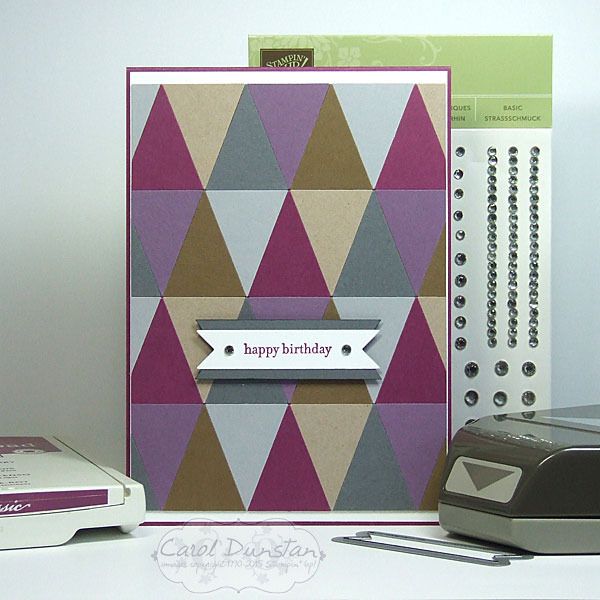
I used the straight edge pennant from the Petite Pennants punch to make a bunch of triangles and then arranged them into this background. With the background already made, this card was pretty quick to put together. Though I remember the longest part of making the background was just deciding where I wanted each colour... the actual sticking them down went together much faster! I do remember at the time I deliberately avoided using the triangle punch for this effect as they would be smaller and take longer to put together, but in true Carol style that idea is grawing at me from the back of my head so I might end up giving it a go one day. Both the pennant and triangle punches are now retired, but you can pick up the triangle punch from the Clearance Rack while stocks last.

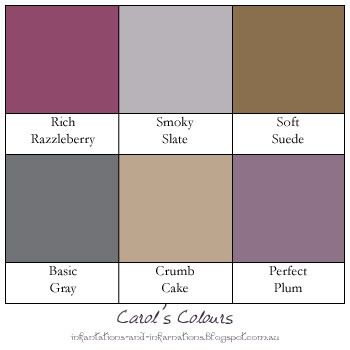
Some what amazingly, all the colours I used are still current!

Built for Free Using: My Stampin Blog

Thursday, June 11, 2015

Mojo Monday 401

It's been a very long time since I played along with a sketch challenge, this week I finally got back into that swing of things with the Mojo Monday sketch.

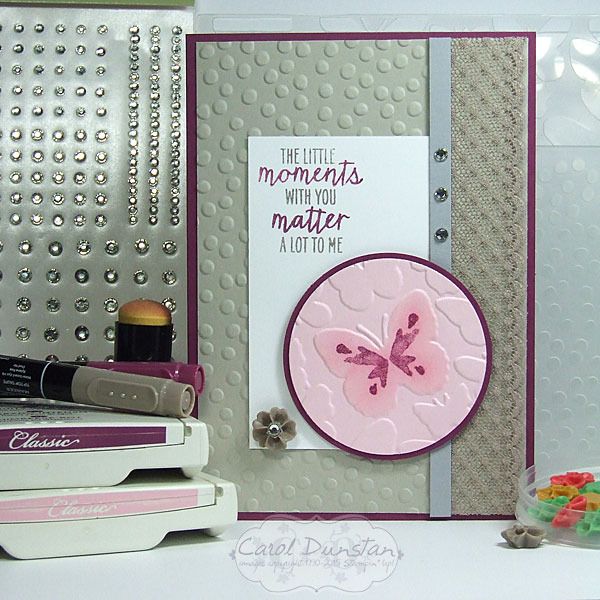
When my order from the new catalogue arrived last week I immediately noticed that one of the stamps from the Watercolor Wings could fit on some of the butterflies of the Fluttering embossing folder. I thought this sketch would suit highlighting that, so the rest of the card fell into place around that focal point. To really emphasise the butterfly I sponged some Pink Pirouette ink over the raised butterfly.

Here are the colours I played with for this card:

Built for Free Using: My Stampin Blog