Showing posts with label Basic Gray. Show all posts

Thursday, November 12, 2015

Pow! Bam! Batman!

Tomorrow I am heading off to Melbourne for an OnStage Local event put on by Stampin' Up! At their events Stampin' Up! collect cards for Ronald McDonald House Charities, and this is the card I will be donating:
The Batman symbol was created by first cutting a piece of Daffodil Delight and Basic Black using oval dies. I then used punches - some I traced the shape and some I actually used to punch out some of the black - and a little bit of snipping with scissors to finish it off. But what actually got me started with the idea of making a Batman card was the bat washi tape from the Happy Haunting washi tape pack. Looking at the image in the catalogue I thought it looked like the top edge should be able to line up with the bottom so you could do rows of it and creat a wider strip - or you could do a whole card front if you wanted! If you look really, really closely you can see the edges of the washi tape, but I am very pleased with how my hunch turned out.

The colours used are:

Built for Free Using: My Stampin Blog

Saturday, October 31, 2015

Boo! Howl-o-ween Treat

The other item I made this week were some bags for my kids for Halloween. They are kind of a trick AND treat bag with both chocolates and plastic bats and spiders inside, hehehehe.
It was hard to get a good, full length shot of this as it was made from a full 12x12 sheet of patterned paper. The bag itself was made using the giftbag punch board and following the score lines for the large bag. While the paper was obviously larger than the board, and thus score lines didn't go right to the edge, you can turn it around and line things up to finish each score line, use your paper trimmer or the stampin' score to finish off the score lines, or just not worry about it and carefully fold along the bits that are scored then continue the fold to the edge (just make sure things are lined up at the edge nice and square). Being owl fans I had to use the fab owl image from the Howl-o-ween Treat set for their bags. The sentiment is literally hanging by a thread, being attached only in the middle behind the owl layers so it will swing around on it's silver thread.

Here's a close up

And the colours used were...

Built for Free Using: My Stampin Blog

Friday, October 30, 2015

Boo! Among The Branches

Haven't had a lot of time for stamping lately, but thankfully this week I had a little more time on my hands - just in time for Halloween!

This card is actually a birthday card, for a Halloween birthday sleep-over which I am sure will be a scream!  I was inspired by this fabulous card by Michelle Zindorf. Though my brayering wasn't as smooth as normal (I didn't want the Lost Lagoon bit to get so dark it started looking like Island Indigo so the cardstock probably wasn't as damp as it should have been for a more smooth gradient of colour where the Night Of Navy overlaps) the effect works for a spooky card. After brayering the background, and running the cardstock through the embossing folder I brayered over the raised tree trunks with Basic Gray ink. I'd read you needed a very light touch to not get ink inbetween the trunks... and knowing I was unlikely to succeed with that I took a punt that some strategically placed washi tape would help prevent such mistakes. Which it did... but need to be very careful pulling that off at the end! The eyes were hand cut after stamping the "spooky" image from Among The Branches set on Tangerine Tango cardstock with Basic Black ink. I hadn't originally planned on using a sentiment, but after doing everything else to the card felt it needed something more. It was only after I stuck the "Boo!" with the oval onto the card that I thought the card had a very Scooby Doo feel to it. What do you think?

These were the colours I used (with a touch of Basic Black as well):

Built for Free Using: My Stampin Blog

Monday, October 26, 2015

Lighthearted Birthday

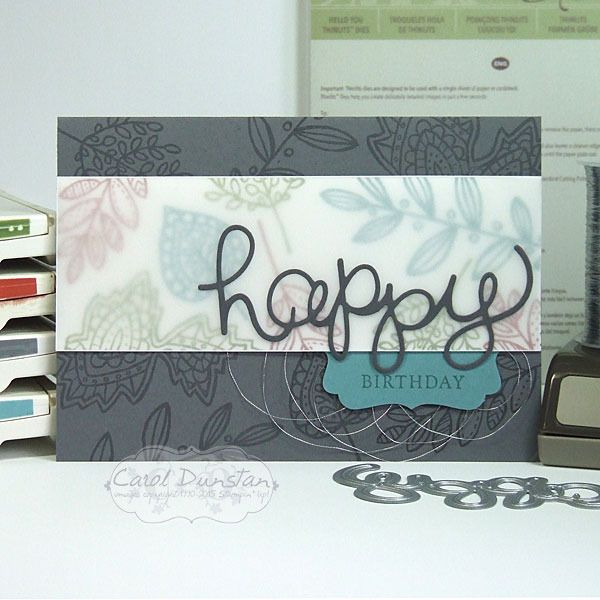
While I think there are a lot of fantastic sets in the Stampin' Up! Holiday catalogue, one of the more popular ones seems to be the Lighthearted Leaves set. I'm not immune to it's charms either!
For this card I didn't colour in the leaves, or cut them out with the coordinating Leaflets Framelits dies. I chose to just randomly stamp the various leaves in in Basic Gray for the card base, and for the feature panel I used a mix of Old Olive, Lost Lagoon... and Cajun Craze. I love playing with all colours, but Cajun Craze is probably my least favourite Stampin' Up! colour. I've tried using it before but really wasn't happy with the end result. This time I was much happier, and that was even before I put vellum over it! Sometimes what makes or breaks a colour combination is how you balance the colours: how much you use of the colours and where you put them. Using a lot of white is one trick to try if you aren't sure of a combination, but for this card I was determined to give Cajun Craze a fair showing. Unfortunately the background was a little busy and made reading the "happy" difficult, so I softed things with the layer of vellum. I didn't have a current set with "birthday" in a font or size that really worked with everything else, so I went back to the trusty Basic Phrases for that one.

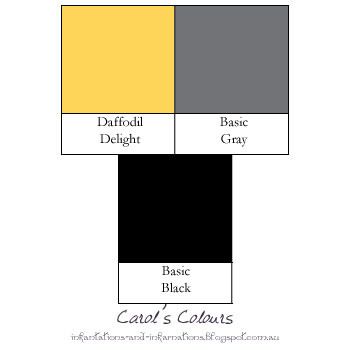
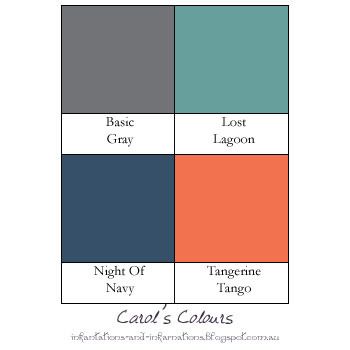
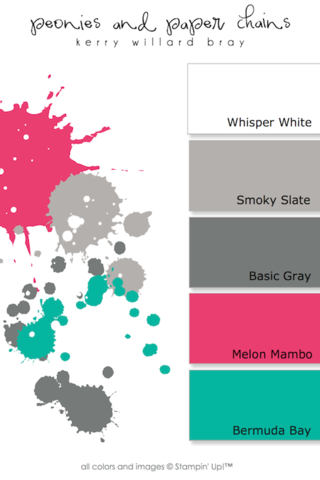
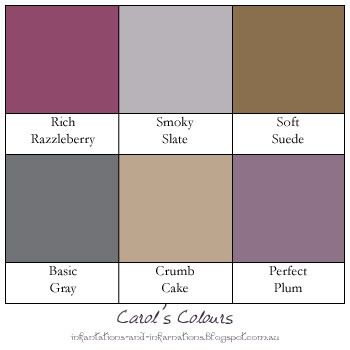
Here's the graphic for the colour combo:

Built for Free Using: My Stampin Blog

Monday, October 05, 2015

Inklings Cyberstamp

It's been some time since the Inklings team had a cyberstamp, but we had our first one in a while on Friday night. I didn't get a whole lot done as I just wasn't in the right headspace, but I did make one card that combined two challenges. It's become a common thing to make a Christmas card using non-Christmas stamps, but Jayne flipped that on it's head and asked us to make a non-Christmas card using Christmas stamps. I combined that with the second challenge of the night, which was a colour combination from Kerry Willard Bray.
I didn't see a lot of options among the Christmas sets I have, and maybe not the most imaginative of cards, but sometimes super simple is what you need.

Colours were:

Built for Free Using: My Stampin Blog

Thursday, July 02, 2015

TBT - Petite Pennants

My desk is generally tidy - I've got no space to create otherwise - but I was doing some more tidying last week and camea cross a background piece I had made quite some time back and decided it was time to actually make it into a card.

I used the straight edge pennant from the Petite Pennants punch to make a bunch of triangles and then arranged them into this background. With the background already made, this card was pretty quick to put together. Though I remember the longest part of making the background was just deciding where I wanted each colour... the actual sticking them down went together much faster! I do remember at the time I deliberately avoided using the triangle punch for this effect as they would be smaller and take longer to put together, but in true Carol style that idea is grawing at me from the back of my head so I might end up giving it a go one day. Both the pennant and triangle punches are now retired, but you can pick up the triangle punch from the Clearance Rack while stocks last.

Some what amazingly, all the colours I used are still current!

Built for Free Using: My Stampin Blog