Showing posts with label Wild Wasabi. Show all posts

Monday, November 30, 2015

Delicate Pastel Ornaments

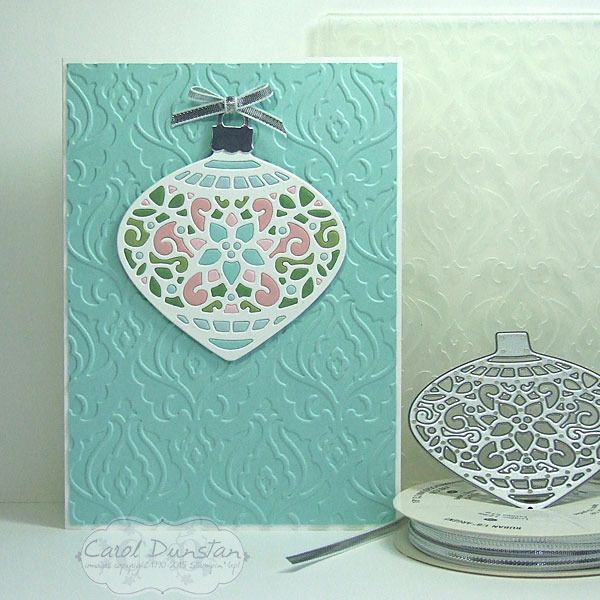
Last week I showed you another Delicate Ornaments card. This week I will show you what I did with the other pieces from those ornaments.


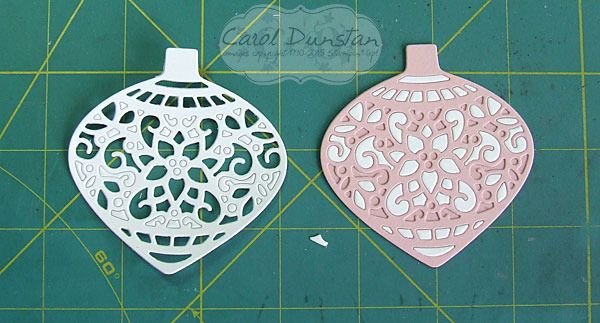
I kept the styling very similar to the matching ornament cards, but since the ornament frame was white I used a coloured background instead. I think I like these ones slightly more than their counterparts, I think it's the multiple colours in the ornaments themselves, but think both types come out really pretty. However, these ones were a bigger headache to make... if you think about it, with the other ones I was popping the white pieces straight out and into the coloured frame. So all those pieces from the coloured frames had to have already come out right? And I wasn't thinking terribly clearly when I did that. This is what I was working with for these cards:
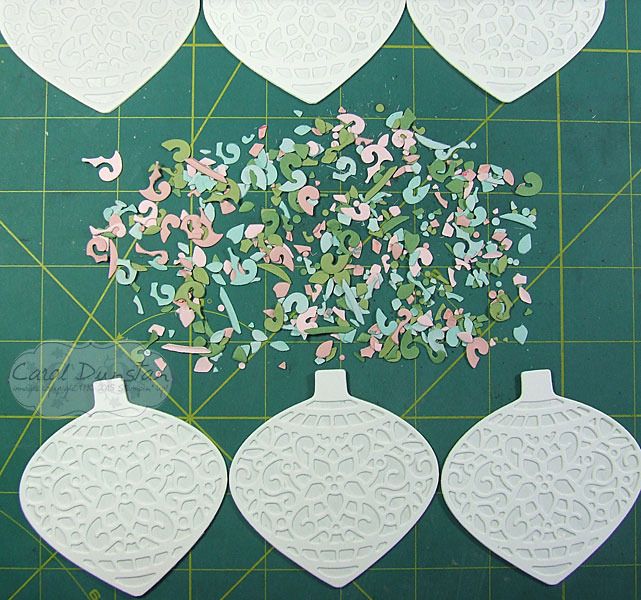

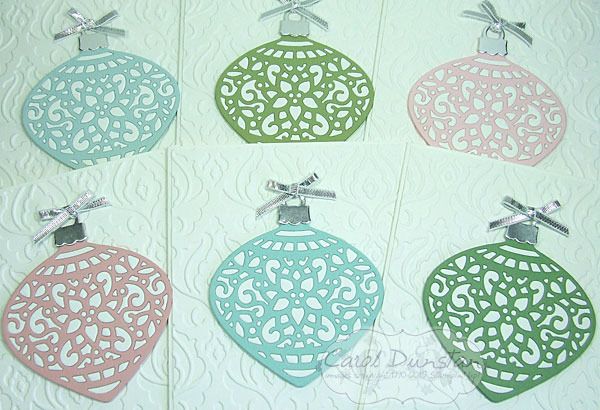
What a mess! At least after a little while I stopped looking for specific pieces and just randomly picked up pieces to see if their shape could quickly tell me where they went. Eventually I caved to the idea that I should have done when popping them out of their frames: keep the colours separated. Oh well, I got there in the end! Here are all 6 cards finished:
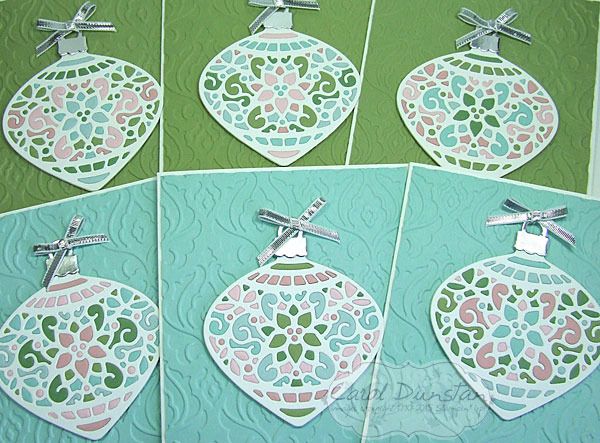

I did "stuff up" a little when putting these together, as I had planned to put those ornaments with a lot of blue on the green background and vice versa, but I shuffled things around a bit too much and didn't realise till I had already stuck most of them down. Another "Oh well"! They still look nice, just not exactly what I had planned.

Colours and supplies are the same as the Pastel Delicate Ornaments.

Monday, November 23, 2015

Pastel Delicate Ornaments

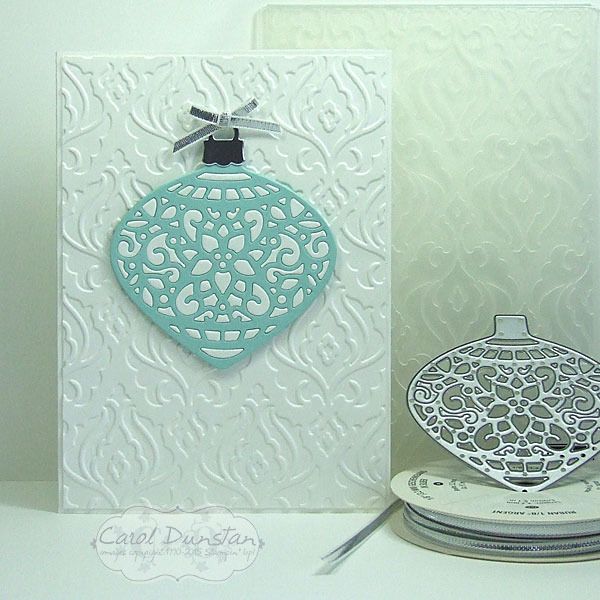
Today I have another Delicate Ornaments card for you, another made by inlaying the little bits from one or more colours into the frame of another.


For this card I kept the overall design simple, and even just the two colours for the ornament itself. By now I was learning...
..take the bits from one and put them straight into another! You might already sense what is coming, but that will be a post for another day. Instead of punching a circle to back these ornaments, I used the matching bold ornament framelit die. It is ever so slightly larger, but this isn't a major issue - especially if you cut it in the same colour as the frame you used. Other than that, the rest of the construction was the same as the Stained Glass-esque Ornaments. As you can probably already tell, I cut some ornaments in white and some in a variety of colours. You might be wondering why I would bother doing this technique if I was just using one colour of the little bits. Basically, I hate to waste anything, but also it does give a different look to just backing the ornament frame with another colour. Here is a shot of this group of cards all finished:
While I wanted these cards over all plain I did want a little interest on my background, but didn't feel any of the current embossing folders had the look I wanted so for that I turned to the retired Beautifully Baroque folder.

Colours used on these cards:

Built for Free Using: My Stampin Blog