Showing posts with label Whisper White. Show all posts

Monday, November 30, 2015

Delicate Pastel Ornaments

Last week I showed you another Delicate Ornaments card. This week I will show you what I did with the other pieces from those ornaments.


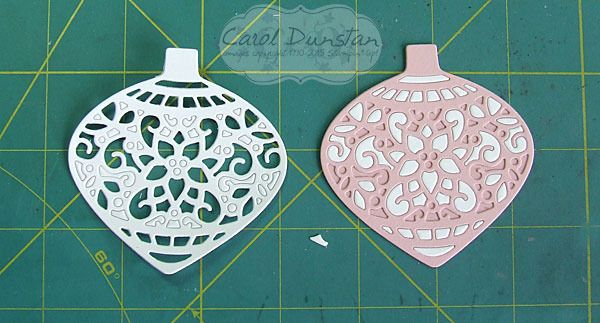
I kept the styling very similar to the matching ornament cards, but since the ornament frame was white I used a coloured background instead. I think I like these ones slightly more than their counterparts, I think it's the multiple colours in the ornaments themselves, but think both types come out really pretty. However, these ones were a bigger headache to make... if you think about it, with the other ones I was popping the white pieces straight out and into the coloured frame. So all those pieces from the coloured frames had to have already come out right? And I wasn't thinking terribly clearly when I did that. This is what I was working with for these cards:
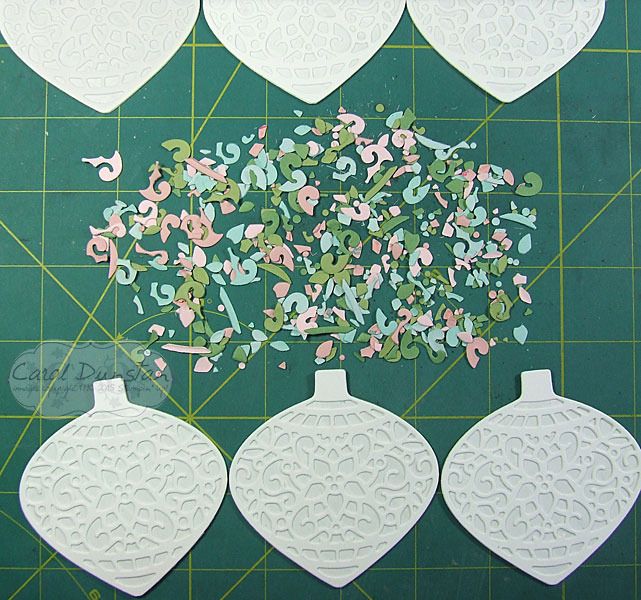

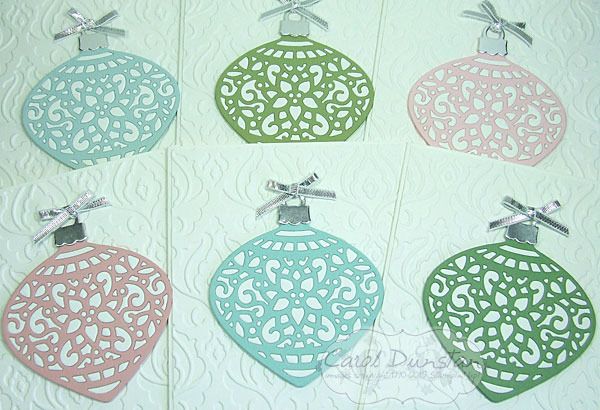
What a mess! At least after a little while I stopped looking for specific pieces and just randomly picked up pieces to see if their shape could quickly tell me where they went. Eventually I caved to the idea that I should have done when popping them out of their frames: keep the colours separated. Oh well, I got there in the end! Here are all 6 cards finished:
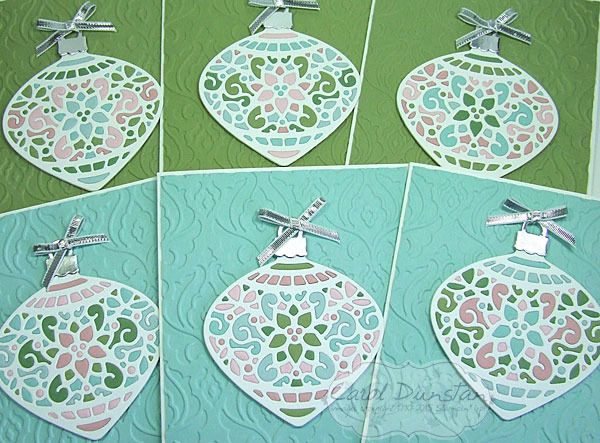

I did "stuff up" a little when putting these together, as I had planned to put those ornaments with a lot of blue on the green background and vice versa, but I shuffled things around a bit too much and didn't realise till I had already stuck most of them down. Another "Oh well"! They still look nice, just not exactly what I had planned.

Colours and supplies are the same as the Pastel Delicate Ornaments.

Thursday, November 26, 2015

Glimmering Sleigh Ride

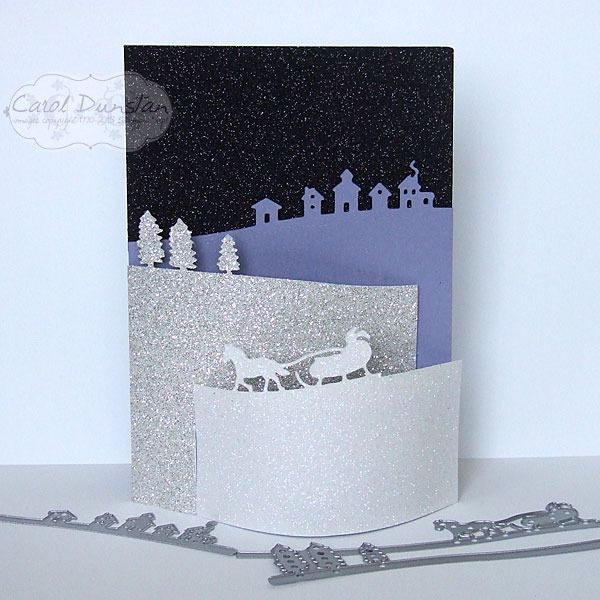
Sometimes I can be a real doufus. For weeks now I have been admiring other peoples cards using the Jingle All The Way stamp set and Sleigh Ride edgelits, and kicking myself for not ordering them. Then the other day I finally noticed the edgelits in amongst all my other framelit dies... I'd completely forgotten they were in a square envelope instead of the more regular rectangular envelope. I was still a doufus though, as I hadn't ordered them as a bundle to get the coordinating stamp set! Annoying as that was, I was determined to come up with a card that rendered this mistake a moot point. Glimmer paper to the rescue!
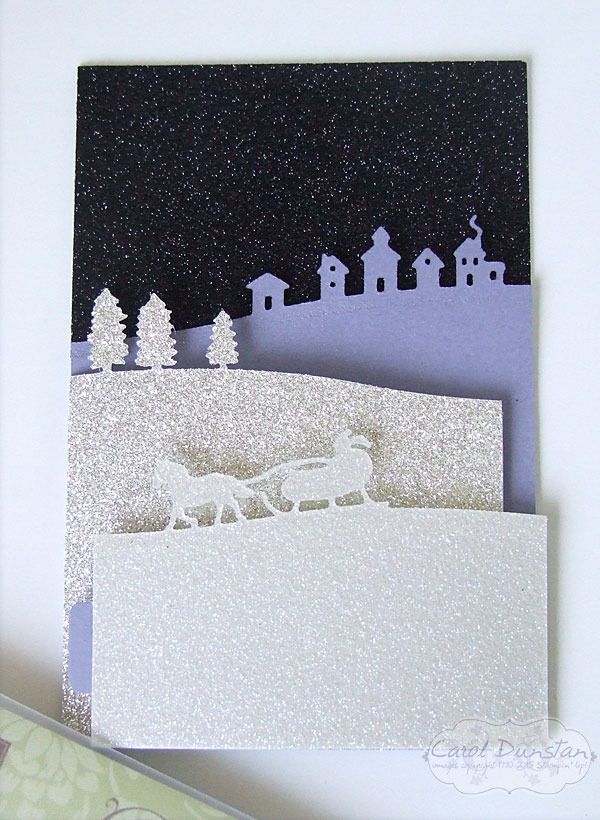
This style of card is called a bendy card, which I hadn't seen until the Holiday catalogue came out and it seemed everyone was using the Sleigh Ride edgelits for it - they are wonderfully suited to it! The tutorial I looked at was written by Beccy Muir, though I changed it a little so I could use an A4 sheet of cardstock. I'd been wanting to use the black glimmer paper for a night sky ever since I ordered it, and finally I had the perfect project for it. From there I thought it obvious to use the Dazzling Diamonds glimmer paper for snow, and then the silver glimmer paper for distant snow... and well, I needed purple on the card too but alas there is no purple glimmer paper. So the Wisteria Wonder layer didn't feel left out I gave it a spritz with the retired Vanilla Shimmer Smooch Spritz.

This is what the card looks like laying flat.

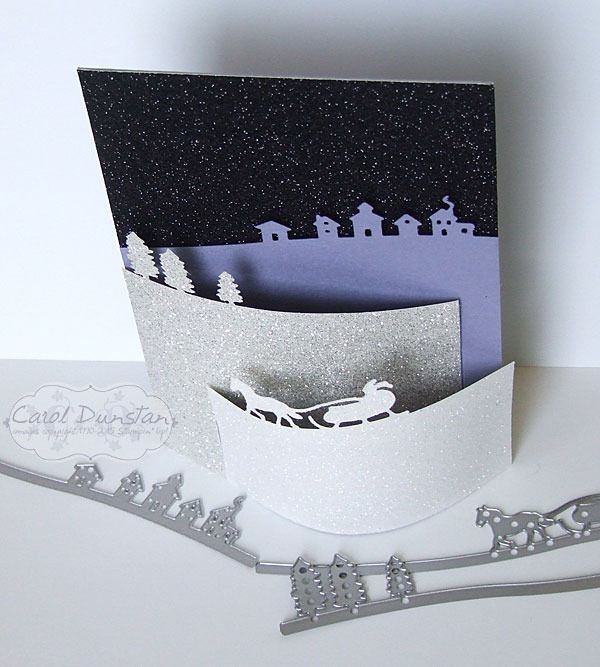
And here it is opened. You probably still can't really see the shimmer on the Wisteria layer, but it looks a little speckled. I haven't sorted out a sentiment for the inside yet, I tend to do that to most if not all my Christmas cards in bulk just before I write on them. Once the tabs are placed into the slits the card stands up on it's own.

Both the black glimmer paper and the Sleigh Ride edgelits are on the Holiday catalogue retiring list, so it you are thinking of buying them you'll need to get in quick as they are only available while stocks last!

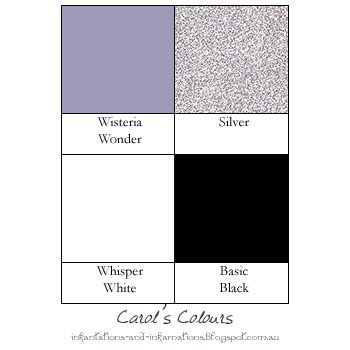
Today's colours:

Built for Free Using: My Stampin Blog

Monday, November 23, 2015

Pastel Delicate Ornaments

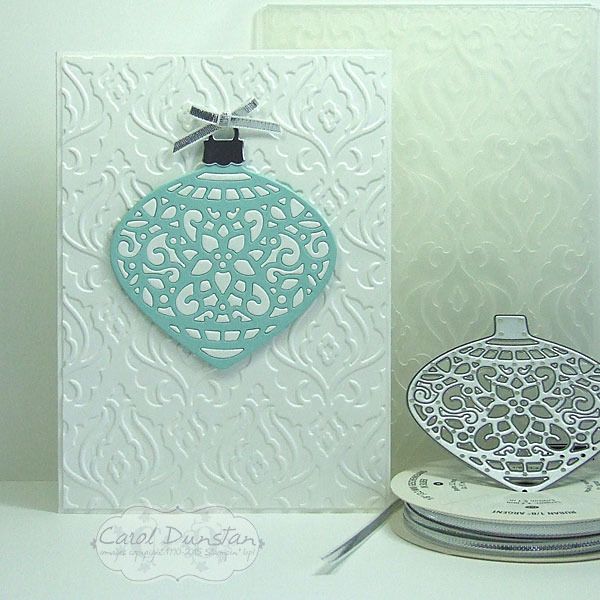
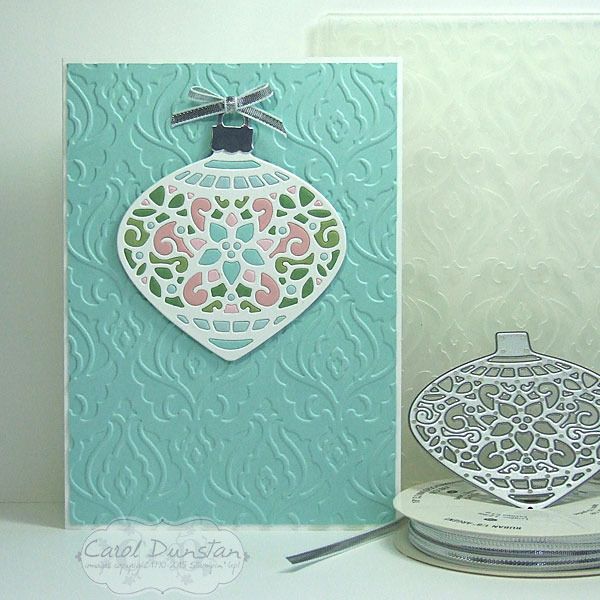
Today I have another Delicate Ornaments card for you, another made by inlaying the little bits from one or more colours into the frame of another.


For this card I kept the overall design simple, and even just the two colours for the ornament itself. By now I was learning...
..take the bits from one and put them straight into another! You might already sense what is coming, but that will be a post for another day. Instead of punching a circle to back these ornaments, I used the matching bold ornament framelit die. It is ever so slightly larger, but this isn't a major issue - especially if you cut it in the same colour as the frame you used. Other than that, the rest of the construction was the same as the Stained Glass-esque Ornaments. As you can probably already tell, I cut some ornaments in white and some in a variety of colours. You might be wondering why I would bother doing this technique if I was just using one colour of the little bits. Basically, I hate to waste anything, but also it does give a different look to just backing the ornament frame with another colour. Here is a shot of this group of cards all finished:
While I wanted these cards over all plain I did want a little interest on my background, but didn't feel any of the current embossing folders had the look I wanted so for that I turned to the retired Beautifully Baroque folder.

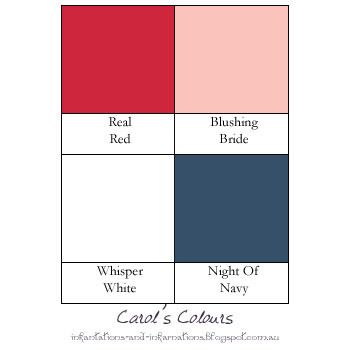
Colours used on these cards:

Built for Free Using: My Stampin Blog

Friday, November 20, 2015

Minimalist Rudolph

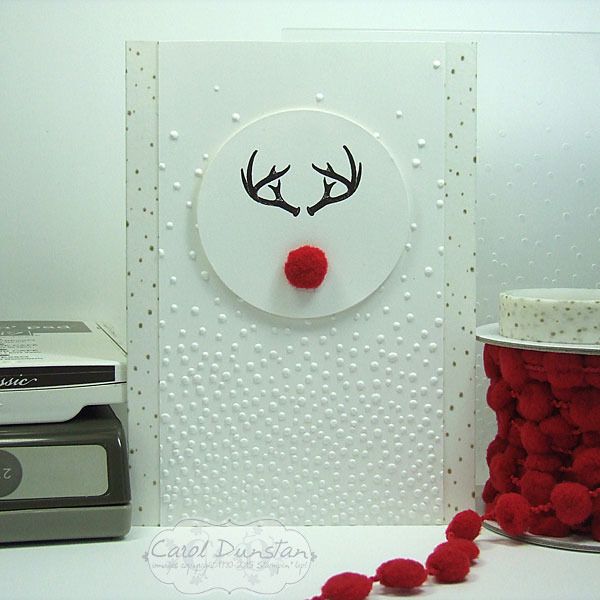
One very popular set that is on the Holiday catalogue retiring list is Wonderland, which was the basis of today's card.


When I first saw this set my eyes quickly caught onto the antler image and I immediately thought of Hannibal. Fans of the show will know what I mean! I'm sure at some point in my future I will make a Hannibal related card with this stamp, but that was not my inspiration today. I'd seen a few cards like this on Pinterest, firstly Billie Moan and then Dani Dziama (who had actually inspired Billie). Then this week I saw a kids shirt with something similar while out shopping. Like all of these, I wanted to keep my card mostly white, but also wanted subtle interest in the background and a touch of gold. The Winter Wonderland washi tape with the flecks of gold was perfect to edge the sides of the card with, and worked nicely with the Softly Falling embossing folder. I even edged the inside of the card with the washi tape to dress it up a little as well. With a fuzzy nose cut from the Real Red pompom trim, don't you just want to give his nose a little rub?


Built for Free Using: My Stampin Blog

Friday, June 19, 2015

Wonder Woman Is Made Of Win (And Butterflies)

Have been busy lately and a few of the things I have been working on aren't completely finished and ready for sharing just yet, but yesterday I finally made a point of attempting something I've been wanting to do for some time...


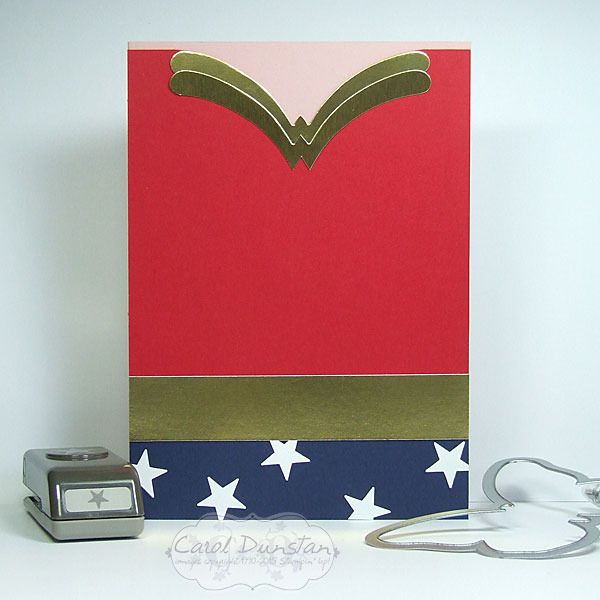
With all the other geek and super hero cards I have made, it was frustrating me that I hadn't come up with an easy one for a female character. SupaNova is starting in Sydney today (and I'm going tomorrow, yay!) so I thought this would be a good opportunity to give a female super hero card a crack. I had thought the Triple Banner punch would be good for doing the W's on Wonder Woman's outfit, so I had a go... and the angle wasn't any where near right (let alone needing to fold the cardstock, and I just couldn't do that to the gold!). I then moved on to plan B, and plan C... and a myriad of options which saw me considering absolutely everything. And that is the only way it happened - if I had stuck with geometric shapes I wouldn't have a card to share with you today. Which is perhaps the thing I love most about punch art, using the shapes in unexpected ways! Once I started trying things out with the Bold Butterfly die it didn't take long to figure out how to trim it down to get a good look and the rest of the card essentially made itself.

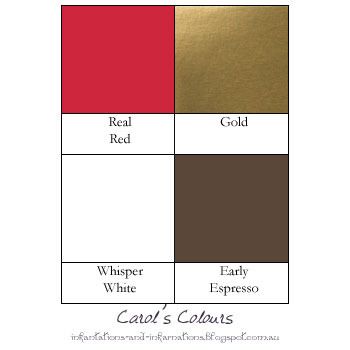
Here are the colours I used, with the addition of gold (metallics don't look metallic in these simple colour swatch graphics... I might have to sort something out for that too!)

Built for Free Using: My Stampin Blog