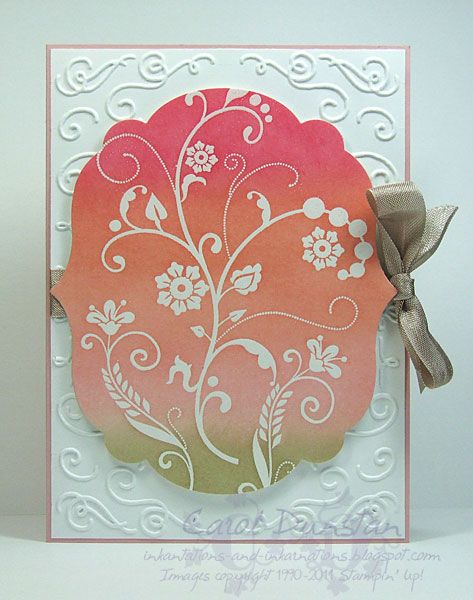
The Flowering Flourishes stamp set has been a long favourite of mine. Swirly bits, flowers, even the shape of individual leaves... I love every bit of it. The way OnStage events run is that we received the new catalogue at the event and the retiring list was announced a few days later. When flicking through the new catalogue you will particuarly notice many new items, and it might not be until your third or fourth look through that you will notice things that aren't there. I noticed a few new stamp sets with a vaguely similar style when I flicked through the catalogue the first time, but it wasn't till later when I was having a slower more thorough look that I realised that Flowering Flourishes was absent. Even though there are some new leafy/flowery/swirly sets in the new catalogue I don't think I will ever let go of Flowering Flourishes.
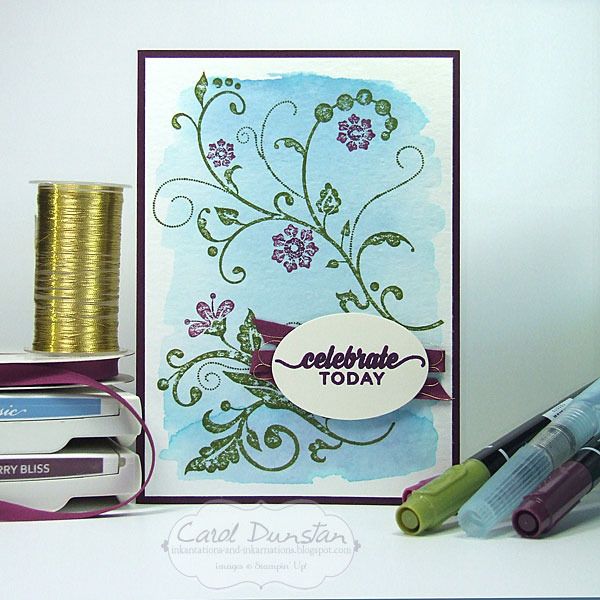
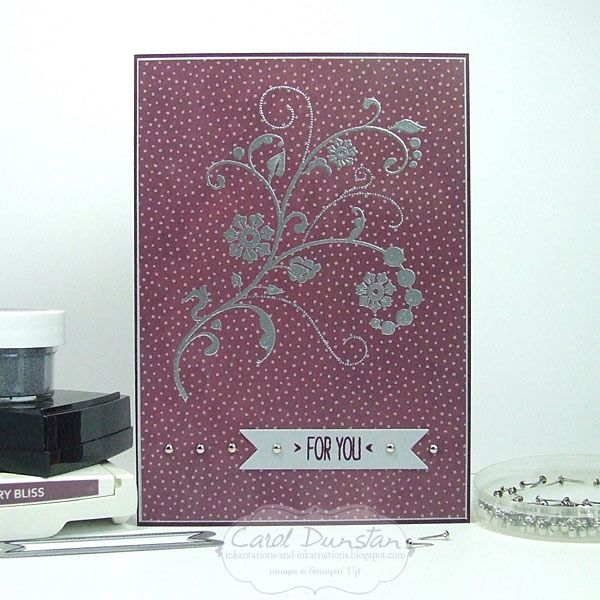
For todays card I was still in the mood for something with a simple look. This is one of those cards that while simple in appearance, is not a quick one. I started with a Marina Mist watercolour wash on watercolour paper for my background. Before I could stamp on the watercolour paper the wash background needed to dry. You can speed this up with a heat gun, but I prefer the natural approach and let it air dry.
While it can take some time for a large washbackground to dry, a few things essentially cancelled this out. The first was that I made two cards at the same time. So while the background for this card was starting to dry, I was creating another. Also, doing the wash background was the first step I did in making the card, so I had other elements to work on while the backgrounds continued to dry. There was the card base to cut and fold, sentiment to stamp and punch out, ribbon and gold thread to measure (well, guess-timate) and cut, and stamps to prepare.
The floral background is made up of two stamps with the one at the top of the card a good deal larger than the other. Even if I have used a stamp before I like to give it a test stamp on scrap/grid paper before stamping it on my cardstock to check for any issues and get some ink on the rubber. The theory with the later is that by already having some ink on the rubber, when I go to stamp my image for real more of the ink will transfer to the cardstock. I've no idea if anyone has done a scientific study on this, but that's the notion I have had in my head for years. With the main image being so large, it takes a little while to ink up with markers, so after doing a test stamp and reinking the image and all those other things I did after making the backgrounds, the first background was dry and ready to stamp on - no time wasted!
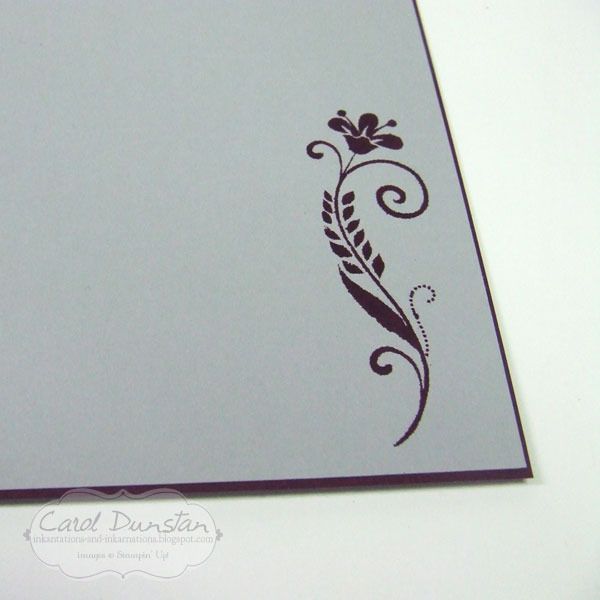
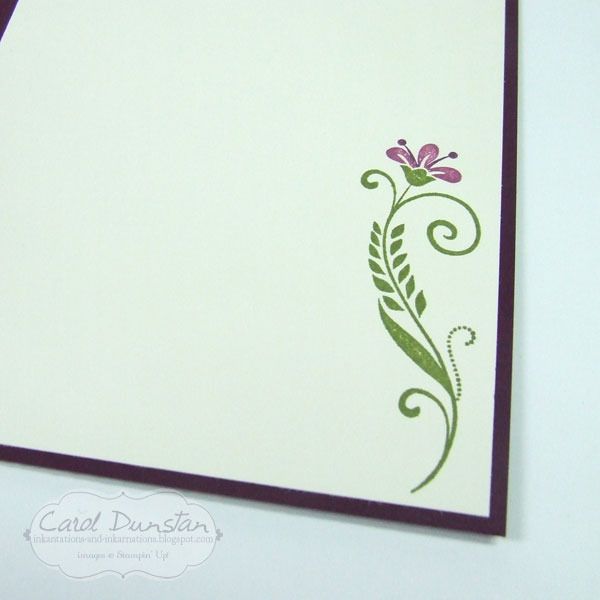
There are three stamps in the Flowering Flourishes set, and I couldn't let the third miss out on this card... so it is stamped on the inside.
Aside from the Flowering Flourishes stamp set, other retiring products used for this card are the sentiment (which comes from the Enjoy The Little Things set), the oval punch, Blackberry Bliss cardstock and marker and the Rich Razzleberry cotton ribbon.
Flowering Flourishes clear-mount stamp set 126367, Enjoy The Little Things photopolymer stamp set 140958, Blackberry Bliss A4 cardstock 133682, Watercolour paper 122959, Very Vanilla A4 cardstock 106550, Marina Mist stamp pad 126962, Blackberry Bliss stamp pad 133642, Black Berry Bliss marker from the 2014-2016 In Colors marker pack 133654, Rich Razzleberry and Old Olive markers from the Brights collection marker pack 131259 or Many Marvelous Markers pack 131264, aquapainter 103954, Rich Razzleberry cotton ribbon 134564, gold metallic thread 138401, Large Oval punch 119855, dimensionals 104430