Showing posts with label watercolouring. Show all posts

Friday, April 22, 2016

Farewell Flowering Flourishes

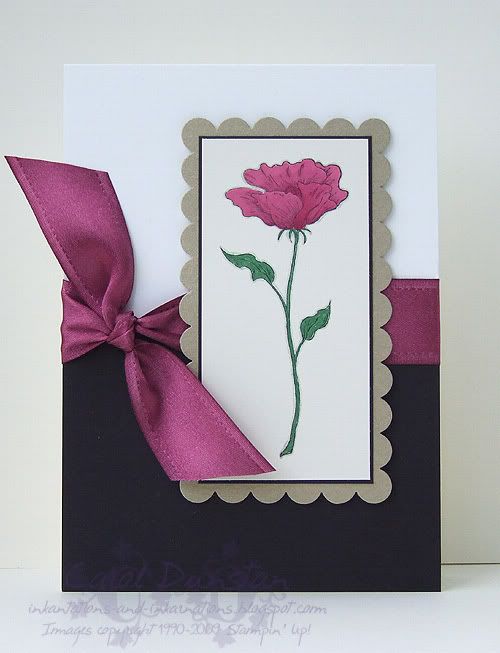
The Flowering Flourishes stamp set has been a long favourite of mine. Swirly bits, flowers, even the shape of individual leaves... I love every bit of it. The way OnStage events run is that we received the new catalogue at the event and the retiring list was announced a few days later. When flicking through the new catalogue you will particuarly notice many new items, and it might not be until your third or fourth look through that you will notice things that aren't there. I noticed a few new stamp sets with a vaguely similar style when I flicked through the catalogue the first time, but it wasn't till later when I was having a slower more thorough look that I realised that Flowering Flourishes was absent. Even though there are some new leafy/flowery/swirly sets in the new catalogue I don't think I will ever let go of Flowering Flourishes.


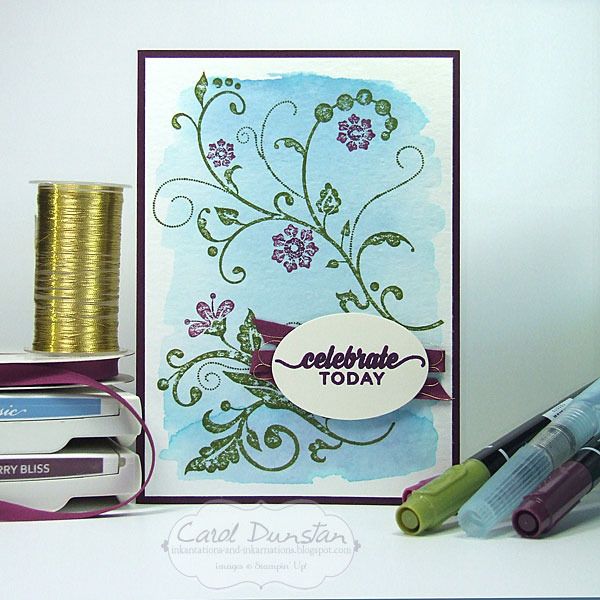
For todays card I was still in the mood for something with a simple look. This is one of those cards that while simple in appearance, is not a quick one. I started with a Marina Mist watercolour wash on watercolour paper for my background. Before I could stamp on the watercolour paper the wash background needed to dry. You can speed this up with a heat gun, but I prefer the natural approach and let it air dry.

While it can take some time for a large washbackground to dry, a few things essentially cancelled this out. The first was that I made two cards at the same time. So while the background for this card was starting to dry, I was creating another. Also, doing the wash background was the first step I did in making the card, so I had other elements to work on while the backgrounds continued to dry. There was the card base to cut and fold, sentiment to stamp and punch out, ribbon and gold thread to measure (well, guess-timate) and cut, and stamps to prepare.

The floral background is made up of two stamps with the one at the top of the card a good deal larger than the other. Even if I have used a stamp before I like to give it a test stamp on scrap/grid paper before stamping it on my cardstock to check for any issues and get some ink on the rubber. The theory with the later is that by already having some ink on the rubber, when I go to stamp my image for real more of the ink will transfer to the cardstock. I've no idea if anyone has done a scientific study on this, but that's the notion I have had in my head for years. With the main image being so large, it takes a little while to ink up with markers, so after doing a test stamp and reinking the image and all those other things I did after making the backgrounds, the first background was dry and ready to stamp on - no time wasted!
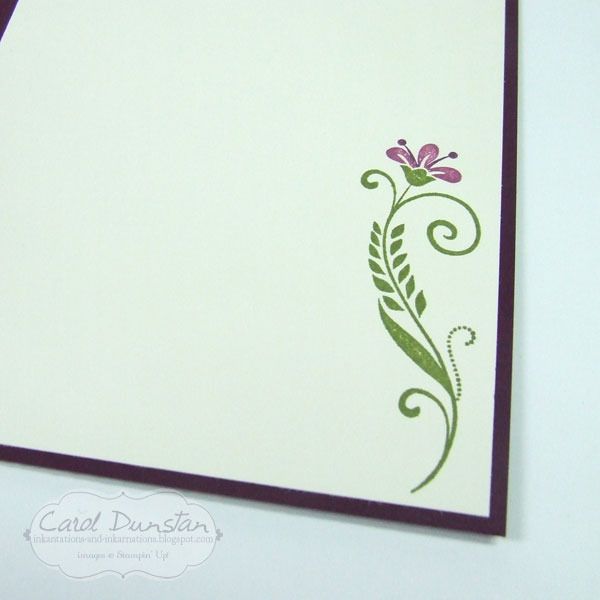

There are three stamps in the  Flowering Flourishes set, and I couldn't let the third miss out on this card... so it is stamped on the inside.

Aside from the Flowering Flourishes stamp set, other retiring products used for this card are the sentiment (which comes from the Enjoy The Little Things set), the oval punch, Blackberry Bliss cardstock and marker and the Rich Razzleberry cotton ribbon.


Flowering Flourishes clear-mount stamp set 126367, Enjoy The Little Things photopolymer stamp set 140958, Blackberry Bliss A4 cardstock 133682, Watercolour paper 122959, Very Vanilla A4 cardstock 106550, Marina Mist stamp pad 126962, Blackberry Bliss stamp pad 133642, Black Berry Bliss marker from the 2014-2016 In Colors marker pack 133654, Rich Razzleberry and Old Olive markers from the Brights collection marker pack 131259 or Many Marvelous Markers pack 131264, aquapainter 103954, Rich Razzleberry cotton ribbon 134564, gold metallic thread 138401, Large Oval punch 119855, dimensionals 104430

Sunday, January 24, 2016

Honey You're So Sweet

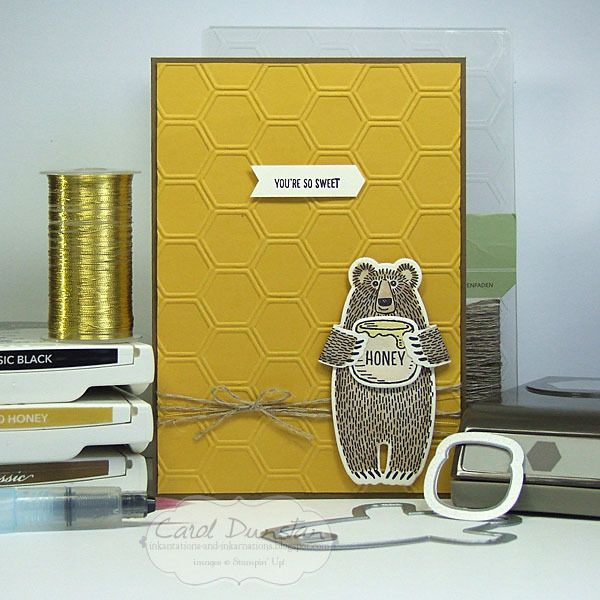
Hello again! I've been a bit quiet again of late, but I'm sure many of you can related... kids off on school holidays, others on holiday from work. Sudden plan changes have really messed with my mojo these holidays, but I've finally managed to finish a card, once again using the Bear Hugs stamp set.

One of the very first ideas I got for this set was putting it with Hello Honey and a honeycomb pattern - there is the embossing folder, pie and punch for a variety of options. What I ended up going for was the embossing folder, I felt the die might have made things a bit too visually busy when I wanted the focus to be on the bear. One of the nifty things the Bear Hugs stamp set and matching dies allow you to do is to stamp on the back of the cardstock so when you fold the arms around you can still see the design. I love that they thought to design the sramps and dies with this in mind.

I think most of this card is straight forward, but you may be wondering how I got the shape the sentiment is stamped on. Well, this is where the hexagon punch came in:

By inserting the cardstock in the back of the punch you can vary how much of the cardstock gets punched. It's a little trick I have used for years and have mentioned before but it's always worth mentioning these things every now and then to jog the memory, let alone for new people who haven't see this before.

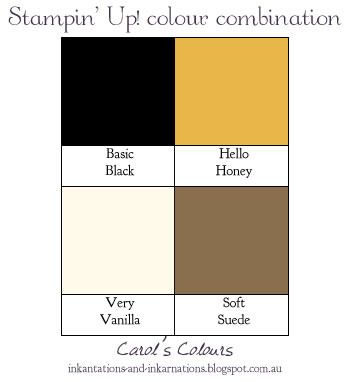
Here are the colours I used...


Bear Hugs clear-mount stamp set & framelits bundle 140823, Soft Suede A4 cardstock 119982, Hello Honey A4 cardstock 133685, Very Vanilla A4 cardstock 106550, Basic Black archival stamp pad, Soft Suede stamp pad 126978, Hello Honey stamp pad 133643, Honeycomb embossing folder 129378, Hexagon punch 130919, Aqua painter 103954, linen thread 104199, gold metallic thread 138401, dimensionals 104430

Thursday, December 10, 2015

Santa's Gifts

We are moving ever closer to the end of the year, and the end of the 2015 Holiday catalogue. Remember that many of the products in the catalogue are retiring and are only available while stocks last, so your chance to snap them up is growing smaller every day. Santa's Gifts is on that list, a very cute set that is great for watercolouring, like I did for the card I am sharing today:


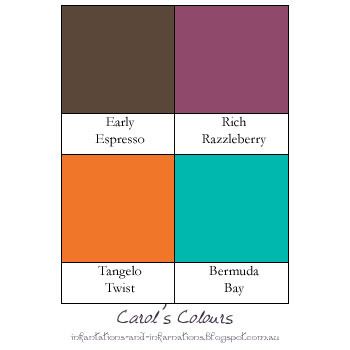
Aw, look at that adorable reindeer... how can you say no to this guy? I still have a few sheets of the old watercolour paper floating around, so I used a full piece for this. I stamped Santa and the reindeer with Basic Black archival ink, then made a little mask for Santa's hand by stamping the image on a sticky note so that when it was cut out I had some of the sticky on the back and it would stay in place while I stamped the gift. Masking is such a nifty little technique! Once I had all of these stamped on the water colour paper I did a wash of Bermuda Bay in the background. Yep, all of that is Bermuda Bay. By using a lot of water and little ink I could achieve a nice pale colour. While I had the Bermuda Bay ink out I did the reindeer's scarf, using a lot less water and a lot more ink to get a more intense colour. For Santa's face I used Blushing Bride ink, which I left out of the colour combo graphic because... well it was such a small bit and doesn't stand out that much. For Santa's suit I used Rich Razzleberry. Such a lovely colour, and true to it's name - rich! It's a nice middle ground between the traitional red for Santa, and my favourite colour of purple. Santa's boots, and belt, along with the reindeer hooves, were done with Early Espresso - lots of ink and little water in the brush for those so the colour is so dark it is nearly black. The body of the reindeer is all Early Espresso. I know I have talked in the past about how brown shades in particular are made up of a mix of colours and tend to separate into these when you watercolour with them. I deliberately made use of that this time, the side taking on a warm reddish-brown tone and the face and inner ear a tan with a tinge of pink where I pulled the colour into areas where I already had a lot of water on the cardstock so the colour became quite diluted. To finish off the watercolouring, and for some real "pop" on the card, I used Tangelo Twist on the present.


Built for Free Using: My Stampin Blog

Tuesday, June 02, 2015

Welcome Best Thoughts!

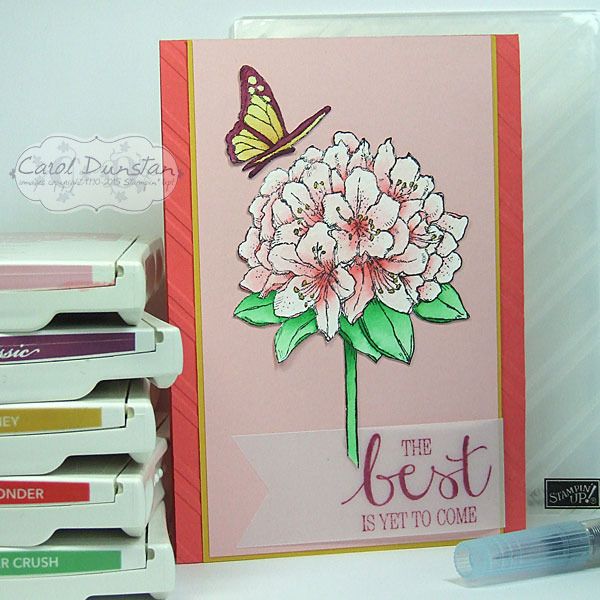
The day has come! From today you can order products from the 2015-2016 Stampin' Up! catalogue :D The set I have used today, Best Thoughts, is one you can only get from hosting a workshop or placing an order that qualify for Stampin' Rewards - or Hostess Dollars under the old system. All these changes can be a little confusing, but playing with this new product is definitely fun!

After I did my Petal Potpourri card I've really been bitten by the watercolouring bug again, so these stamps were perfect to let me have another play with it. The butterfly and flower were both stamped on watercolour paper with black StazOn, watercoloured, then cut out.

Just the two new In Colors in this card, here's the colour graphic for easy reference -

Built for Free Using: My Stampin Blog

Thursday, October 02, 2014

TBT - The Fox Says...

Time for another TBT, what do you say? ;)


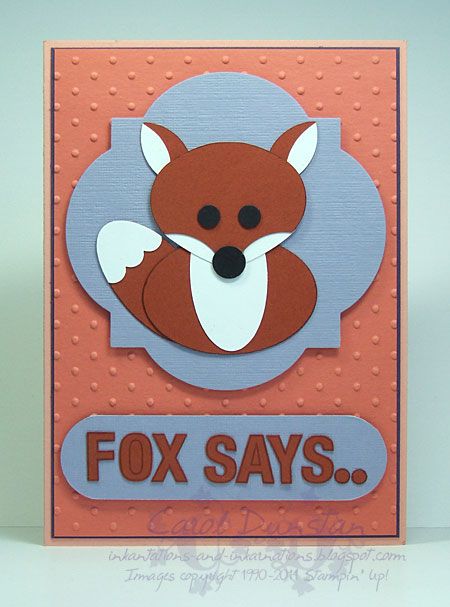
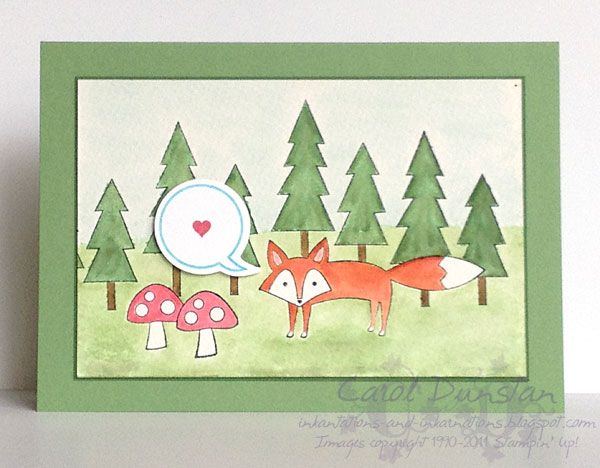
If you are wondering what is with all the foxes, it's a play on the Ylvis song The Fox. There's little retired product on the second card, which was kind of the main idea behind TBT, but it was made quite a few months ago so falls into the theme that way. Like a lot of people I was sad the Ornament punch, as used for the foxes head on the first card, was retired. Aside from being a great shape for Christmas ornaments, it is great for punch art. Pretty sure it's one item I will never part with even if it is no longer current!

Fox punch art card
All supplies by Stampin' Up!
Cardstock: Crisp Canteloup, Concord Crush, Calypso Coral, textured Wisteria Wonder, Cajun Craze, Whisper White, Basic Black
Stamp set: ABC-123 Outline Alphabet & Numbers
Ink: Cajun Craze
Accessories: Ornament punch, Extra-Large Oval punch, Large Oval punch, Scallop Oval punch, Owl Builder punch, Cupcake Builder punch, 5-Petal Flower punch, dimensionals, Perfect Polka Dots embossing folder, Window Frames Collection dies

Forest scene card
All supplies by Stampin' Up!
Cardstock: Wild Wasabi, Gumball Green, Whisper White, watercolour paper
Stamp set: Life In The Forest, Just Sayin'
Ink: StazOn black, Wild Wasabi, Pear Pizzazz, Chocolate Chip, Rose Red, Blushing Bride, Pumpkin Pie (I think!), Soft Sky
Accessories: aquapainter, white gel pen, Tempting Turquoise marker, dimensionals, Word Bubbles dies

Thursday, September 25, 2014

TBT - Doctor Who cards

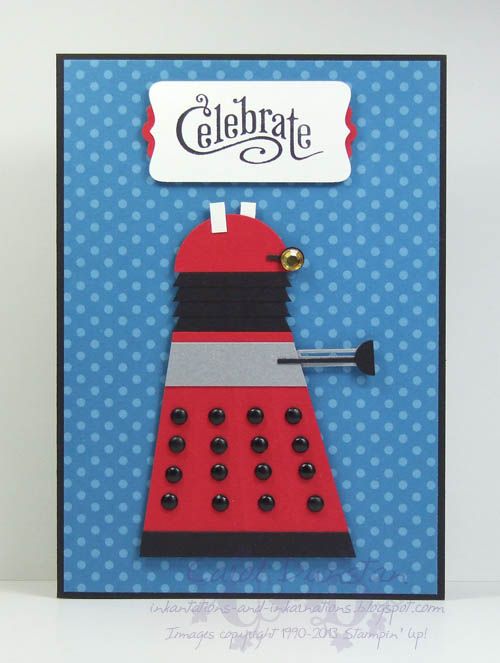
For my third Throw-Back Thursday post I thought I would share a couple of Doctor Who cards I made last year.

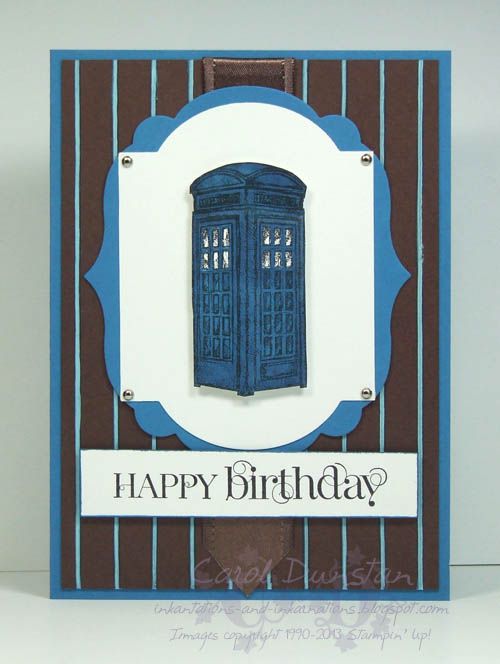
I know a lot of fellow crafting Whovians were ecstatic about last years Sale-a-bration set "Feeling Sentimental" with it's old-style phone booth stamp... I think I only saw one card made with it where it was a proper phone box and not a TARDIS/Police Call box!

TARDIS card
All supplies by Stampin' Up!
Cardstock: Pacific Point, Chocolate Chip, Whisper White, watercolour paper
Stamp set: Feeling Sentimental, Curly Cute
Ink: StazOn black, Chocolate Chip
Accessories: aquapainter, white gel pen, Pacific Point marker, dimensionals, Chocolate Chip satin ribbon, Simply Scored tool, 1/8" mini brads, Labels Collection dies, Window Frames Collection dies

Dalek card
All supplies by Stampin' Up!
Cardstock: Basic Black, Real Red, brushed silver, Whisper White
Stamp set: Perfectly Penned
Ink: StazOn black
Accessories: Decorative Label punch, Modern Label punch, dimensionals, Neutrals brads, Circle Fire Rhinestone brads, Brights Patterns DSP stack

Friday, April 27, 2012

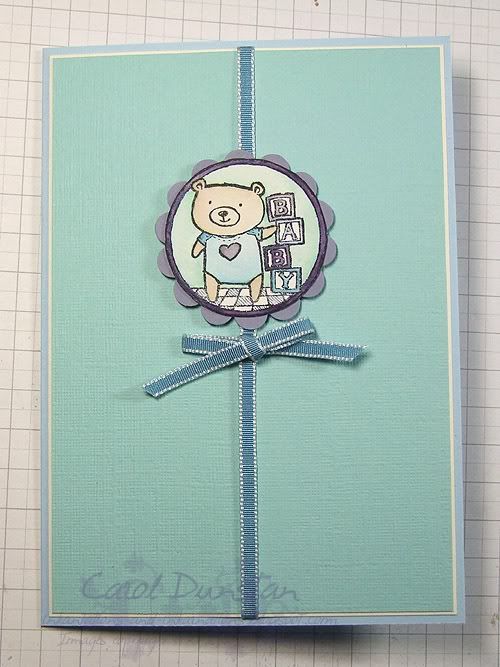
Baby Bear

Remember me saying purple & aqua was one of my favourite colour combinations? Well here it is again! And isn't that little bear such a cutie? Sorry for the poor photo, but I didn't have a chance to do the full set up for a photo shoot before I needed to post this off.


It's been quite some time since I have watercoloured, so it was nice to give it a go for this card. I really wanted to make a feature of it too, so I kept the rest of the card pretty plain.

All supplies by Stampin' Up!
Cardstock: Bashful Blue, Naturals Ivory, textured Baja Breeze, Wisteria Wonder, watercolour paper
Stamp set: Give A Gift
Ink: StazOn; Crumb Cake, Baja Breeze, Marina Mist, Wisteria Wonder, Concord Crush and Bashful Blue used for watercolouring
Accessories:Marina Mist 1/8" taffeta ribbon, Scallop circle punch, aqua painter, dimensionals

Thursday, March 25, 2010

Happy Moments

When discussing this set with a customer recently, I mentioned I had a few simple ideas come to mind just while we were talking about. However, it's taken me a while to get around to acting on those ideas. Here's one very simple idea: stamp the image randomly in the background with VersaMark, then use the same image for the focal point of the card. I've coloured the main image with an aquapainter - picking up ink from the lids of my inkpads - and I have jazzed it up a little by using some ribbons but it is still a very simple card that takes no time to put together.

The Happy Moments stamp set is one of four available free as part of the Sale-A-Bration promotion. Sale-A-Bration, and the Summer mini catalogue, end on March 31st so you have less than a week to get them.

All supplies by Stampin' Up!
Cardstock: Real Red, Summer Sun, Cameo Coral, Whisper White
Stamp Set: Happy Moments
Inks: StazOn; Pretty In Pink, Cameo Coral, Summer Sun used for watercolouring
Accessories: aquapainter, Real Red marker, Pretty In Pink 1 1/4" grosgrain ribbon, Real Red 3/4" polkadot grosgrain ribbon, dimensionals
Show watched while creating: The Philadelphia Experiment

Saturday, May 30, 2009

Spring Song Watercolouring


Here's a little snippet of the card I just uploaded to the Elite Challenges blog for the May sketch challenge. It's been a while since I have done some full-on watercolouring, and I was very keen to get some ink on my Spring Song set. The Baja background was done by picking up ink from the inkpad lid with an aquapainter, but the image was done with markers directly on to the watercolour paper and blended with the aquapainter. A few bleeds where there was a little too much water, but overall I'm quite happy with this one. Some nice bright colours for this raininy, chilly day!

Wednesday, May 20, 2009

Cinema Saturday #32

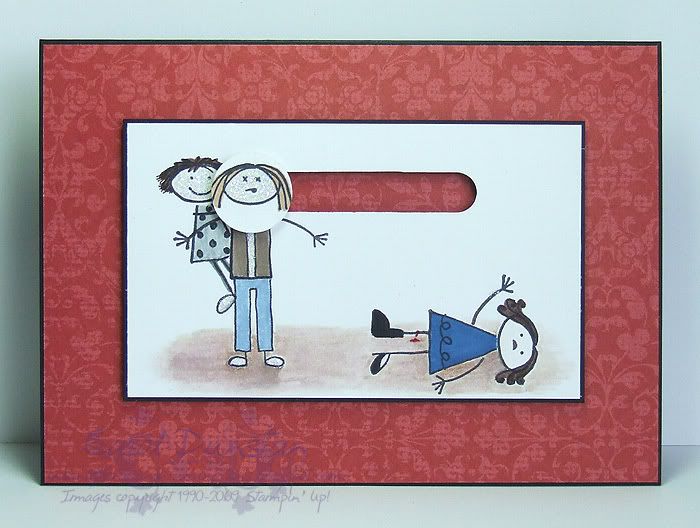
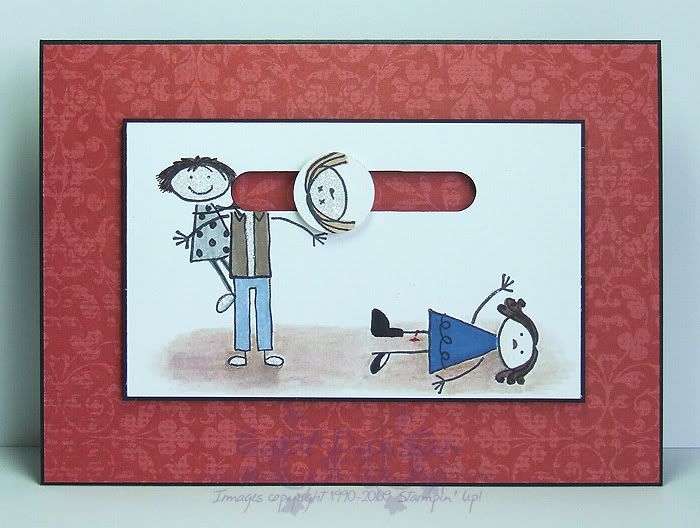
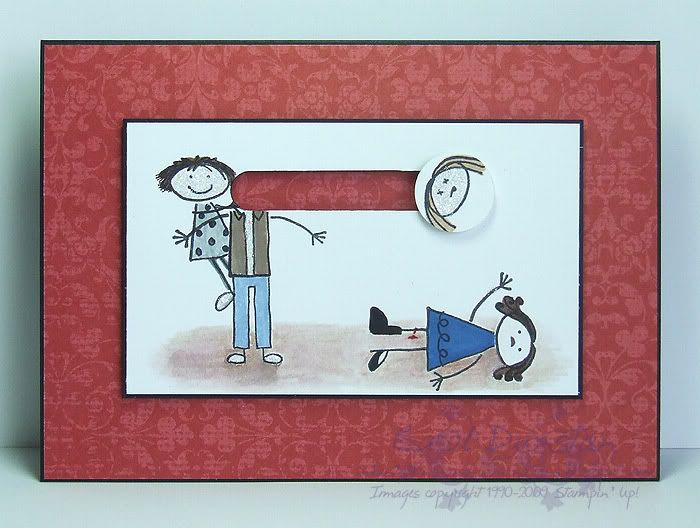
AKA "All In The Ballet Studio".

This week's Cinema Saturday movie is the much anticipated "Twilight". This weeks requirements were the colours red and black, and sparkle - of course!

I had this idea for a spinner card of the ballet studio scene pretty much since I started doing Twilight stuff with the All In The Family set, however it wasn't until I started working on it the other day that I thought it all through. What Alice actually does to James isn't all that obvious in the movie itself, but if you watch the extras of the 2-disc set they do show Alice completely ripping James' head off and throwing it in the fire. I knew I wouldn't be able to include Emmet and Jasper holding James' arms, as one of their heads would be obscured by the spinner and look odd. I also knew Alice would have to be on James' back instead of his front, so we could see her face. I hadn't thought of what head I would use for James, but in the end there was only one option: he has long hair it's just pulled back. So for the sake of this card we'll say Edward pulled his pony tail out during their fight lol .

As I thought about the arangement of the card, I realised there was going to be "dead space" in the bottom right, with James and Alice on the left and the spinner going along the top. It didn't take me long to realise that having Bella laying there would be perfect! Bella is bleeding Riding Hood Red from the glass chunk being imbedded into her leg, and she has some Dazzling Diamonds on her wrist from where James bit her (which isn't mentioned in the movie but I just had to include it because it amuses me!). I've also used my StazOn "marker" again, to selective ink up James' jacket, James' and Bella's heads, and Alice's dress.

Here are some "action shots" of the card.

All supplies by Stampin' Up!
Cardstock: Basic Black, Whisper White
Stamp Set: All In The Family
Inks: StazOn; Close To Cocoa and Blush Blossom for watercolouring
Accessories: Word Window punch, 3/4" punch, StazOn "marker", aquapainter, Going Gray marker, Basic Gray marker, Close To Cocoa marker, Brocade Blue marker, Basic Black marker, Chocolate Chip marker, Pacific Point "marker", Riding Hood Red "marker", 2-way glue pen, Dazzling Diamonds glitter, dimensionals, Bella Rose DSP
Show watched while creating: Twilight

Sunday, May 17, 2009

The Card That Started It All

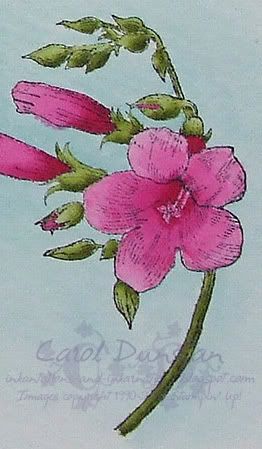
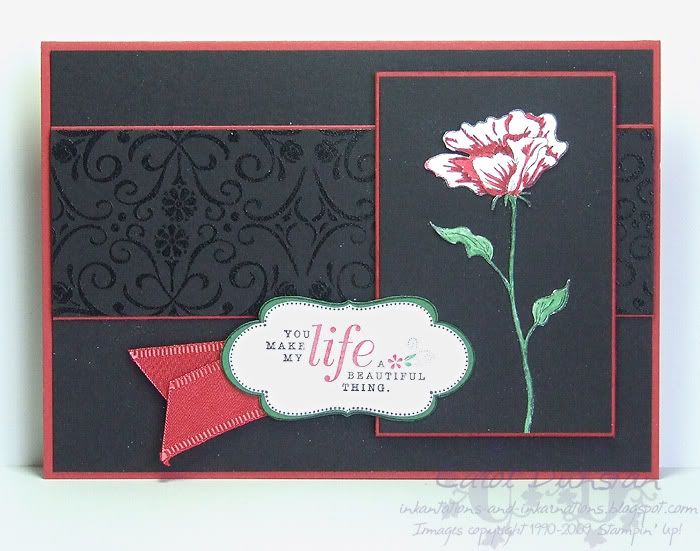
This card was made weeks ago, for Taylor's sketch challenge #64, but I kept it under wraps because I very quickly decided that I had to use these elements again for convention swaps and didn't want to spoil the surprise. You may notice a lot of white flecks on the card: that's not white embossing powder or anything like that, it's just dust and fluff that collected on the card over the weeks it sat here waiting to be photographed and a quick brush didn't get them off (I was in a rush as I needed to attend to dinner!). The main image is the Bloomin' With Beauty flower stamped on Whisper White and cut out just as I did for the bookmark swaps (though the others are coloured much nicer). The black strip across the middle has Bella's Border embossed in black just as I did for the "Bella & Edward/Jacob" cards, although here I did it twice (turning the wheel around the second time and trying to get a mirror image effect but I didn't quite line it up perfectly). The sentiment comes from yet another set, A Beautiful Thing, which I inked with my Basic Black, Riding Hood Red and Garden Green markers. I was quite happy with how this turned out!

All supplies by Stampin' Up!
Cardstock: Riding Hood Red, Basic Black, Garden Green, Whisper White
Stamp Sets: Bloomin' With Beauty, Bella's Border, A Beautiful Thing, Frames With A Flourish
Inks: StazOn Jet Black, VersaMark
Accessories: Basic Black marker, Riding Hood Red "marker", Garden Green marker, Dress Up Ribbon Originals, aquapainter, dimensionals
Show watched while creating: Twilight

Tuesday, May 12, 2009

Convention Swaps Part III

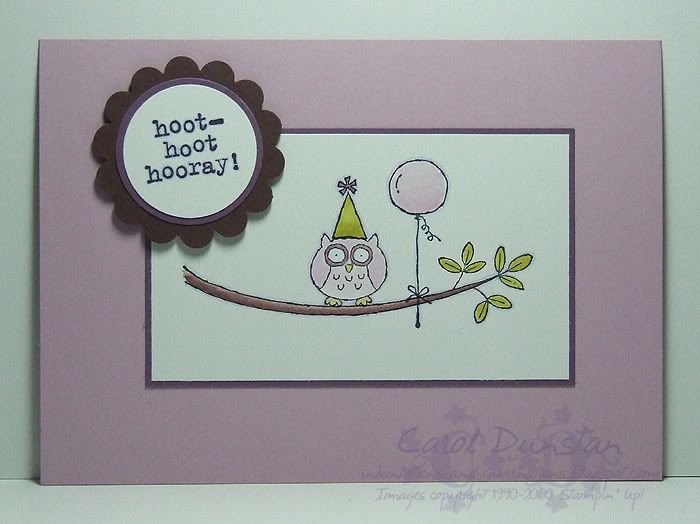
Leading up to convention, my daughter Shaelea recieved a birthday invitation for a party on the Sunday while I was away... so I couldn't leave the card to do the night before! I asked Shaelea what card she'd like to give and this is what she came up with... simple yet cute, so I decided to make some more for Convention swaps. My girls call this little guy Chubby Owl, I think he's their favourite stamp in the entire catalogue (beat that Sock Monkey!)

All supplies by Stampin' Up!
Cardstock: Pale Plum, Chocolate Chip, Whisper White, Perfect Plum
Stamp Set: Owl Together Now
Ink: StazOn Jet Black; Perfect Plum, Pale Plum, Kiwi Kiss, Chocolate Chip for watercolouring
Accessories: Almost Amethyst marker, So Saffron marker, scallop circle punch, 1 3/8" circle punch, 1 1/4" circle punch, aquapainter, blender pen, dimensionals
Show watched wile creating: Twilight

Friday, May 08, 2009

All In The Cullens

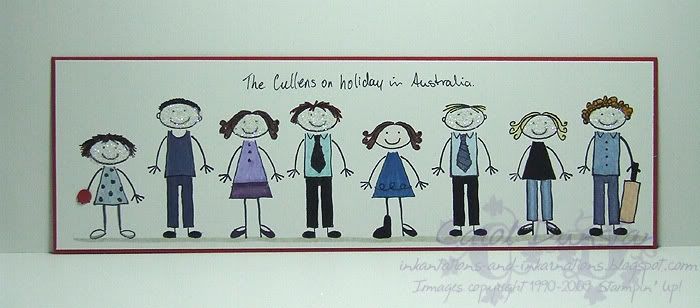
Technically this wasn't a swap... I whipped this up the night before I headed off (when I should have been packing) because I just had to commit this idea to cardstock, so I took it to show off and tease lol. People who haven't seent he movie Twilight may not get a lot of the details I included, and I also made Alice shorter as she is described in the book, but here are the Cullens Australia style - maybe they're even playing beach cricket! To make some of the bodies I decided I had to make myself a StazOn marker (made the same way as an In Color marker, though I gave an extra day to dry just to be safe), because trying to ink some of those bits with the corner of a StazOn inkpad was going to be tricky if not impossible (and extrememly frustrating!). I was very chuffed with myself when I found the marker worked so well, I can't wait to use it on other things.

All supplies by Stampin' Up!
Cardstock: Real Red, Basic Black, Whisper White
Stamp Set: All In The Family, Bella's Border
Inks: VersaMark, StazOn Jet Black; Blush Blossom (for water colouring)
Accessories: StazOn "marker", Aquapainter, Sahara Sand marker, Going Gray marker, Basic Gray marker, blender pen, Encore silver ink refill (for Alice's shoes), Basic Black marker, Night of Navy marker, Chocolate Chip marker, Lovely Lilac marker, Elegant Eggplant marker, Really Rust marker, Baja Breeze "marker", Pacific Point "marker", So Saffron marker, Bashful Blue marker, Brocade Blue marker, Creamy Caramel marker, More Mustard marker, Crop-a-dile (for cricket ball), 2-way glue pen, Dazzling Diamonds glitter
Show watched while creating: Twilight

Wednesday, May 06, 2009

Convention Swaps Part II

Are you ready for more Twilight swaps? Anyone would think I'd gone to a Twilight convention!
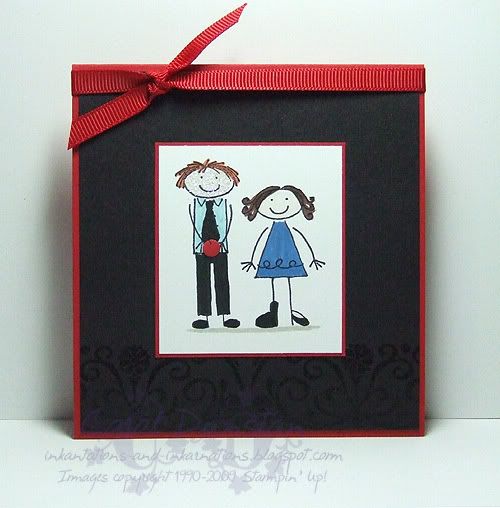
Above you can see my "Team Edward" card, for the fans of Edward. I've used All In The Family to make Edward and Bella all ready for the prom... but I had to toss the apple in there too! Normally I'm not a fan of colouring on Whisper White with markers, but it worked so well on my practise piece that I just went ahead and did it for the rest. I used Baja Breeze for Edwards shirt and Pacific Point for Bella's dress (don't forget, you can read about how to make an In Color marker here). Of course, since the Twilight vampires sparkle in the sun, I had to give Edward's face a coating of Dazzling Diamonds.
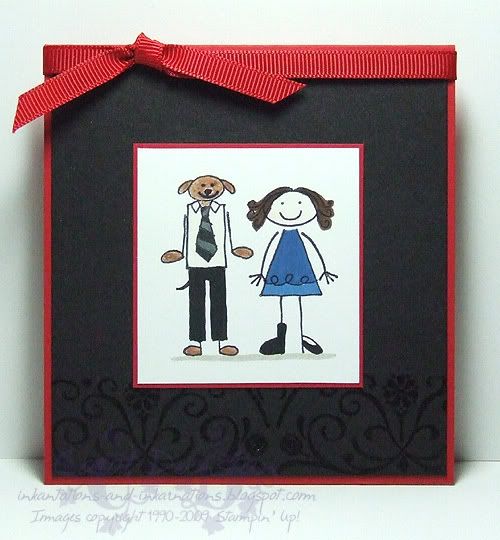
This is my "Team Jacob" card, for those Jacob fans out there. It is mentioned in the book and movie that the legend of his tribe is that they are decended from wolves, and I was all set to use the long-haired head for Jacob, but as soon as I got the idea of using the dogs head I couldn't stop giggling and had to go with it! I then realised I had to give him paws instead of hands, so I individually inked the legs from one of the legs stamps and used those. Inking the head was rather tricky, which is why I later went over the eyes, nose and mouth with a marker. You can thank Tiarna for giving me the idea to give Jacob a tail (which was supposed to be stamped but I forgot to do it before he was all coloured in and didn't want to stuff it up then, so just drew it in).

And did you notice? I used Bella's Border on them! I've thought for a long time that if I ever did make a Twilight inspired card I would have to use that on it, due to the name. I used this on the sketch card too, which I will share with you later (have to photograph it first).

All supplies by Stampin' Up!
Cardstock: Real Red, Basic Black, Whisper White
Stamp Set: All In The Family, Bella's Border
Inks: VersaMark, StazOn Jet Black; Blush Blossom (for water colouring)
Accessories: Aquapainter, Basic Black marker, Chocolate Chip marker, Sahara Sand marker, Pacific Point "marker", Really Rust marker, Baja Breeze "marker", Crop-a-dile (for apple), Real Red 1/4" grosgrain ribbon, 2-way glue pen, Dazzling Diamonds glitter, Basic Gray marker, Really Rust and Close To Cocoa Watercolor Wonder Crayons
Show watched while creating: Twilight

Tuesday, May 05, 2009

Convention Swaps Part I

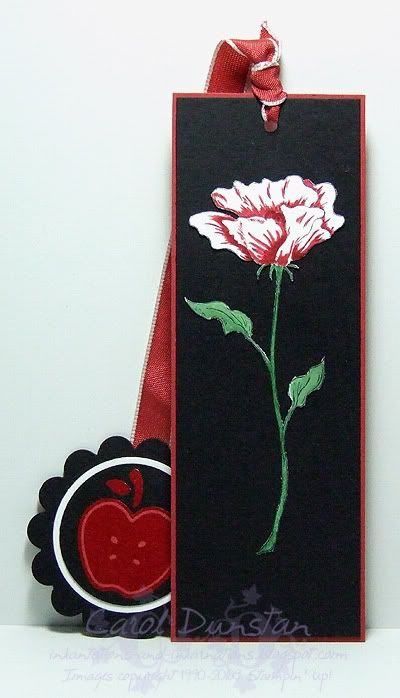
Caroline was correct, the inspiration for this piece was Twilight. I actually got the idea for the flower while working on a sketch challenge last week and loved how it turned out so much I decided to make it for a swap. The flower was stamped in StazOn on Whisper White cardstock then watercoloured with the aquapainter picking up ink from the lids of the inkpads, and then the flower was cut out. The apple was clear embossed on Riding Hood Red cardstock, punched out, and then I went around the outside twice with a Basic Black marker. You need to go over the black a second time to get it really black. I loved how these turned out, they came up better than I had imagined... but I am sure the non-Twilighters that swapped with me were thinking "what's an apple got to do with the flower???"

All supplies by Stampin' Up!
Cardstock: Riding Hood Red, Basic Black, Whisper White
Stamp Sets: Bloomin’ With Beauty, Tart & Tangy
Inks: StazOn Jet Black, VersaMark; Riding Hood Red, Garden Green for watercolouring
Accessories: Aquapainter, Riding Hood Red taffeta ribbon, scallop circle punch, 1 3/8” circle punch, 1 ¼” circle punch, clear embossing powder, Basic Black marker
Show watched while creating: Twilight

Tuesday, March 31, 2009

Cinema Saturday #25

This card was inspired by the movie Goldfinger, this weeks challenge over at Cinema Saturday. I based my card on the tux that Sean Connery is wearing (under his wetsuit...) at the start of the film... I could have done a lot of different things (especially with the martini glass from the new Cheers To You set) but decided to go with a simple, elegant and classic card which sums up Bond for me (particuarly the older movies). I also drove my kids mad singing the theme song. mrgreen

All supplies by Stampin' Up!
Cardstock: Whisper White, Basic Black, Brushed Gold, Very Vanilla
Stamp Set: Bloomin' With Beauty
Inks: StazOn Jet Black; Purely Pomegranate for watercolouring
Accessories: blender pen, Garden Green marker, Sahara Sand marker, scallop edge punch, Purely Pomegranate satin ribbon (from Spring mini), dimensionals
Show watched while creating: Goldfinger

Monday, March 02, 2009

KW Colour Inspiration #43

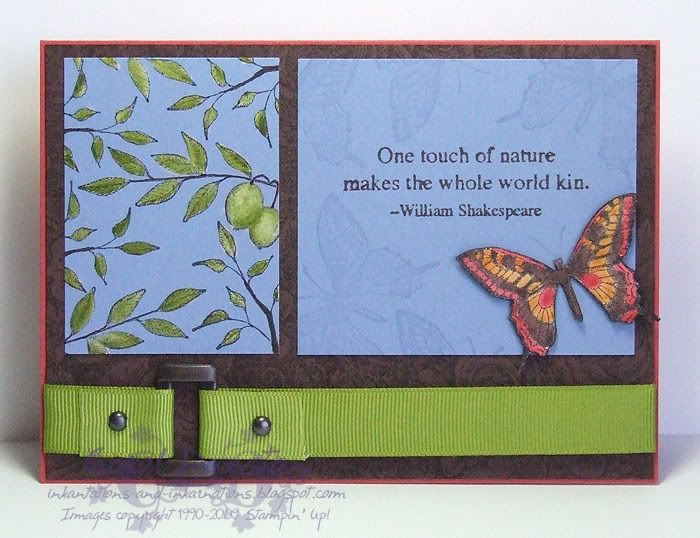
Finally I've found some time to take part in Kristina's colour challenge while it's still current! And I just had to use the colours with one of my favourite sets from the retirement list, Touch Of Nature. I've combined two challenges in one for this one too, putting Kristina's colours with Beate's WSC (sketch by Lori). The only real thing of note with this card is I stamped the leaves on the left panel with StazOn before bleaching inside them (well, Exit Mould-ed them!) to remove the blue, then coloured over top with Olive.

Most supplies by Stampin' Up!
Cardstock: Ruby Red, Chocolate Chip, Brocade Blue, Confetti White
Stamp sets: Floral, Touch of Nature
Inks: Chocolate Chip, StazOn, VersaMark; Old Olive, Pumpkin Pie and Ruby Red also used for watercolouring.
Accessories: Old Olive wide grosgrain, Aged Copper Hodgepodge, aquapainter, bleach
Show watched while creating: Sarah Connor Chronicles

Wednesday, February 11, 2009

Inklings Cyberstamp Challenge 1

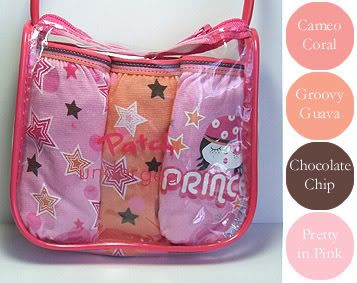
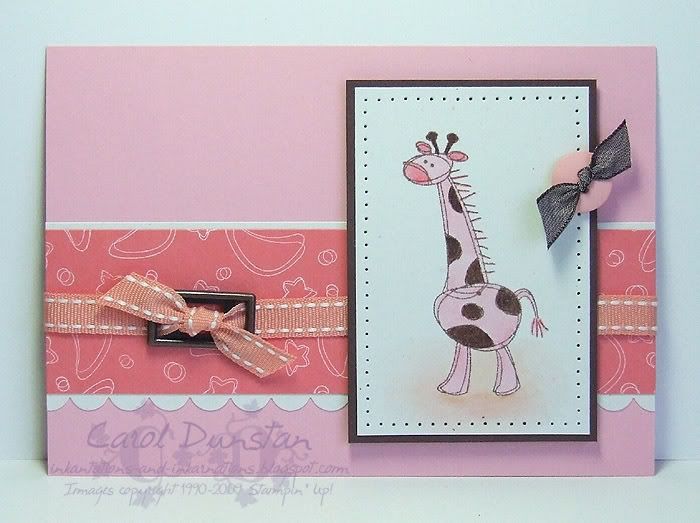
Last Thursday night I hosted the February Inklings Cyberstamp. I made the first challenge a colour challenge, based on some underwear from Pumpkin Patch.I know quite a few people with babies due in the coming months, so I thought I'd use these colours for a baby card. And if I am making a baby card, I usually use Bundle of Joy, the giraffe in particular is so cute! I also really love stamping the moon and stars image using Whisper White ink, it gives such a crisp image.
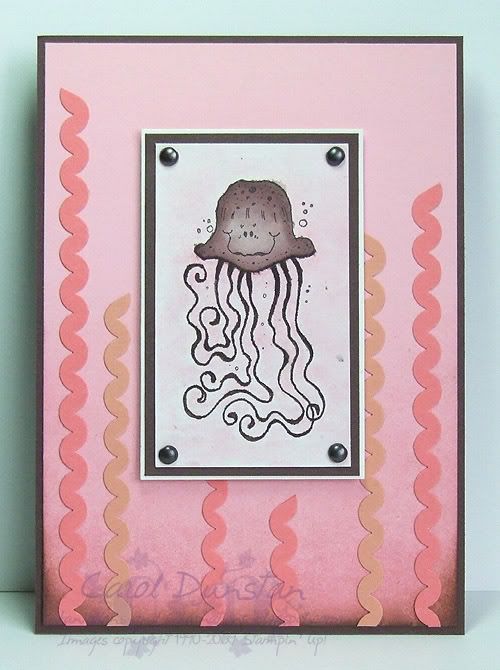
I enjoyed playing with these colours so much I made a second card, this time using Fishy Friends. This card was inspired by Christine Okken, I loved how she used ric-rac for seaweed. I made my own ric-rac from Cameo Coral and Groovy Guava cardstock using the scallop edge punch (a tutorial for which was included with my newsletter this month). The bottom of the Pretty In Pink layer was brayered lightly with Pretty In Pink ink and sponged with Chocolate Chip.

All supplies by Stampin' Up!
Bundle of Joy card
Cardstock: Pretty In Pink, Confetti White, Cameo Coral, Chocolate Chip
Stamp Set: Bundle of Joy
Inks: Whisper White, Basic Brown
Accessories: scallop edge punch, Groovy Guava double stitched ribbon, Aged Copper hodgepodge, Crafters Tool Kit, Soft Subtles buttons, Chocolate Chip taffeta ribbon, aquapainter, dimensionals

Fishy Friends card
Cardstock: Chocolate Chip, Pretty In Pink, Groovy Guava, Cameo Coral, Confetti White
Stamp Set: Fishy Friends
Inks: StazOn Jet Black; Chocolate Chip, Pretty In Pink for water colouring and brayering/sponging
Accessories: scallop edge punch, aquapainter, Aged Copper hodgepodge, brayer, sponge dauber, dimensionals

Tuesday, December 09, 2008

Embrace Brights

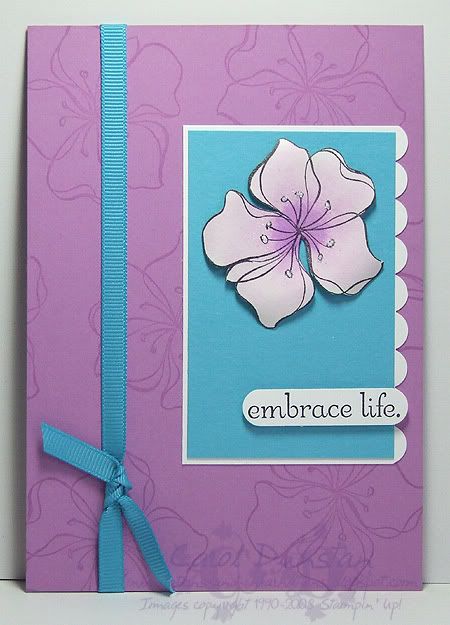
Today I have a card for you! This is the card I made for a recent Inklings swap... Are you sick of this stamp set yet? I hope not, because I think you are going to see a lot of it! Most of the card is pretty straight forward, but I did want to explain how I did the flower (though I probably should have taken a side-on shot to show it better). Firstly, I stamped the flower on Confetti White cardstock using StazOn. I then swiped my clean aquapainter over the flower to moisten the cardstock. Using my aquapainter I picked up colour from the lid of my Orchid pad and coloured the flower in - starting in the middle and working my way out. Once I was happy with the overall colour I let it dry out a bit before coming back and adding more colour to the center. Once it was dry I cut it out and yet again wet the surface with a clean aquapainter. This wasn't to blend the colour more, but so I could shape the petals (I curled them around my paper piercer). Once this was dry I added the Dazzling Diamonds glitter with my 2-way glue pen. To mount the flower I used a mini glue dot in the center and pop-up glue dots under the petals to help them keep their shape.

All supplies by Stampin' Up!
Cardstock: Orchid Opulence, Whisper White, Tempting Turquoise, Confetti White
Stamp Set: Embrace Life
Inks: StazOn Jet Black; Orchid Opulence for watercolouring
Accessories: Scallop Edge punch, Word Window punch, Tempting Turquoise grosgrain, mini glue dots, pop-up glue dots, dimensionals

Monday, November 17, 2008

Christmas ATC

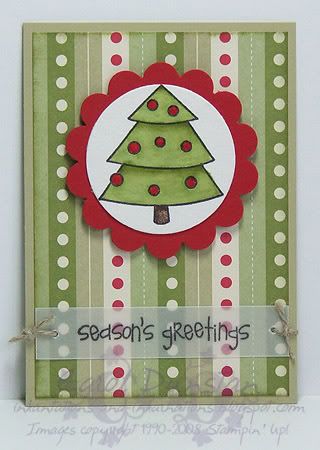
Oh boy...time is screaming past these days! I've been meaning to share this for ages and just keep forgetting. I made this little ATC for a recent swap I was in. I love the ATC size, and if you think about it they are a great size for a gift tag. So that's kinda what I was thinking with this one. I used the Celebrate Everyday set from the current Spring Mini, so you could easily change the stamp and colours to suit what ever occasion you wanted a gft tag for.

I've also been meaning to mention I have another card over on the Elite Challenges Blog.

All supplies by Stampin' Up!
Cardstock: River Rock, Real Red, watercolour paper, vellum cardstock
Stamp set: Celebrate Everyday
Inks: StazOn Jet Black
Accessories: scallop circle punch, 1 3/8" circle punch, crafter's tool kit, linen thread, dimensionals, aquapainter, markers in Certainly Celery, Old Olive, Real Red and Close To Cocoa