Showing posts with label Basic Black. Show all posts

Monday, December 14, 2015

Delicate Ornaments Are The Bomb

I have another Delicate Ornaments card to share with you today, I hope you aren't getting sick of them!

Once again, not your usual Christmas colours! This was another card I just had to make as soon as I saw the black glimmer paper in the Holiday catalogue. You might be wondering why these colours, and why I gave that title to this post. The answer is simple...


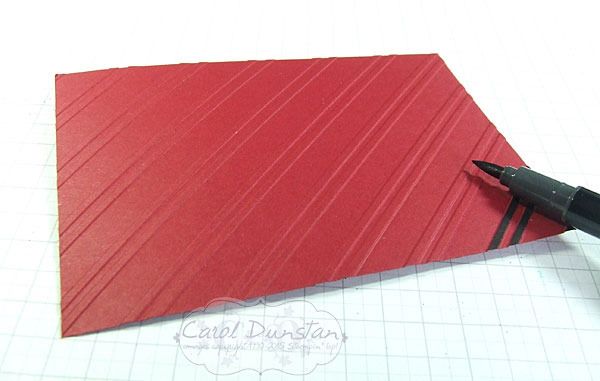
It's a Bombers inspired Christmas cards! I'm a long time Bombers fan, as are a number of my relatives so I made a special Christmas card for them. The ornaments were created the same way as all the others, detailed in my tutorial here. To create the background I went over the ridges of the Stylish Stripes embossing folder with my Basic Black marker.


By holding the marker at a low angle you will get a more even coverage or the ridges and much less likely to get ink where you don't want it.

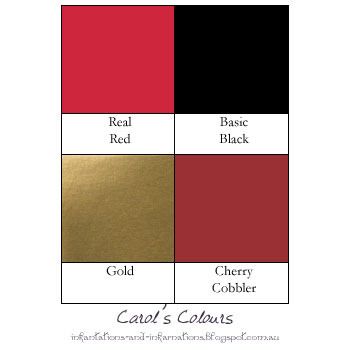
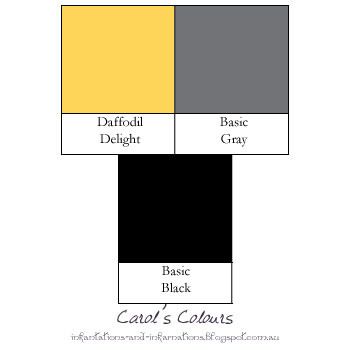
The colours I used were:

Built for Free Using: My Stampin Blog

Thursday, November 26, 2015

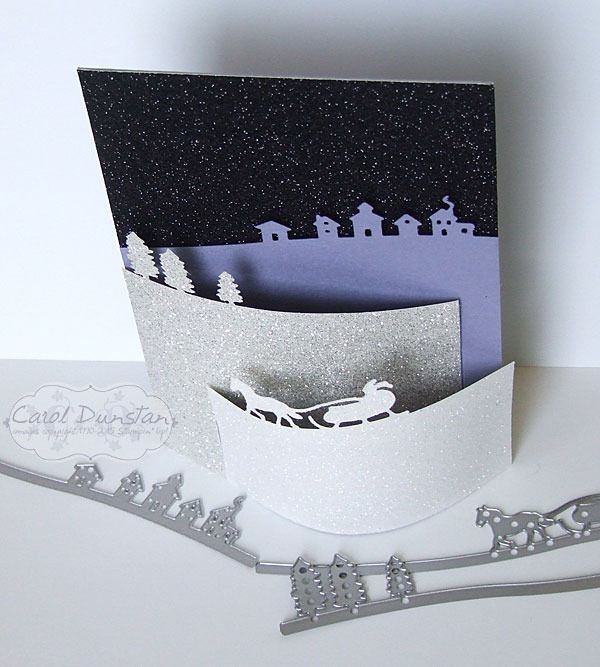
Glimmering Sleigh Ride

Sometimes I can be a real doufus. For weeks now I have been admiring other peoples cards using the Jingle All The Way stamp set and Sleigh Ride edgelits, and kicking myself for not ordering them. Then the other day I finally noticed the edgelits in amongst all my other framelit dies... I'd completely forgotten they were in a square envelope instead of the more regular rectangular envelope. I was still a doufus though, as I hadn't ordered them as a bundle to get the coordinating stamp set! Annoying as that was, I was determined to come up with a card that rendered this mistake a moot point. Glimmer paper to the rescue!
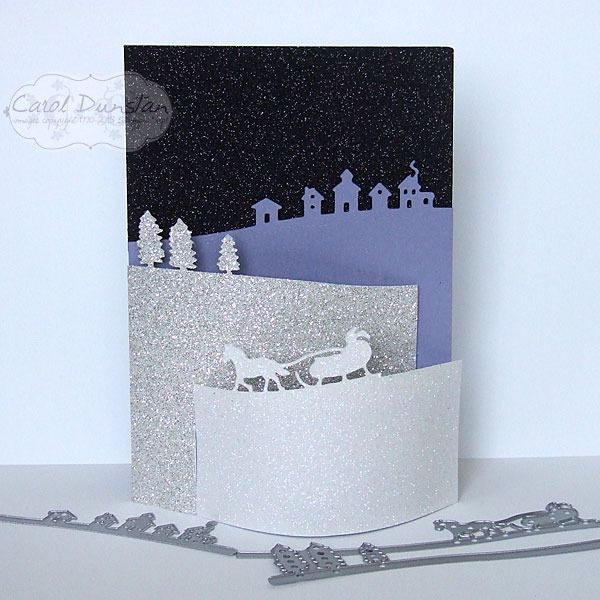
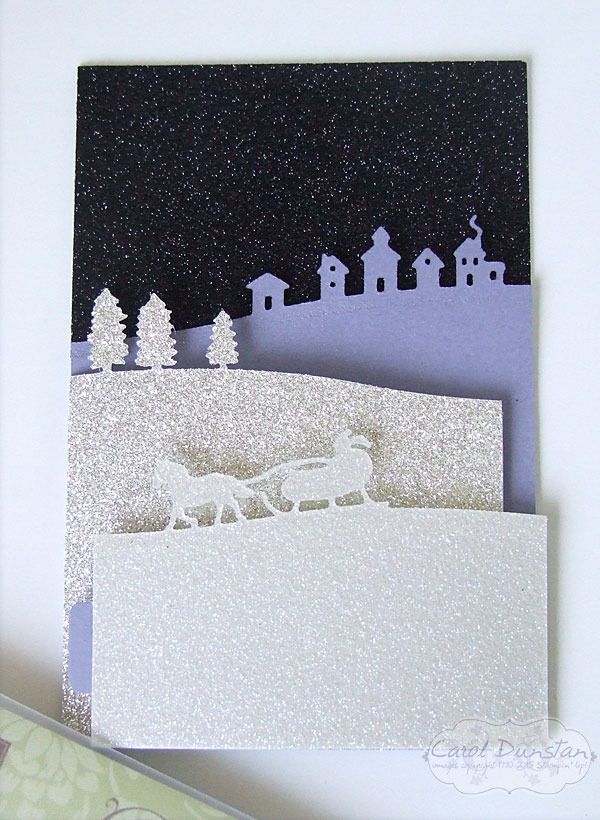
This style of card is called a bendy card, which I hadn't seen until the Holiday catalogue came out and it seemed everyone was using the Sleigh Ride edgelits for it - they are wonderfully suited to it! The tutorial I looked at was written by Beccy Muir, though I changed it a little so I could use an A4 sheet of cardstock. I'd been wanting to use the black glimmer paper for a night sky ever since I ordered it, and finally I had the perfect project for it. From there I thought it obvious to use the Dazzling Diamonds glimmer paper for snow, and then the silver glimmer paper for distant snow... and well, I needed purple on the card too but alas there is no purple glimmer paper. So the Wisteria Wonder layer didn't feel left out I gave it a spritz with the retired Vanilla Shimmer Smooch Spritz.

This is what the card looks like laying flat.

And here it is opened. You probably still can't really see the shimmer on the Wisteria layer, but it looks a little speckled. I haven't sorted out a sentiment for the inside yet, I tend to do that to most if not all my Christmas cards in bulk just before I write on them. Once the tabs are placed into the slits the card stands up on it's own.

Both the black glimmer paper and the Sleigh Ride edgelits are on the Holiday catalogue retiring list, so it you are thinking of buying them you'll need to get in quick as they are only available while stocks last!

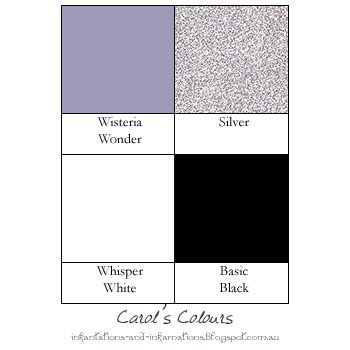
Today's colours:

Built for Free Using: My Stampin Blog

Saturday, November 14, 2015

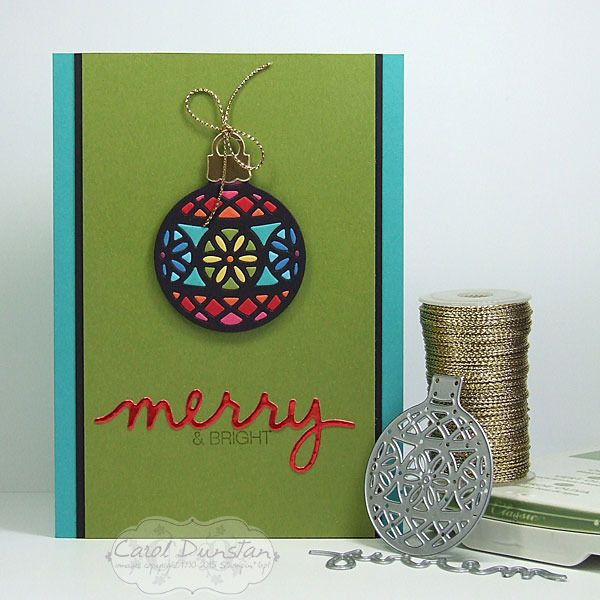
Stained Glass-esque Delicate Ornament

There are many beautiful products in the Stampin' Up! Holiday Catalogue, but the one thing I absolutely knew I would be top of my list was the Delicate Ornaments framelit dies. The coordinating Embellished Ornaments stamp set is of course lovely as well and available in a bundle with the dies for a 15% saving (which is what I bought!), but I was itching to get my hands on the dies in particular so I could play jigsaw with the little pieces, like I have in the past with the Lace Ribbon Punch and Butterfly Thinlets.
 I'll be popping this card in to go on the display boards at OnStage Local today, and will have a bit of a tutorial up in a few days showing my process for creating things like this. For now, I am off to enjoy my day of Stampin' Up! activities - including some sneaky peeks at the upcoming Occasions catalogue!

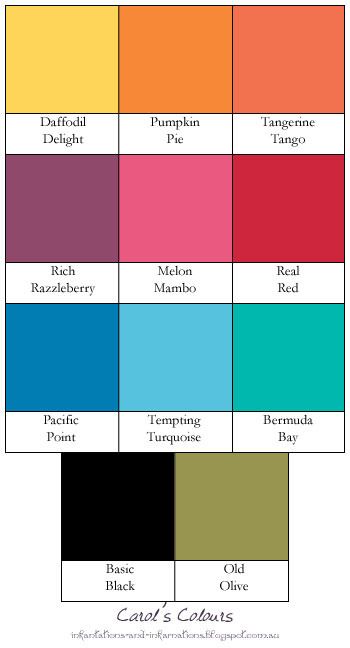
Colours used are:

Built for Free Using: My Stampin Blog

Thursday, November 12, 2015

Pow! Bam! Batman!

Tomorrow I am heading off to Melbourne for an OnStage Local event put on by Stampin' Up! At their events Stampin' Up! collect cards for Ronald McDonald House Charities, and this is the card I will be donating:
The Batman symbol was created by first cutting a piece of Daffodil Delight and Basic Black using oval dies. I then used punches - some I traced the shape and some I actually used to punch out some of the black - and a little bit of snipping with scissors to finish it off. But what actually got me started with the idea of making a Batman card was the bat washi tape from the Happy Haunting washi tape pack. Looking at the image in the catalogue I thought it looked like the top edge should be able to line up with the bottom so you could do rows of it and creat a wider strip - or you could do a whole card front if you wanted! If you look really, really closely you can see the edges of the washi tape, but I am very pleased with how my hunch turned out.

The colours used are:

Built for Free Using: My Stampin Blog

Sunday, September 13, 2015

Happy BeeDay

What kind of card do you make for someone who loves making puns? A very punny one of course!
And what colour must you use on a card about bees? Hello Honey of course! After coming up with the idea for a "BeeDay" card, those other elements fell into place pretty quickly - the Honeycomb embossing folder, the bee stamp from Garden In Bloom, and I thought the Brushstokes background stamp would tie in well with the stripes on the bee. Once I had cut the "happy" and D, A and Y and laid them over the striped background I realised it was a little busy and hard to read, so I cut a piece of vellum to lay over the top and was much happier with the result. Of course I then had to deal with attaching the vellum that I hadn't planned for. While I could pretty easily hide some adhesive behind the words and bee, that left the top and bottom edges pretty free. To avoid possible curling I came up with the idea for some candy dots and was happy with how that came out too! So with all that done the spacing felt a little off, which I fixed by adding some black satin ribbon that I folded over to make a little skinnier.

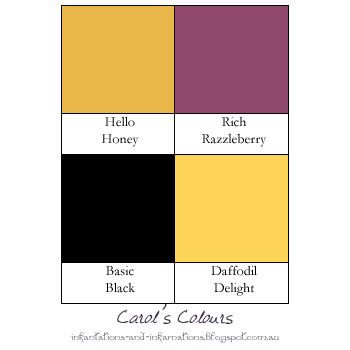
Here are the colours I used:

Built for Free Using: My Stampin Blog