Showing posts with label Simple Delights. Show all posts

Wednesday, January 14, 2009

Cinema Saturday #14 part 5

The next card I have for you in the Cinema Saturday #14 series is for the other Fellowship member who parted ways in the FOTR movie: Boromir. Boromir's costume has a lot of texture and detail, and I have drawn on a few specific parts for this card. The background is based on Boromir's fur-line cloak, most prominent as they trudge through the snow. It was impossible to replicate burn-out velvet with cardstock so I just opted to stamp the swirly design in Chocolate Chip so it had the darker colour like the design on the cloak appears darker than the velvet nap (in truth the back of the velvet is the same colour as the nap it is just the lining fabric that makes it appear darker... some geeky costume details for you!). Of course the Close To Cocoa velvet ribbon had to come out again for the fur lining. The Ruby Red layer is inspired by the gorgeous bullion embroidery on the sleeves of his tunic (~cough~ sari fabric ~cough~), and the framed sentiment piece is supposed to be reminiscent of the decoration on his belt. This is another thank you card because in the end he did good (the EE gives a lot more to his story and thus his end isn't as big a turn-around as it seems in the original cinema version... and I will admit I was tainted with knowledge of ROTK EE too which adds to Boromir's story even more).

All supplies by Stampin' Up!
Cardstock: Close to Cocoa, Chocolate Chip, Basic Black, Ruby Red
Stamp Sets: Carte Postale, Simple Delights, Occasional Greetings, Baroque Motifs
Inks: Close To Cocoa, VersaMark, StazOn Jet Black
Accessories: Ruby Red marker, Close To Cocoa marker, Designer Label punch, Styled Silver Hodgepodge, gold embossing powder, dimensionals
Show watched while creating: Fellowship of course! (yes, I have watched this a lot over the last week)

Friday, January 09, 2009

KW Colour Inspiration #37

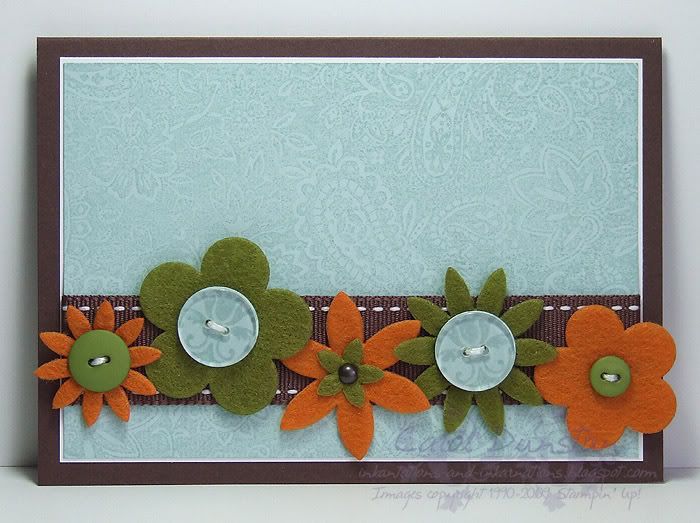
What a fabulous colour challenge Kristina posted this week! Quite often when i am working on a colour challenge I will get out my swatches of the particular colours and then start thinking about stamp sets that might work with that. This week however I got out my swatches and then the matching ribbons and embellishments... from that this card fell into place smile. Which is probably why there isn't a whole lotta stamping, but I still like it.
Most supplies by Stampin' Up!
Cardstock: Chocolate Chip, Whisper White, Soft Sky
Stamp Sets: Paisley, Simple Delights
Inks: Soft Sky
Accessories: Felt Fusion flowers, Earth Elements buttons, clear buttons, Aged Copper Hodgepodge (for the measley little brad), 3/4" circle punch, Chocolate Chip 1" double-stitched ribbon, white cotton floss

Thursday, October 30, 2008

Simple Harmony

I created this card for the second challenge at the Inklings Cyberstamp. This was a sketch challenge, using a sketch by Taylor. I've been eyeing off this sketch for some time, so already had the idea planted in my head of making the circle element a bauble... I'd also had the idea planted in my head for some time to make a bauble with the Simple Delights set. With bits of the Holiday Harmony paper on my desk, I decided it'd all go together nicely. I left the bauble as the only stamping on this as I felt the top layer of patterned paper would serve as a sentiment.

All supplies by Stampin' Up!
Cardstock: Purely Pomegranate, Very Vanilla, Holiday Harmony paper
Stamp Set: Simple Delights
Ink: Purely Pomegranate
Accessories: Antique Brass hodgepodge, Pretties Kit, mini glue dots, dimensionals, Very Vanilla taffeta ribbon
Show watched while creating: Fringe

Friday, October 10, 2008

7 Loves of Card Making - The Joy of Giving

As much as I have enjoyed making a card, the real satisfaction comes from giving it to the intended recipient. I love being there in person so I can see how they react to the card, kids in particular seem amazed that you made a card with their name on it, etc. Part of the giving is the envelope, so I stamped some envelopes to match the cards I have made for the week.

My challenge to you is to decorate some envelopes and send out some cards... couldn't get much more simple but I often make the card and then don't send it out and I know others do this from time to time too. If you've made Christmas cards just get your envelopes addressed as it's still too early to send them out (though if you have left-over 50c stamps you can stick them on too).

Saturday, October 04, 2008

7 Loves of Card Making - Design

With the Simply Sent kits on special this week, I thought I'd kick off my 7 Loves with Design. Each kit comes with instructions for making two different designs, however you don't have to stick to these designs if you don't want to! There are even a few extra pieces so you can alter the designs quite a bit, mixing and matching as you like. Yesterday I sat down with the kit, made two cards following the instructions, then made another 8 cards by tweaking the designs to varying degrees.

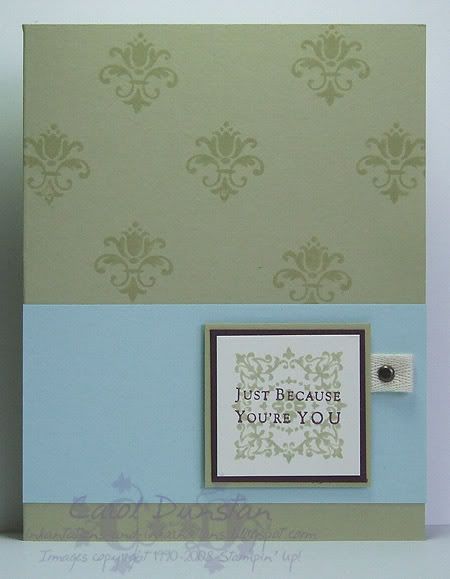
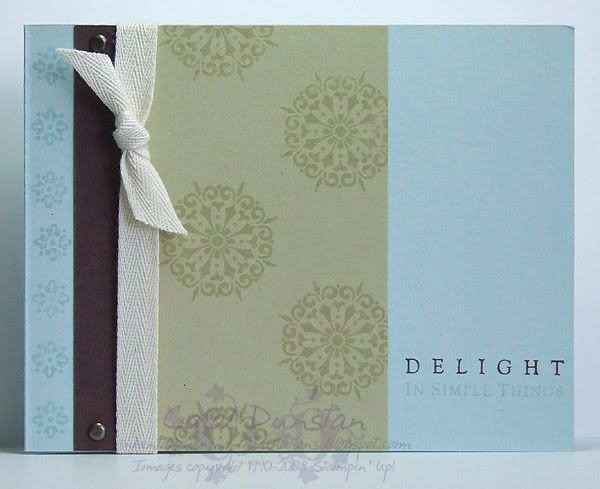
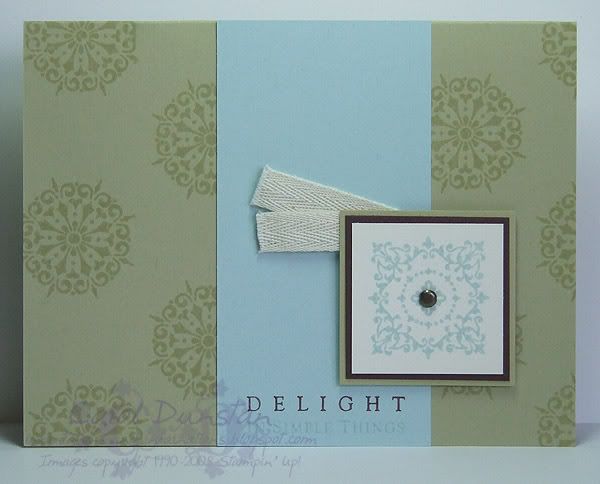
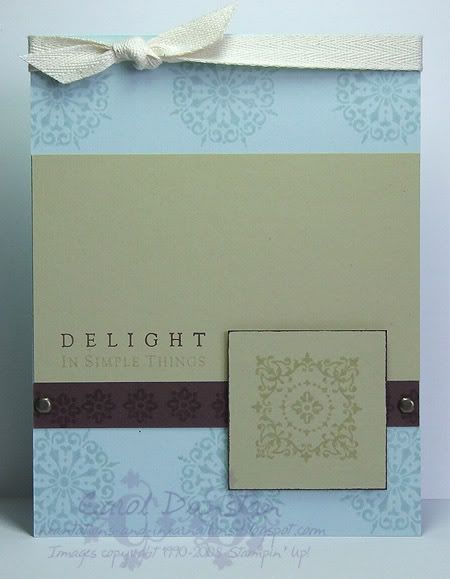
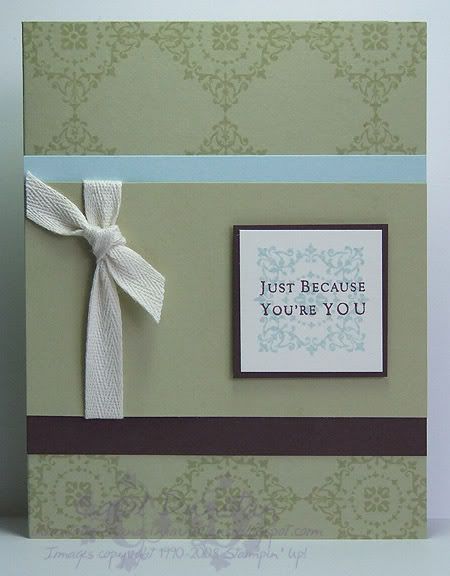
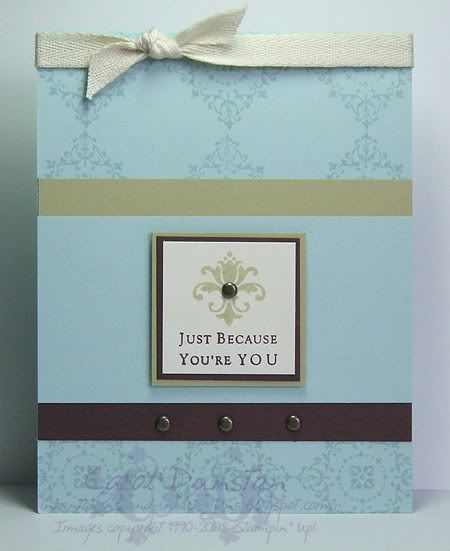
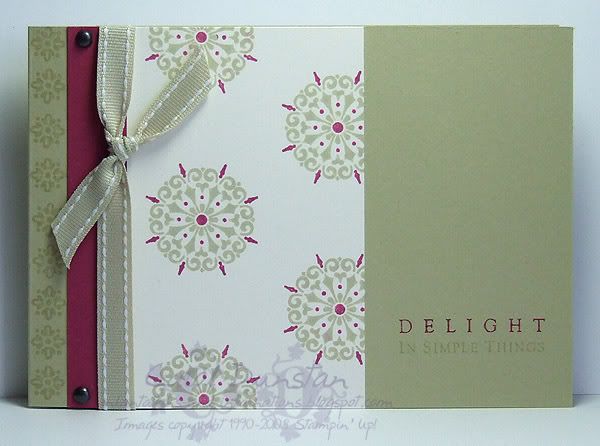
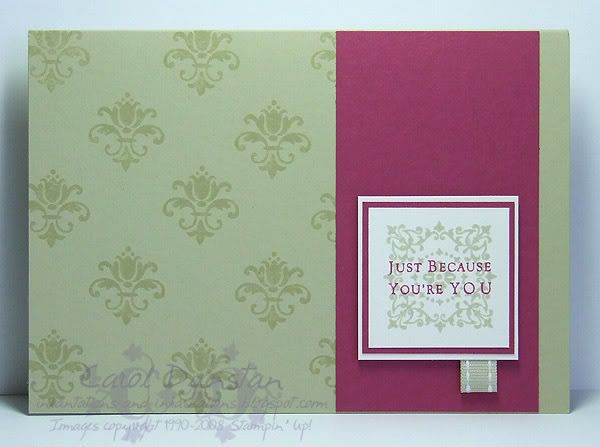
My Simply Sent kit of choice was Simple Delights. If you're a long-time reader of my blog you have probably seen me use this set on a number of occasions, I even posted a card with it yesterday! I love the style of the images in this set so had to have it as soon as the catalogue came out. While I have enjoyed doing my own thing with the stamps, it was fun to work from the designs that come with the kit and not have to think so much for myself. Here are the two cards that follow the instructions provided:


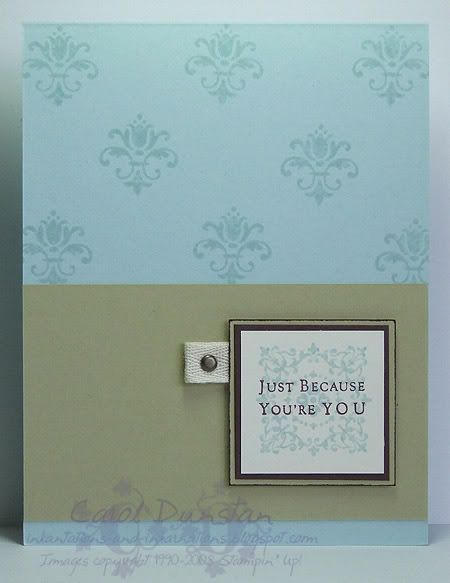
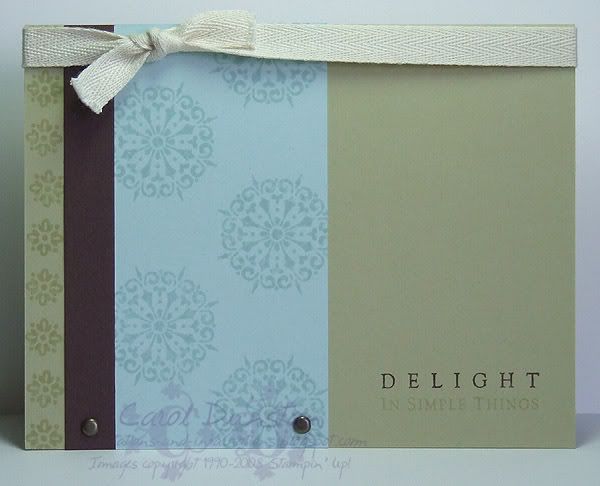
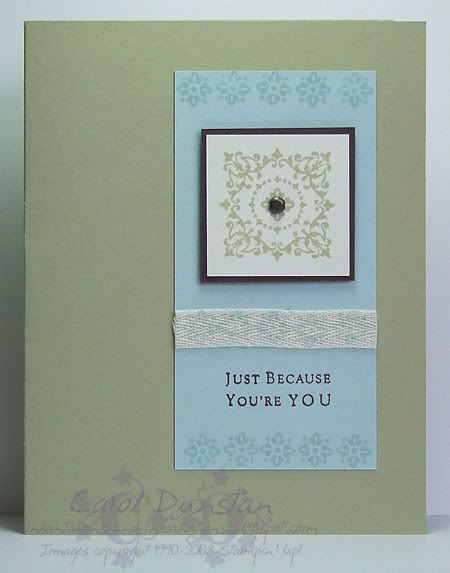
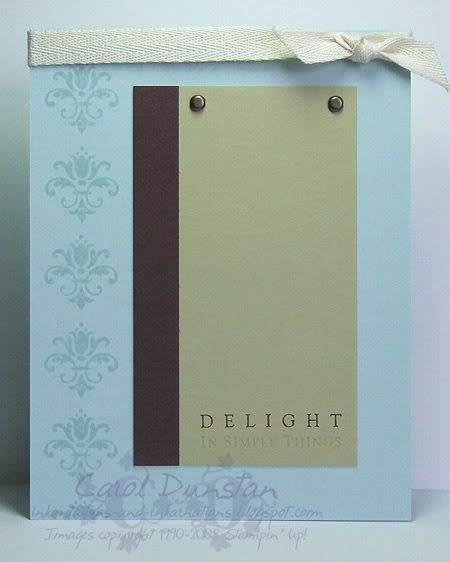
For my next two cards I swithed some of the supplies, eg River Rock cardstock was substituted with Soft Sky cardstock. Some of these changes required some minor modification to the design but it was all still pretty straight-forward.


For these next two cards I started by "flipping the sketch". Flipping the layout of a card is one of my favourite ways to mix things up a bit but keep the thinking to a minimum to speed the process up. I also changed what stamps were used and where and even added a piece of cardstock to one card. Again, simple changes, but the end results look quite different.


On these next two cards I changed the direction of the layers, instead of fitting neatly across the width of the card base I positioned them vertically. These two are probably the ones that are most different to the original designs.


For the last two cards I used the same basic layout for both cards as well as using some of the spare supplies - and after this there were still bits and pieces left over!


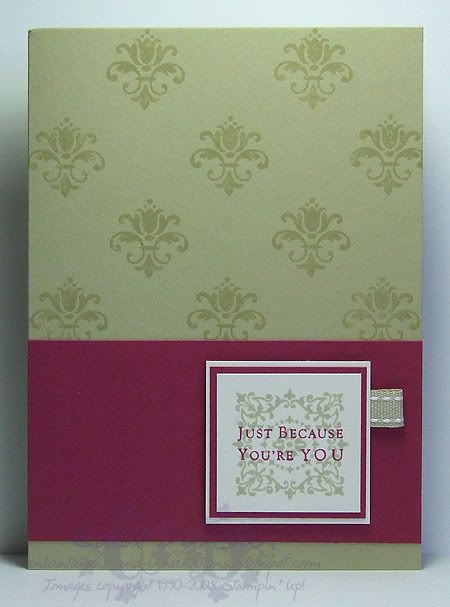
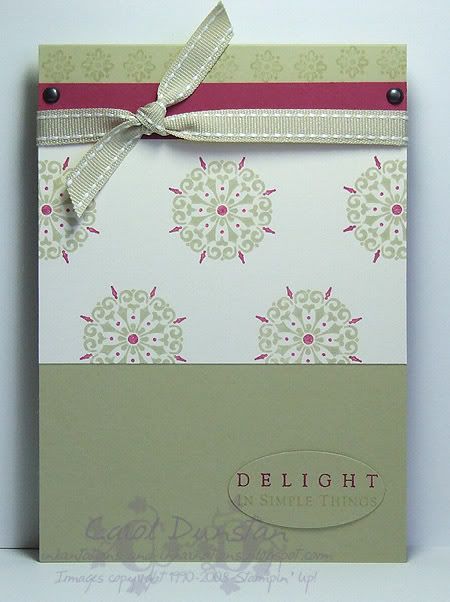
Of course, using up the supplies is not the end for your kit. Here are some cards I made using the instructions from the kit but my own cardstock and accessories:


~Phew~ Is that enough images for you? I hope I've been able to give you a few more ideas on how to use a Simply Sent kit... but now it's time for me to give something tangible away. Since this is World Card Making day we'll make this one nice and easy. Todays prize is 50cm of twill tape and 20 Antique Brass brads like those that come in the Simple Delights Simply Sent kit. As an added bonus I will also include 50cm of the other two widths of twill tape AND 50cm of River Rock double-stitch ribbon, Soft Sky double-stitched ribbon and Chocolate Chip satin ribbon. To win this bounty simply be the first one to email me and the pack is yours! This offer is only available to Australian residents that are not SU! demos.

Friday, October 03, 2008

KW Colour Inspiration #24

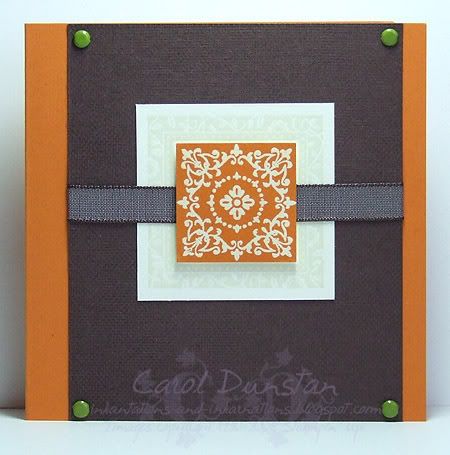
It's time for another Kristina Color Inspiration challenge. When this first popped up on my Google Reader I wasn't sure I was going to be taking part... I was in the middle of something else and I'm going out this morning so I didn't think I'd be able to squeeze it in. But I managed to finish the other thing and it was just before 11pm so I thought I'd give it a go. While the name of the style of plates had me first thinking of Baroque Motifs and wheel etc, part of the pattern made me think of this frame, and then this Simple Delights image that I knew would fit inside it. I went to bed still undecided about putting a sentiment on the card, but when I woke up this morning I felt that the card was too long and chopped the bottom off so it is now a 10.5cm square card. It's now much more in proportion and much cuter! lol

This morning I have also posted another card over on the Elite Challenges blog.

All supplies by Stampin' Up!
Cardstock: Pumpkin Pie, Chocolate Chip, Very Vanilla
Stamp Sets: Simple Delights, Frames With a Flourish, Linen
Inks: Chocolate Chip, Pumpkin Pie, VersaMark
Accessories: clear embossing powder, brayer, 1 1/4" square punch, Chocolate Chip taffeta ribbon, dimensionals, Earth Elements brads
Show watched while creating: Stargate Atlantis

Thursday, September 25, 2008

Metallic Delights

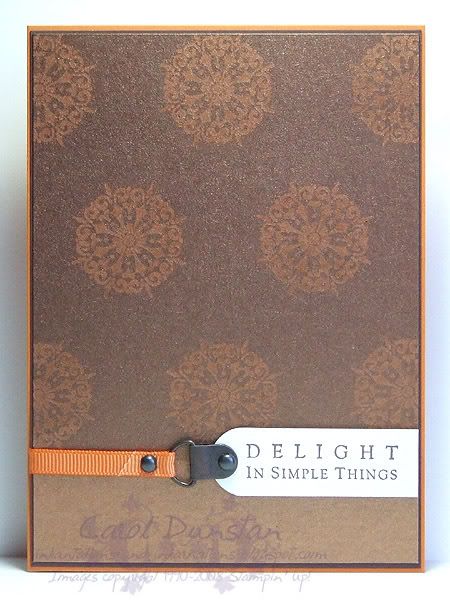
The other night I was heading off to bed when Glenn informed me his mum would be at our place at about 8 the next morning, dropping Glenn off after he'd put our car in to be serviced. Normally this wouldn't be a problem, however it was going to be her birthday and I didn't have her pressie wrapped or card made as I didn't think I'd be seeing her until tomorrow. eek ~meep~ So, 2 hours later her pressie was wrapped in some nice coppery foil wrapping paper and I had made this card to go with it. I have been thinking about doing this sort of thing for some time, but thanks to Steph Pike I've got a wriggle on with it. The background of this card is a piece of copper cardstock from the Brushed Metallics pack. The top 3/4 of it has been stamped with the circular image from Simple Delights using VersaMark then heat embossed using clear embossing powder. Over the top I have brayered Chocolate Chip ink. I was pretty sure the Chocolate over copper would look good and I was very happy with how it all turned out.

All supplies by Stampin' Up!
Cardstock: Pumpkin Pie, Chocolate Chip, copper Brushed Metallics, Very Vanilla
Stamp set: Simple Delights Simply Sent kit
Inks: VersaMark, Chocolate Chip
Accessories: brayer, clear embossing powder, heat gun, 3/4" circle punch, Aged Copper hodgepodge, Pumpkin Pie 1/4" grosgrain ribbon, dimensionals

Monday, June 02, 2008

Simply Another Colour Challenge

This card was made in response to Kristina Werner's latest colour challenge. After sitting and looking at my stamp sets for what seemed an eternity, I finally settled on using the Simply Sent set "Simple Delights". I used my Bashful Blue, Old Olive and Not Quite Navy markers to ink the square motif, punch it out with the 1 1/4" square punch and layer it on a 1 3/8" square of Old Olive. For the sentiment I stamped the square motif without reinking, then stamped the sentiment over top with Not Quite Navy ink. The ribbon is a piece of white taffeta that I stamped with a small motif inked with Old Olive and Not Quite Navy markers. Between the squares I placed some So Saffron brads.
After finishing the first card I realised I had enough stamped pieces left over that I could make another one, however for this one I substituted the stamped ribbon for some So Saffron ribbon from the Ribbon Originals Fairytale pack and left off the So Saffron brads. In the end I am not sure which card I prefer!

Friday, May 30, 2008

Resistance is...

I apologise in advance if this post is a bit... off. I didn't get around to preparing this earlier and I've just finished watching the LOST finale and I'm a bit... well "Jack, we are in shock" isn't a bad summation. Anyway... to the card!

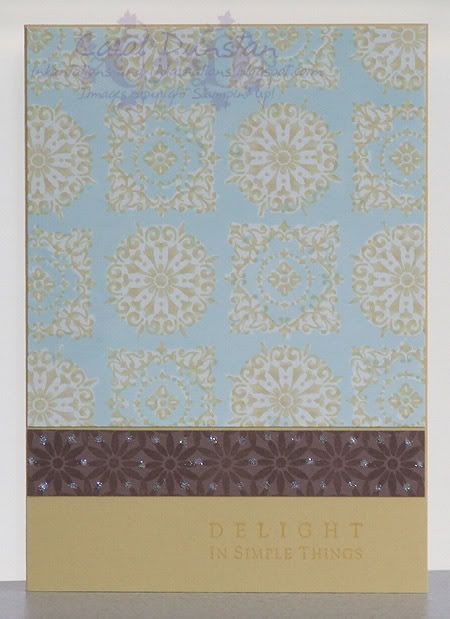
This card was inspired by more bedding! I saw this Sheridan quilt cover in the Myer catalogue the other week and just had to make a card based on it. My method with this card was a little haphazard... living with an electrician does not mean you will be free from electricity related issues. I have asked for some time now to have a double powerpoint put in behind the desk so I can plug my heat gun in, and I am still waiting. Of course I could go out to the kitchen and heat emboss there, but you do it once and they say you can do it that way every time. Don't tempt fate! So, no emboss resist. I decided to give crayon resist a go on this one but I ended up rushing it a bit and didn't get everywhere I wanted to. Still, I can live with it (especially after seeing the sheets in the flesh - not as pretty as the catty pic!) and I do like how the card came out. I've used the Simple Delights Simply Sent kit stamps for most of this card, as well as once stamp from Baroque Motifs (there's no stopping it wink). I stamped the circular and square motifs on the gloss white card using So Saffron ink, let them dry thoroughly then went over it with a white wax crayon (the kids haven't noticed it missing). I then brayered over the whole piece with Soft Sky ink, buffed off the wax, trimmed it to size and mounted it to my So Saffron card base. I stamped the small flower along a piece of Close To Cocoa using VersaMark, dotted some 2-Way glue on it then sprinkled it with Dazzling Diamonds glitter. I attached this to the card front then stamped the sentiment using So Saffron ink.