Showing posts with label blender pen marker. Show all posts

Tuesday, November 04, 2008

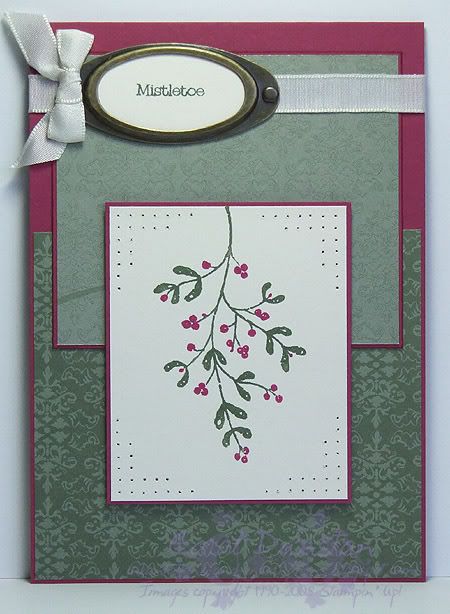
Mistletoe Tradition


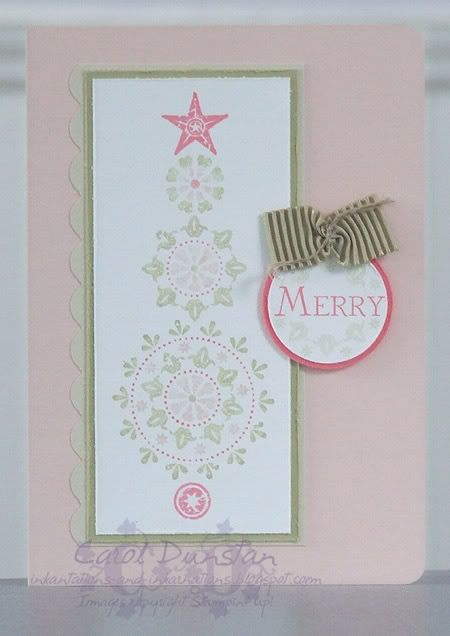
The third challenge from the Inklings October Cyberstamp was simply to use traditional colours. Hmm... there I go, using traditional colours for a change and it was only the last project that I actually needed to do it on! lol I stuck with the Holiday Harmony paper, and then decided to take Kylie's "tradition" requirement one step further and use an image of a Christmas tradition. The over-all card design is based on another of Julee's Mojo Monday sketches.

All supplies by Stampin' Up!
Cardstock: Purely Pomegranate, Very Vanilla
Stamp Sets: Peaceful Wishes, Many Merry Messages
Inks: none
A
ccessories: Purely Pomegranate "marker" (blender pen + refill), Always Artichoke marker, Crafters Tool Kit, Very Vanilla taffeta ribbon, Antique Brass hodgepodge, dimensionals

Sunday, November 02, 2008

Cardmaking, Stamping & Papercraft Vol 14 No 4


Cardmaking, Stamping & Papercraft Volume 14 Number 4 is out now and I some cards in this one too! The cards are all Christmas cards featuring The Snowflake Spot stamp set. There are four cards in the article, but I'll share just one with you here. I've picked this one because it was a bit out of left field - a tree made of snowflakes - and I love the stamping behind the sentiment. It is such a small touch but it looks so soft and pretty.

Friday, October 31, 2008

Speaking of Colour Challenges...

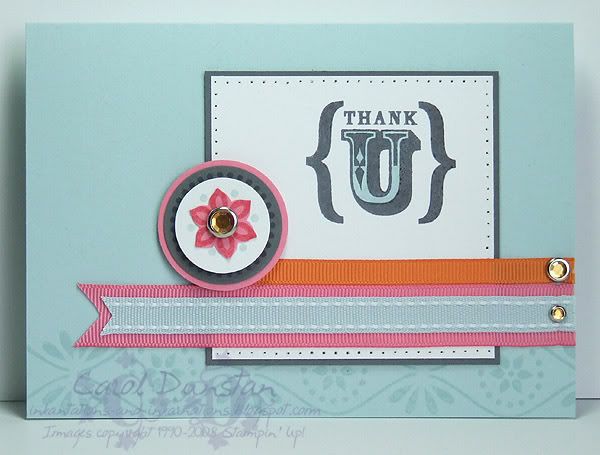
This card was my response to a colour challenge posted on an SU! demo yahoogroup I am on. The colours were Pumpkin Pie, Regal Rose, Basic Gray, Soft Sky and Whisper White. Oh my word! Initially I thought "I'm not even going to go there...", but then I decided that it really would be a challenge, and challenge is good! It's even better when you feel you have met it, and I think I did - I like what I came up with! To make things a little easier on myself I decided to team this colour challenge with Beate's latest sketch challenge.

All supplies by Stampin' Up!
Cardstock: Soft Sky, Basic Gray, Whisper White, Regal Rose
Stamp Sets: True Friend, Boho Friend wheel
Inks: Soft Sky, Basic Gray, Regal Rose
Accessories: Crafter's Tool Kit, 1 3/8" Circle punch, 1 1/4" circle punch, 1" circle punch, Bohoo Blossoms punch, Pumpkin Pie 1/4" grosgrain ribbon, Regal Rose 5/8" grosgrain ribbon, Soft Sky double-stitched ribbon, Fire Circle Rhinestone brads, dimensionals, Soft Sky "marker" (blender pen + refill)

Friday, October 24, 2008

KW Colour Inspiration #27


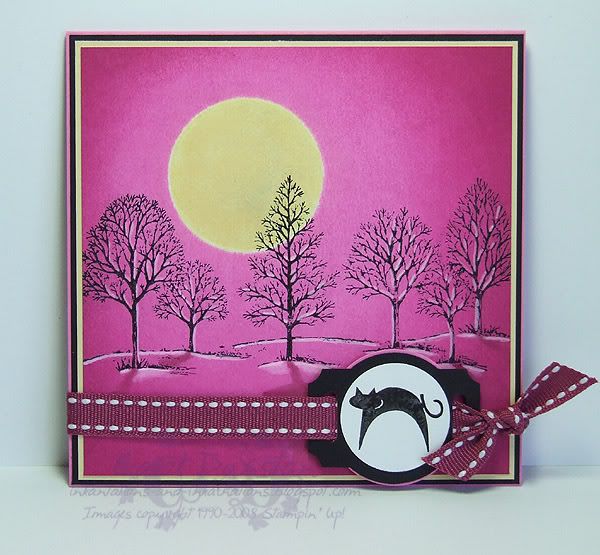
Kristina's latest colour challenge coincided nicely with my desire to create a Hallooween-ish card for Shaelea (since Tiarna is getting Boo). We don't ever really do anything for Halloween but the girls do like dressing up and getting a bit spooky. Anyway, Shaelea likes pink and cats, and I felt like doing another Zindorf-styled card. However, after all the masking, brayering and stamping I realised my trees needed highlights and shadow. The highlights I did easily enough, using a blender pen to pick up Whisper White pigment ink, but the shadows... clearly my cold was starting to affect my thinking because I didn't think to go to Michelle's blog and she how she usually adds such shadows... and I winged it. I used my Purely Pomegranate "marker" for the shadow of the trunks, then thought that was going to be too dark for the shadow of the branches so I tried picking up colour using a clean blender pen. Big mistake! When the blending had dried I was left with a paler halo around the area I had tried shadowing, as the blender pen had caused a bit of colour to run. I tried scribbling colour out of my Purely Pomegranate marker (so the colour was less intense), but that didn't make much difference so I just had to use it as it was. In the end the bulk of it is covered by the ribbon and cat - which I had always planned on using, it wasn't like my mistake required embellishment to cover it up - and what you do see looks ok. I probably should have made the edges a bit darker too but I felt changing from Purely Pomegranate to Basic Black around the edge would be too dramatic. Anyway, it's pink and has a cat, I'm sure Shaelea will love it!

If parts of this post don't make a lot of sense please excuse me... the cold is still affecting my brain! I probably should go back to bed but wanted to cross a few simple things off the to-do list!

All supplies by Stampin' Up!
Cardstock: Pixie Pink, Basic Black, Barely Banana, Whisper White
Stamp Sets: Lovely As A Tree, Party Punch
Inks: Basic Black for stamping; Barely Banana, Pixie Pink, Pink Passion, Purely Pomegranate for brayering; Whisper White for highlights
Accessories: Purely Pomegranate "marker" (blender pen + refill), blender pen, 1" circle punch, designer label punch, 1 1/4" circle punch, horizontal slot punch, Purely Pomegranate double-stitched ribbon, dimensionals

Wednesday, October 22, 2008

Horses For You


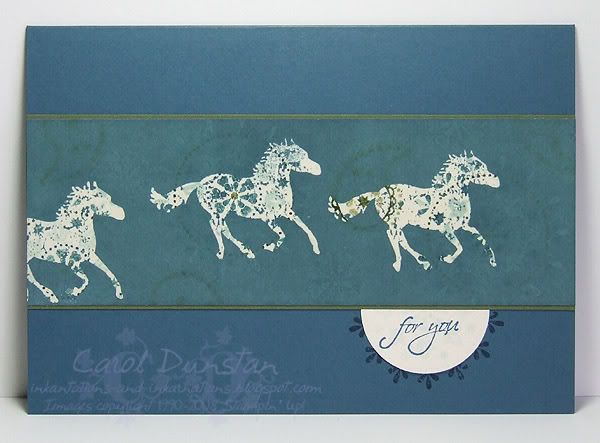
And here is my "stepped up" card. For this card I added the "emerging colour" technique: stamped the horse using VersaMark, clear embossed and brayered Blue Bayou ink over the top. Once you wipe away the ink from the embossing you have the coloured images showing through the embossing and a little bit through the brayered ink. It produces a more complicated looking card, but it's really just a combination of two simple techniques. Now if I didn't have to unplug my OTT light every time I wanted to heat emboss I'd be doing this much more!

All supplies by Stampin' Up!
Cardstock: Not Quite Navy, Always Artichoke, Very Vanilla
Stamp Sets: Wanted, Occasional Greetings
Inks: Not Quite Navy, Mellow Moss, Soft Sky, VersaMark
Accessories: Blue Bayou "marker" (blender pen + refill), Soft Sky "marker" (blender pen + refill), Not Quite Navy marker, Always Artichoke marker, 1 3/8" circle punch, clear embossing powder
Show watched while creating: Stargate Atlantis, Bones

Tuesday, October 21, 2008

Blue For You

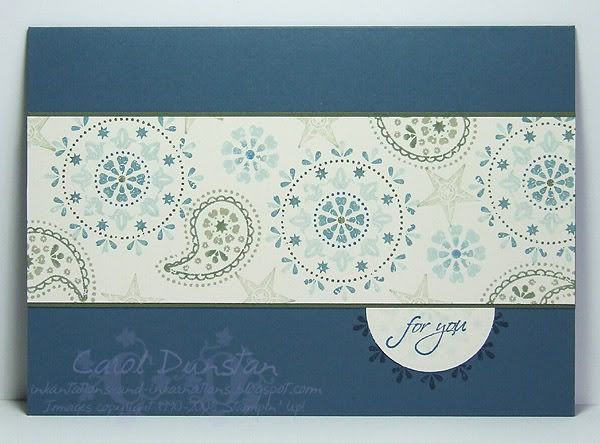
I've been wanting to break out Wanted again for a while, and the set has been sitting on my desk for about a week, waiting for the right moment. Last night was it... I hadn't wanted to use a typical colour combination for this set, then I thought of using a colour combination from a card Jayne demonstrated at our recent team meeting, and my brain started ticking over with ideas. The card is pretty simple in design, being based on Beate's latest sketch, but I also decided to make two cards at the same time and step up the second one a little. I'll share that one with you tomorrow.

All supplies by Stampin' Up!
Cardstock: Not Quite Navy, Always Artichoke, Very Vanilla
Stamp Sets: Wanted, Occasional Greetings
Inks: Not Quite Navy, Mellow Moss, Soft Sky
Accessories: Blue Bayou "marker" (blender pen + refill), Soft Sky "marker" (blender pen + refill), Not Quite Navy marker, Always Artichoke marker, 1 3/8" circle punch
Show watched while creating: Stargate Atlantis, Bones

Thursday, October 16, 2008

KW Colour Inspiration #26

Yay, another Kristina colour challenge! I had to skip last weeks challenge as my sister and her family were visiting, and then absolutely NO inspiration came in the hour after she left and before the deadline. I took one look at last weeks colours and thought "too primary (where's the purple?)" lol , and even though this weeks colours are similar this idea came pretty quickly.
I've been wanting to pull out All Through the Year for a little while, and when I thought about it again this morning it didn't take long to realise it would be a perfect set for this. In the end though most of the stamping on the card comes from the matching wheel Garden Annuals lol. The picture doesn't do the card justice, I've made the white a bit whiter than it was first appearing in the photo but I don't want to over-tweak it.

All supplies by Stampin' Up!
Cardstock: Whisper White, So Saffron
Stamp Sets: All Through The Year, Garden Annuals
Inks: Bashful Blue, Real Red
Accessories: Wild Wasabi "marker" (blender pen + refill), dimensionals, mini glue dot, paper trimmer to score lines, 3/16" corner rounder, double circle punch

Tuesday, October 07, 2008

7 Loves of Card Making - Versatility

There are lots of beautiful stamps out there, and as nice as it might be to have all the ones you want it's not always feasabile. It makes sense to buy stamps you are going to get a lot of use out of, but you can also increase the value of a set by using for occasions other than waht it was intend. I actually do this quite a bit, by using general sets for Christmas (for example, this card with Big Pieces to make a random background, or this card also using Big Pieces for baubles). I also like to use alphabet sets for Christmas cards. However, I gave myself the added challenge of using something that was a little more specific in it's intended style and making a Christmas card with it. I ended up making three:

Using Christmas sentiments, colours that were similar to traditional colours and at least for the first two cards I used the stamps to make common Christmas images, baubles and trees, so the cards looked a little more obviously festive.

All supplies by Stampin' Up!
Cardstock: Blush Blossom, Groovy Guava, River Rock, Whisper White, Ivory Naturals
Stamp Sets: Wanted, Many Merry Messages
Inks: Groovy Guava, River Rock
Accessories: 3/16" corner rounder, River Rock "marker" (blender pen + reinker), Groovy Guava "marker" (blender pen + reinker), Blush Blossom marker, Beachside Ribbon Originals, white gel pen, Scallop circle punch, 1 3/8" circle punch, 3/4" circle punch, 1/16" circle punch, linen thread, cutter kit, dimensionals

I then decided that a real challenge would be to use a Christmas set for a non-Christmas card. I've used Season of Joy for this card, inspired by Jodi Sutherland. I recieved a card from Jodi in a team swap and as soon as I saw it I thought "wow - I've gotta try that!" The flower from Season of Joy is non-descript enough that you can easily use it for other occasions.

All supplies by Stampin' Up!
Cardstock: Old Olive, So Saffron, Blue Bayou, Whisper White
Stamp Sets: Season of Joy, So Swirly
Inks: So Saffron, Old Olive, Groovy Guava
Accessories: Groovy Guava double-stitched ribbon, Rich Regals brads, dimensionals

My challenge to you is to use a non-Christmas set to make a Christmas card or use a Christmas set to make a card for an occasion other than Christmas. Put a link to your card in the comments for this post and at the end of the week I'll pick my favourite one and send a little something to that person. Australian residents only, SU! demos welcome.

Monday, October 06, 2008

7 Loves of Card Making - Occasions

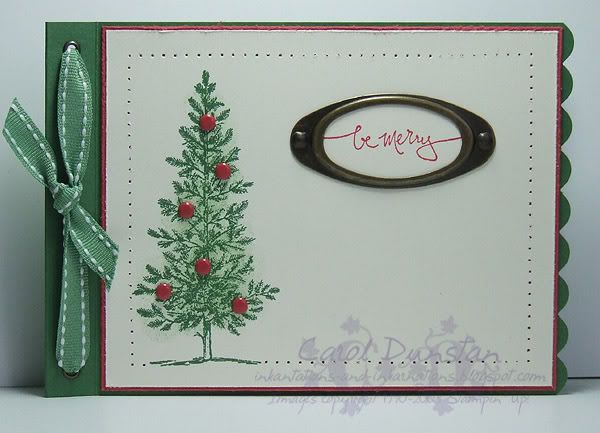
As I mentioned before, I got into stamping and card making initially so I could making birthday cards for family members. That soon extended to Christmas cards. I don't know what it is about Christmas cards, but every year I love making heaps of them, even when I have left it to the last minute and it's a bit of a mission to get them done in time.

I'm not big on the traditional colours for Christmas, but I know I have relatives who do prefer traditional coloured cards, so this one is for them. The stamping on this is very basic but i have added a lot of little features so it is a little time intensive but if you do it product-line style (complete each step on all cards before moving onto the next step) things do go quicker.

All supplies by Stamping Up!
Cardstock: Garden Green, Ruby Red, Very Vanilla
Stamp Sets: Lovely As A Tree, Warm Words
Inks: Garden Green, Ruby Red, Wild Wasabi (for sponging)
Accessories: 3/16" scallop punch, large oval punch, 1/8" circle punch, metallic eyelets, Wild Wasabi double-stitched ribbon, Earth Elements brads, Crafters Tool Kit, Antique Brass hodgepodge, sponge dauber

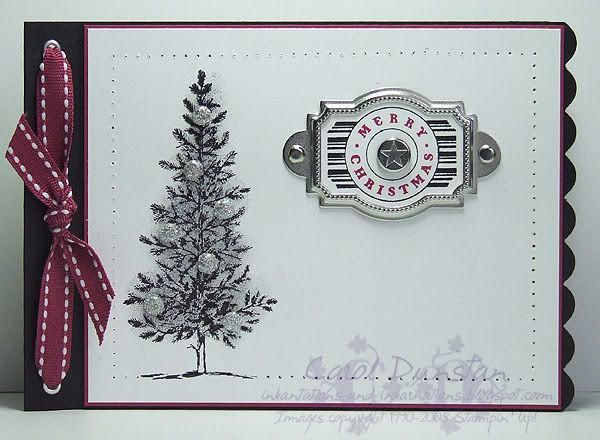
For this card I thought I would go even further than I normally do on the "non-traditional" colour scale. I still think a black Christmas tree looks a little odd, but i have seen a few this year in particular that when decorated look very striking.

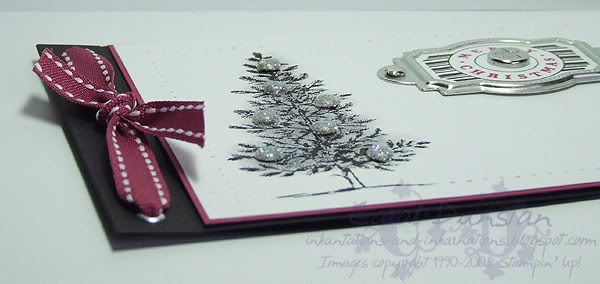
Here's a close-up of the brads. I've attached a mini-glue dot to the top of a silver brad and then dipped the brad in Dazzling Diamonds glitter to get my sparkly brads.

All supplies by Stampin' Up!
Cardstock: Basic Black, Purely Pomegranate, Whisper White
Stamp Sets: Lovely As A Tree, Party Punch
Inks: Basic Black; Basic Gray and Going Gray for sponging
Accessories: 3/16" corner rounder, designer label punch, 1/8" circle punch, metallic eyelets, Purely Pomegranate double-stitched ribbon, Styled Silver hodgepodge, Vintage brads, mini glue dots, Dazzling Diamonds glitter, Basic Black marker, Purely Pomegranate "marker" (blender pen + reinker), sponge dauber

And now for my challenge to you: create aChristmas card using a colour combination you've never used for Christmas before (eg if you usually use red and green, use something non-traditional). Put a link to your card in the comments for this post and at the end of the week I'll pick my favourite one and send a little something to that person. Australian residents only, SU! demos welcome.

Saturday, October 04, 2008

7 Loves of Card Making - Design

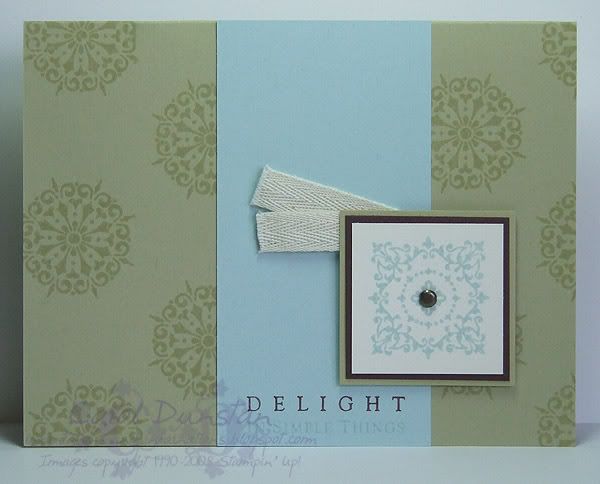
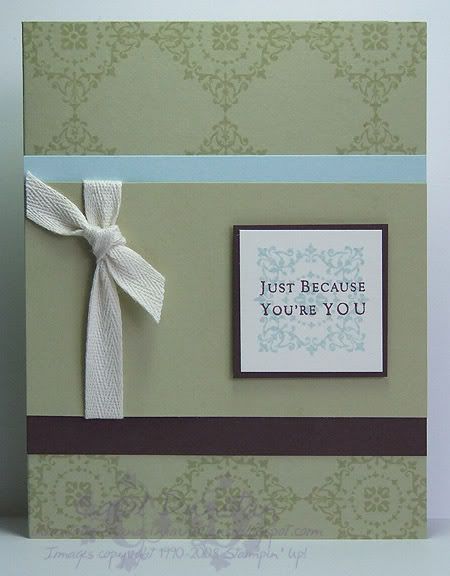
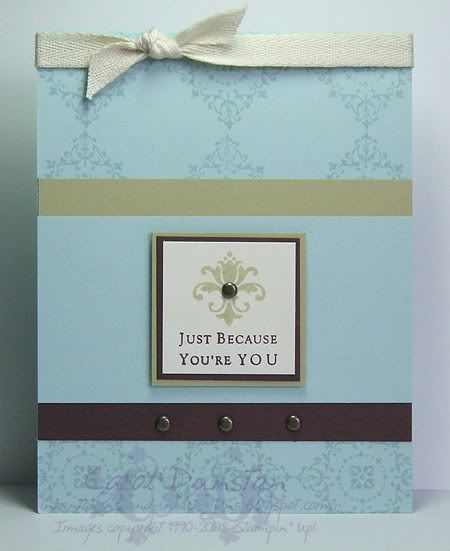
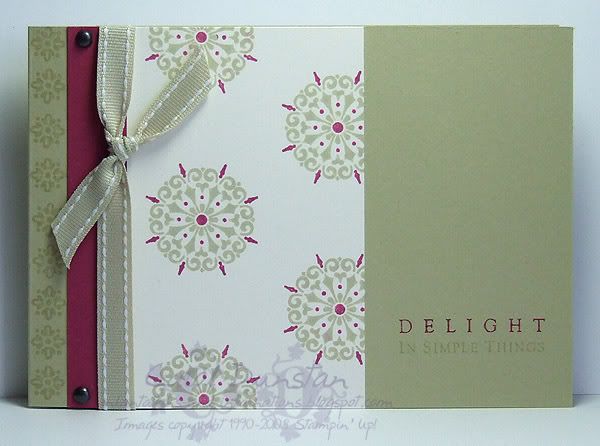
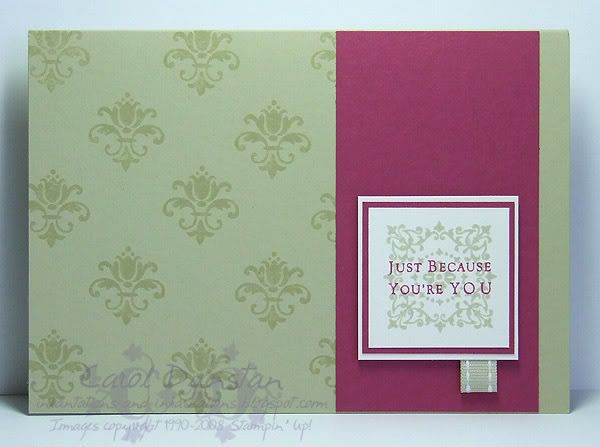
With the Simply Sent kits on special this week, I thought I'd kick off my 7 Loves with Design. Each kit comes with instructions for making two different designs, however you don't have to stick to these designs if you don't want to! There are even a few extra pieces so you can alter the designs quite a bit, mixing and matching as you like. Yesterday I sat down with the kit, made two cards following the instructions, then made another 8 cards by tweaking the designs to varying degrees.

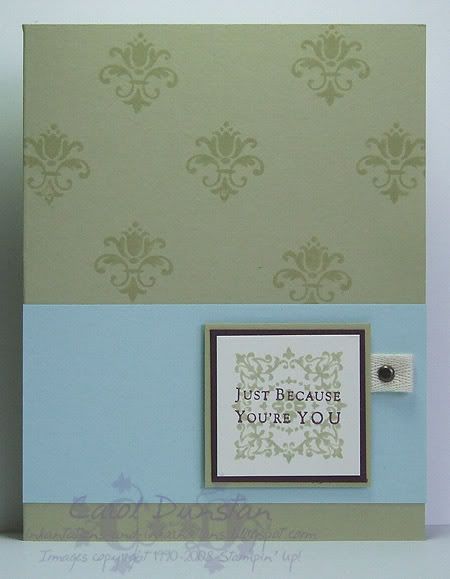
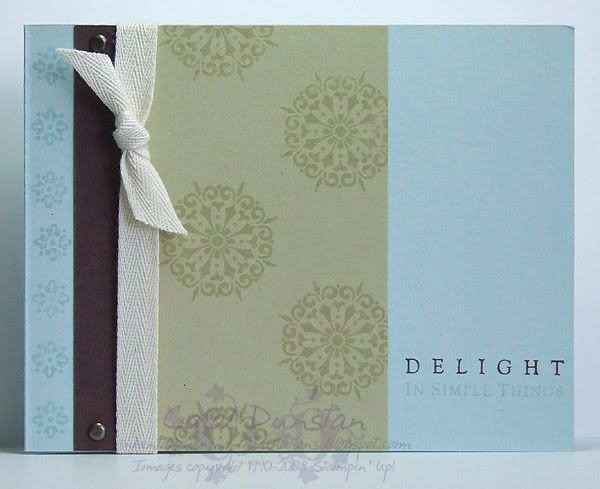
My Simply Sent kit of choice was Simple Delights. If you're a long-time reader of my blog you have probably seen me use this set on a number of occasions, I even posted a card with it yesterday! I love the style of the images in this set so had to have it as soon as the catalogue came out. While I have enjoyed doing my own thing with the stamps, it was fun to work from the designs that come with the kit and not have to think so much for myself. Here are the two cards that follow the instructions provided:


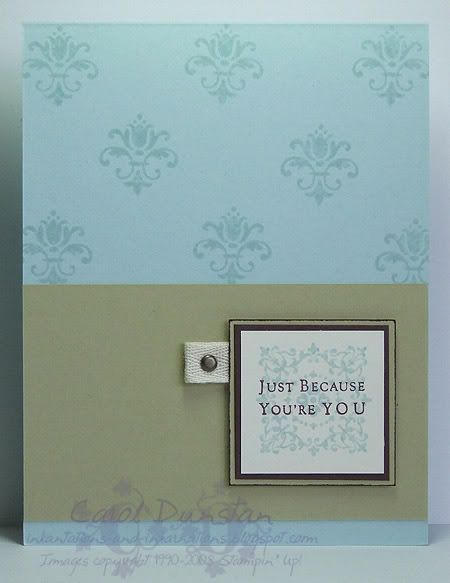
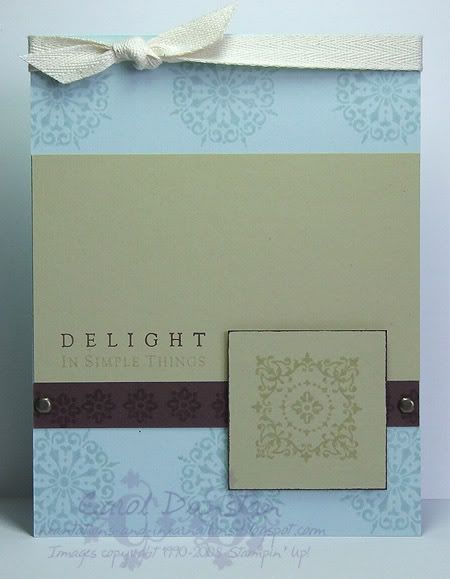
For my next two cards I swithed some of the supplies, eg River Rock cardstock was substituted with Soft Sky cardstock. Some of these changes required some minor modification to the design but it was all still pretty straight-forward.


For these next two cards I started by "flipping the sketch". Flipping the layout of a card is one of my favourite ways to mix things up a bit but keep the thinking to a minimum to speed the process up. I also changed what stamps were used and where and even added a piece of cardstock to one card. Again, simple changes, but the end results look quite different.


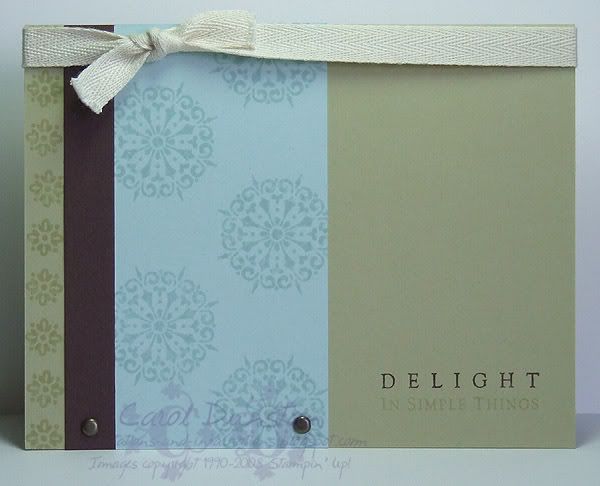
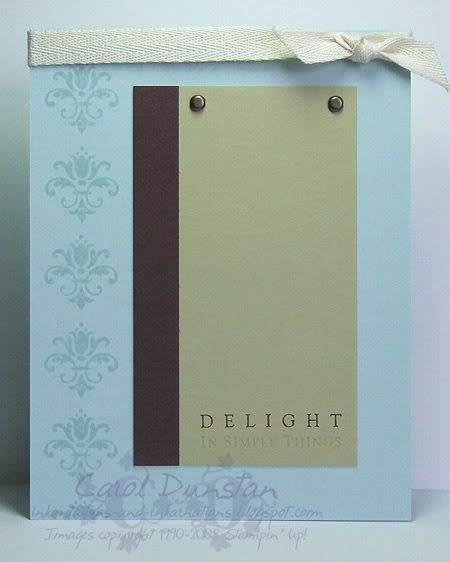
On these next two cards I changed the direction of the layers, instead of fitting neatly across the width of the card base I positioned them vertically. These two are probably the ones that are most different to the original designs.


For the last two cards I used the same basic layout for both cards as well as using some of the spare supplies - and after this there were still bits and pieces left over!


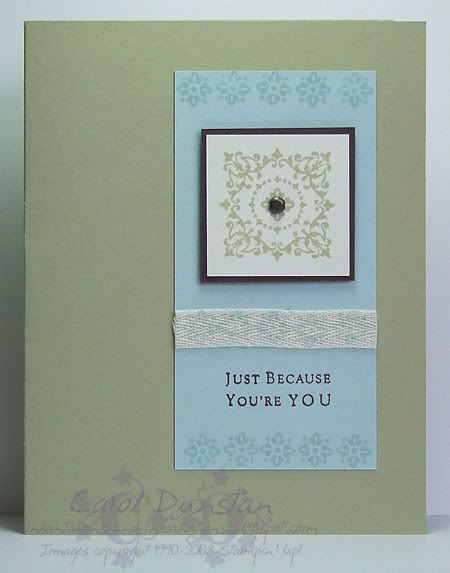
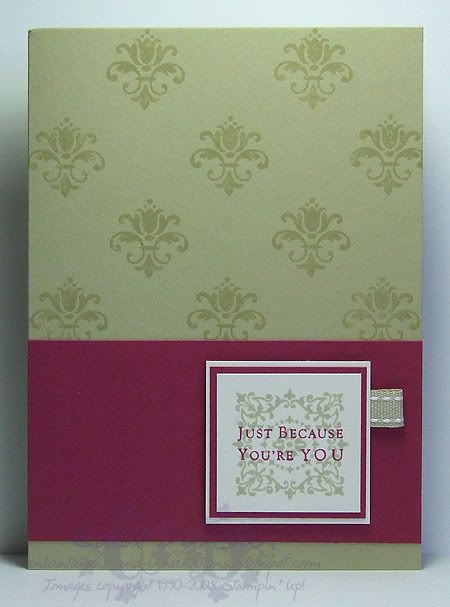
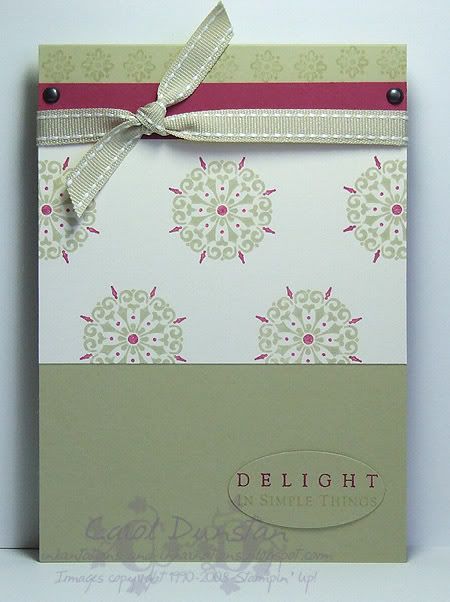
Of course, using up the supplies is not the end for your kit. Here are some cards I made using the instructions from the kit but my own cardstock and accessories:


~Phew~ Is that enough images for you? I hope I've been able to give you a few more ideas on how to use a Simply Sent kit... but now it's time for me to give something tangible away. Since this is World Card Making day we'll make this one nice and easy. Todays prize is 50cm of twill tape and 20 Antique Brass brads like those that come in the Simple Delights Simply Sent kit. As an added bonus I will also include 50cm of the other two widths of twill tape AND 50cm of River Rock double-stitch ribbon, Soft Sky double-stitched ribbon and Chocolate Chip satin ribbon. To win this bounty simply be the first one to email me and the pack is yours! This offer is only available to Australian residents that are not SU! demos.

Monday, September 29, 2008

Leaves With A Flourish

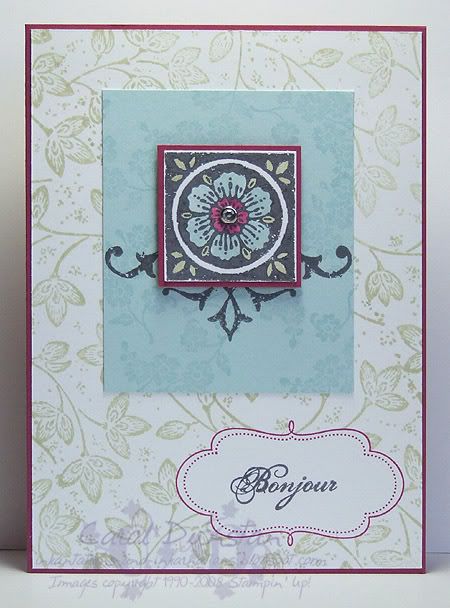
I promise this will be the last Carte Postale card I share with you for a while - I hope you're not sick of it! I think I am going to have to hide it again so I will actually use some other sets. This is a card I have been demonstrating lately, it's a reincarnation of this card, however the above card features masking, In Color markers/blender pen markers and of course one of the bundles from the Free Wheelin' special that ends tomorrow. If I've inspired you with all my Carte Postale cards, or any of the other bundles catch your eye, get your order to me quickly so you don't miss out!

All supplies by Stampin' Up!
Cardstock: Purely Pomegranate, Whisper White, Soft Sky
Stamp Sets: Carte Postale, Leaves a la Carte, Frames With A Flourish
Ink: River Rock, Purely Pomegranate, Basic Gray, VersaMark
Accessories: Pretties Kit, Purely Pomegranate blender pen marker, Soft Sky blender pen marker, River Rock blender pen marker, dimensionals

Friday, September 26, 2008

Pretty Postale

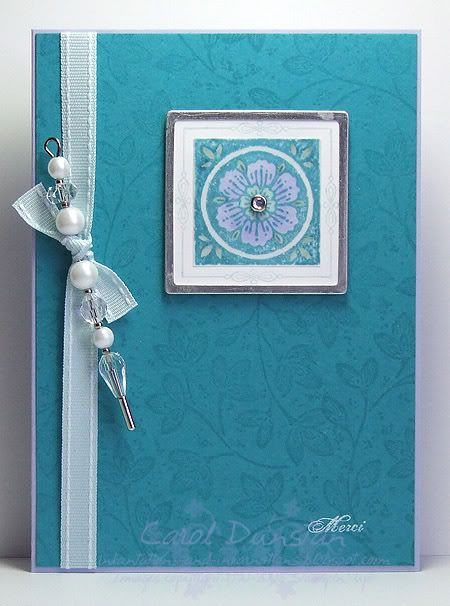
September is drawing to a close, which means there are not many days left to take advantage of Stmapin' Up!s Free Wheelin' special. This card again uses one of the bundles available from the special, Carte Postale. I think every time I use it I can't help mentioning it is one of my favourite sets, though I tend to use colours that traditionally fit it's "vintage" style. When I started makin gthis card I felt it was high time I used some brighter, prettier colours - so teaming it with some Pretties Kit accessories seemed a natural progression. The main feature of this card uses a square aluminium edged tag. I stamped directly onto this with the 'Carte Postale" stamp using my Stamp-a-ma-jig to position it (which was a little awkward given the raised edge of the tag). I didn't even need to mask the words on the stamp as these went onto the aluminium edge and any ink was easy to wipe off. And yes, I know it's another green & purple card but at least I did mix it up a bit and swap out the Bayou for Teal!

All supplies by Stampin' Up!
Cardstock: Almost Amethyst, Taken with Teal, vellum cardstock
Stamp sets: Carte Postale, Leaves a la carte
Inks: Taken With Teal, Soft Sky, Whisper White
Accessories: White Aluminium Square Tags, Pretties Kit, Soft Sky double-stitched ribbon, Sage Shadow marker, Almost Amethyst marker, Soft Sky "marker" (blender pen + refill), dimensionals
Show watched while creating: House