Showing posts with label reverse masking. Show all posts

Friday, October 24, 2008

KW Colour Inspiration #27


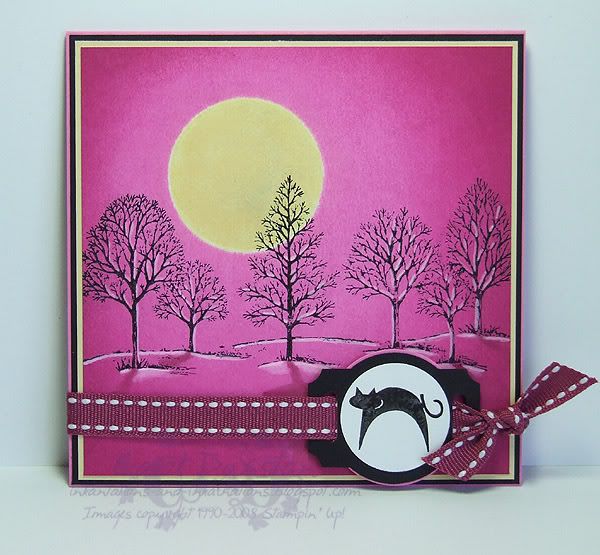
Kristina's latest colour challenge coincided nicely with my desire to create a Hallooween-ish card for Shaelea (since Tiarna is getting Boo). We don't ever really do anything for Halloween but the girls do like dressing up and getting a bit spooky. Anyway, Shaelea likes pink and cats, and I felt like doing another Zindorf-styled card. However, after all the masking, brayering and stamping I realised my trees needed highlights and shadow. The highlights I did easily enough, using a blender pen to pick up Whisper White pigment ink, but the shadows... clearly my cold was starting to affect my thinking because I didn't think to go to Michelle's blog and she how she usually adds such shadows... and I winged it. I used my Purely Pomegranate "marker" for the shadow of the trunks, then thought that was going to be too dark for the shadow of the branches so I tried picking up colour using a clean blender pen. Big mistake! When the blending had dried I was left with a paler halo around the area I had tried shadowing, as the blender pen had caused a bit of colour to run. I tried scribbling colour out of my Purely Pomegranate marker (so the colour was less intense), but that didn't make much difference so I just had to use it as it was. In the end the bulk of it is covered by the ribbon and cat - which I had always planned on using, it wasn't like my mistake required embellishment to cover it up - and what you do see looks ok. I probably should have made the edges a bit darker too but I felt changing from Purely Pomegranate to Basic Black around the edge would be too dramatic. Anyway, it's pink and has a cat, I'm sure Shaelea will love it!

If parts of this post don't make a lot of sense please excuse me... the cold is still affecting my brain! I probably should go back to bed but wanted to cross a few simple things off the to-do list!

All supplies by Stampin' Up!
Cardstock: Pixie Pink, Basic Black, Barely Banana, Whisper White
Stamp Sets: Lovely As A Tree, Party Punch
Inks: Basic Black for stamping; Barely Banana, Pixie Pink, Pink Passion, Purely Pomegranate for brayering; Whisper White for highlights
Accessories: Purely Pomegranate "marker" (blender pen + refill), blender pen, 1" circle punch, designer label punch, 1 1/4" circle punch, horizontal slot punch, Purely Pomegranate double-stitched ribbon, dimensionals

Sunday, October 05, 2008

7 Loves of Card Making - Colour

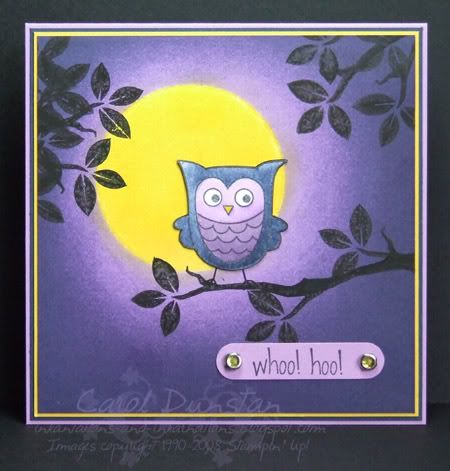
I don't think it is any secret that my favourite colour is purple. But for todays card I thought I would give myself a challenge: instead of just using any purple (in which case I probably would have used Almost Amethyst or Lavender Lace AGAIN), I decided to challenge myself to make something using my least used purple, Elegant Eggplant. I don't have a problem with Elegant Eggplant, I just never seem to use it. I then started thinking about what other colours I could use with it, if there was some already exsisting colour combination that could inspire me. I suddenly thought of the Melbourne Storm. Since they're playing in the NRL grand final tonight I thought it would be very appropriate to make a card based on their team colours. It didn't take long for me to think of using these colours in a Zindorf style and using the cute little owl from Celebrate Everyday. I actually made two versions of this card, the only difference being what size the moon is, I couldn't decide before hand which would look best and as it has turned out both look fine. I was very happy with how all the brayering came out too, being the first time I have tried this technique.

So now I pose the same challenge to you: create a card using purple (as a significant portion of the card, one little brad doesn't count!), and if you normally use purple a lot try to use a shade that you normally don't use. Put a link to your card in the comments for this post and at the end of the week I'll pick my favourite one and send a little something to that person. Australian residents only, SU! demos welcome.

All supplies by Stampin' Up!
Cardstock: Orchid Opulence, Night of Navy, Summer Sun, Whisper White, watercolour paper
Stamp Sets: Celebrate Everyday, Spring Solitude
Inks: StazOn Jet Black, Basic Black; Orchid Opulence, Elegant Eggplant, Night of Navy, Summer Sun for brayering and watercolouring
Accesories: aquapainter, brayer, Fire Circle Rhinestone brads, word window punch, round tab punch (for masking)
Show watched while creating: Bones

Monday, August 11, 2008

Sweet Heart Giraffe


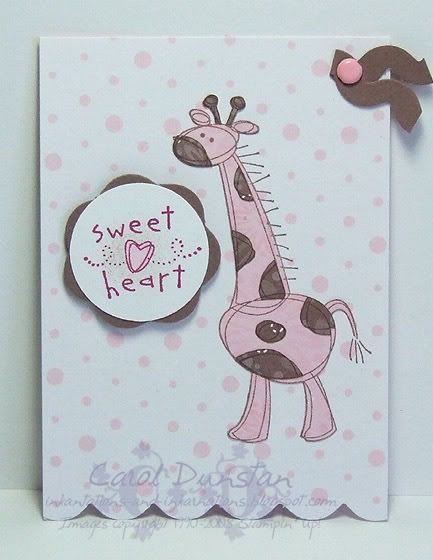
Another swap I was recently involved in was for Patterned Paper ATC's. I decided to go the whole hog (or should that be giraffe?) and use patterned paper for the base of my ATC, however the part that started it all was the giraffe. I had made a similar giraffe on another card (which I hope to share soon) and with all it's patterned paper felt I had to do that for my ATC's as well. Well... 9 ATC's with 9 paper-pieced giraffes is a lot of cutting! But it's just so cute, it was worth it lol. Once again my 3/16" corner rounder was hard at work: scalloping the bottom edge, creating faux ric-rac and scalloping a 1 1/4" circle! I love how perfectly the scalloped circle fits around the 1" circle.
All supplies by Stampin' Up!
Cardstock: Whisper White, Close to Cocoa
Stamp Set: Bundle of Joy

Inks: Purely Pomegranate, Close To Cocoa

Accessories: Berry Bliss paper, 3/16" corner rounder, Soft Subtles brads, Dimensionals
Shows watched while creating: Out Of The Blue, The Chronicles of Riddick, August Rush, Dan In Real Life, Casanova

Monday, January 21, 2008

Masking Thanks

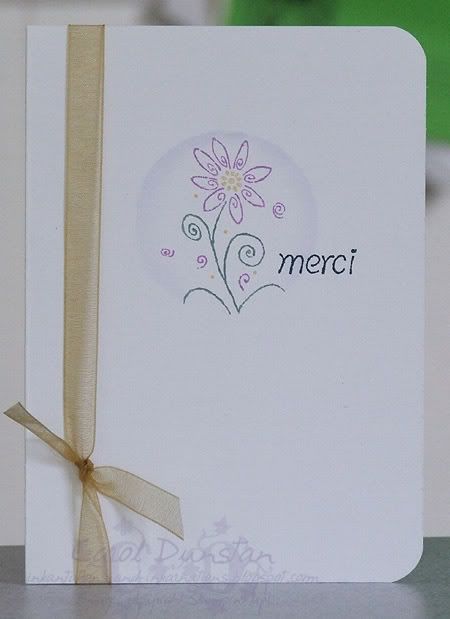
Here's another card I made for the Inklings cyberstamp. The challenge for this was to create a card with reverse masking. I decided to keep it really simple so there are no layers and just some gold organdy ribbon for dimension and texture. I created my reverse mask by using the tab punch to create a circular hole in a piece of paper, laid it over the cardfront and stamped over this. I've used the Merci set again, inking the flower with Sage Shadow, Orchid Opulence and Apricot Appeal markers. I then sponged some Almost Amethyst around the edge of the circle around the flower. I then removed the mask to stamp the sentiment in Handsome Hunter.

Monday, July 09, 2007

Pine Thyme

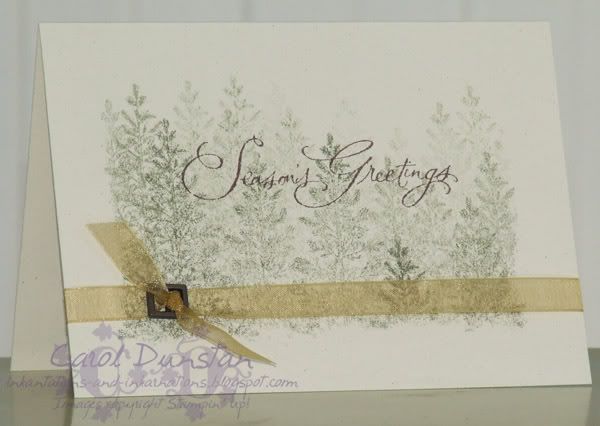
Friday night was a cyber night over at The Inklings forum. The first challenge was a sketch challenge, I decided to go very simple.

The card base is Naturals Ivory. I made a mask for the cardfront by tearing the centre out of a scrap of paper. The tree (from Lovely As A Tree) was inked in True Thyme, stamped off once then stamped on the cardfront (sometimes stamping a second time on the cardfront). I also stamped some in Mellow Moss. The sentiment, from Many Merry Messages, was stamped with Chocolate Chip. The gold organdy is wrapped around the whole cardfront and tied through a buckle from the Aged Copper Hodge Podge tin. I love how this turned out, and so simple it could well be the design of a heap of my Christmas cards this year.


On a completely different note... has anyone seen Shrek The Third? There was a song in it that I thought I knew, but I just couldn't recall. That really bugs me. So I finally looked up the songs on the soundtrack, and as soon as I saw Led Zep's "The Immigrant Song" listed I knew that was it. I'm obviously not a huge Led Zep fan, but I know the song thanks to the Viking Kittens. It was done about 5 years ago, but it still cracks me up... so here is the Viking Kittens video for The Immigrant Song

Sunday, April 15, 2007

Retro Paisley Flower

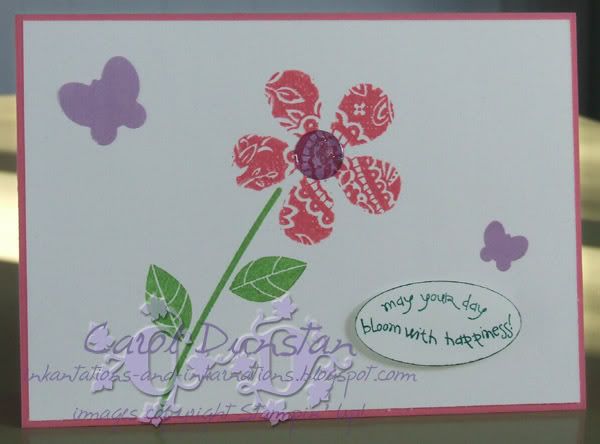
Vicki posted a challange on the Scrapbook Divas forum to make a card featuring a hand made flower. After a minor freak out some ideas started flowing in my head, then Vicki relented and mentioned the retro flower punch was ok to use... well I thought that was too easy! But it did plant a seed...


I punched the flower out of some scrap paper to create a reverse mask, laid it over the fab Stampin' Up! Paisley background stamp (inked in Regal Rose), then laid my Whisper White cardstock over top and rubbed over it. Stamped the stem and flowers (from Bodacious Bouquet) in Green Galore. The sentiment (from Bloom with Happiness hostess set) was stamped on some scrap Whisper White using Glorious Green then punched out with the large oval punch, edged with Glorious Green ink and mounted on dimensionals. To finish the card off I added a couple of Carl butterfly punchies (the small one is CP1, large one is CP2) that had been punched from some shimmery wrapping paper, and a Crystal epoxy sticker for the flower center. Card base is Regal Rose cardstock.

Can't believe it has been over a week since I last posted, I don't know where the time went! I hadn't created anything for a while, but last Wednesday and Thursday I got a lot done... just forgot to edit and upload the photos after I put them on the computer. Think I was distracted by the new LOST to download and my boxes of SU goodies arriving. Haven't been completely with it today after a busy day yesterday, very little sleep last night and weather that was far too warm for mid autumn, so I am only posting the one card tonight and getting to bed at a reasonable hour!