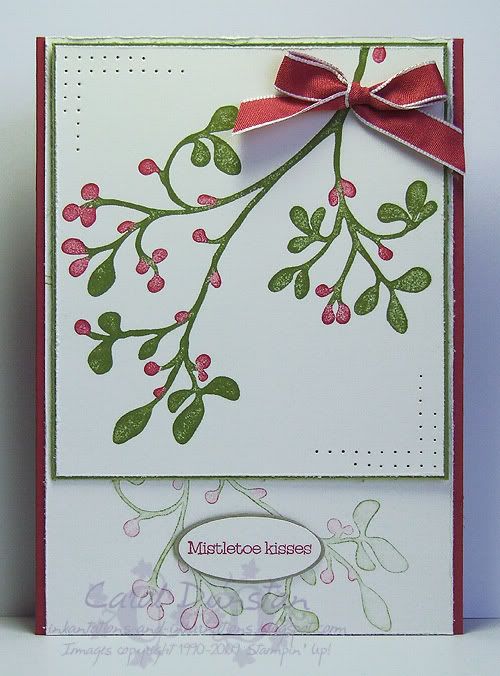
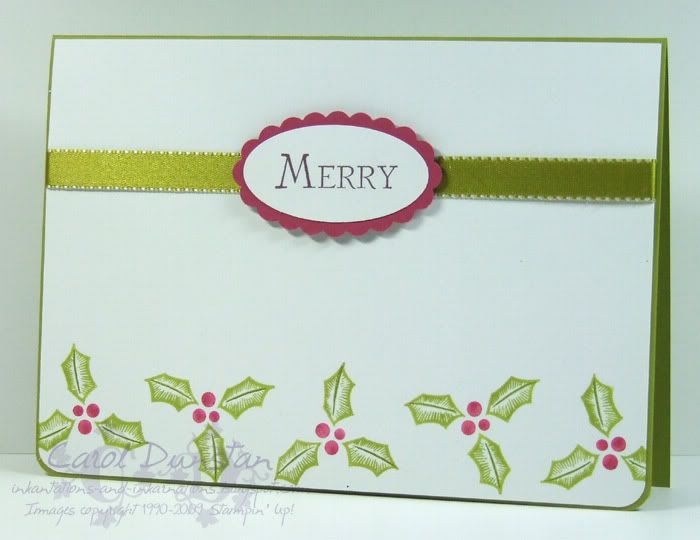
The last challenge for the Inklings cyberstamp was a little frustrating. I had planned what I would do a few days before hand, but when it came to making my sample nothing worked... three ideas, many hours and a few wasted efforts later I resorted to "old faithful" - markers direct to rubber. I've been woefully slack in making Christmas cards this year, so I wanted this card to be a nice simple and relatively quick design. I used my Kiwi Kiss marker to colour the leaves of the holly before doing a darker centre stripe with Old Olive. The scallop oval that the sentiment is layered on was in the Spring mini (which has ended) but Stampin' Up! have have announced it, and a few other items from the Spring Mini, are still available to order... woohoo!
All products by Stampin' Up!
Cardstock: Kiwi Kiss, Whisper White, Rose Red
Stamp Sets: Christmas Classics, Many Merry Messages
Inks: Chocolate Chip
Accessories: Kiwi Kiss marker, Old Olive marker, Rose Red marker, scallop oval punch, large oval punch, Kiwi Kiss/Very Vanilla satin ribbon, dimensionals
Showing posts with label Many Merry Messages. Show all posts
Thursday, December 17, 2009
Friday, November 06, 2009
Cardmaking Stamping & Papercraft Vol 15 No 6
I have four cards in the current issue of Australian Cardmaking, Stamping and Papercraft, Featuring the Kindred Spirits stamp set. I'm sharing one of the cards below, probably my fave for the little touch of dark outline around the bottom mistletoe image.
It can be tricky colouring such a large image with markers, as the first sections you coloured start to dry out by the time you have finished colouring the whole thing. I like to colour the skinny sections first as these hold the ink for longer, and then give a quick touch up to the wider areas (just a few dabs, doesn't have to be evenly coloured) just before stamping.
The issue will be in shops for another week or so, check it out to see the other cards and their product details.
(I've no idea what is happening with the CS&P page, two weeks ago it wasn't working at all and now it is showing an issue three years old!)
It can be tricky colouring such a large image with markers, as the first sections you coloured start to dry out by the time you have finished colouring the whole thing. I like to colour the skinny sections first as these hold the ink for longer, and then give a quick touch up to the wider areas (just a few dabs, doesn't have to be evenly coloured) just before stamping.
The issue will be in shops for another week or so, check it out to see the other cards and their product details.
(I've no idea what is happening with the CS&P page, two weeks ago it wasn't working at all and now it is showing an issue three years old!)
Thursday, November 05, 2009
Merry Tree Trimmings
Sunday, December 14, 2008
Peaceful Merry
I wanted to share one last Christmas card with you (well, I think it will be the last!). This one was the make & take at a recent workshop, utilising markers (remember, the special ends today!) including the Purely Pomegranate one which I had made myself (using a Rose Red marker). As simple as this card is (and it is a slightly stepped up version of this card) I really like it and if I had thought of doing it in this colour combo earlier I probably would have made this one of my mass-produced cards this year! As well as the change of colours other changes made are to punch out the sentiment and mount it on dimensionals (adding a layer behind for extra interest), and instead of punching holes to tie the ribbon through, this wider ribbon is simply tied trimmed and stuck on with a mini glue dot.
All supplies by Stampin' Up! Cardstock: River Rock, Always Artichoke, Whisper White Stamp Sets: Peaceful Wishes, Many Merry Messages Accessories: Purely Pomegranate double-stitched ribbon, mini glue dot, small oval punch, large oval punch, Always Artichoke marker, Purely Pomegranate marker (washed out marker + refill), dimensionals
Tuesday, November 25, 2008
Shabby Chic Greetings
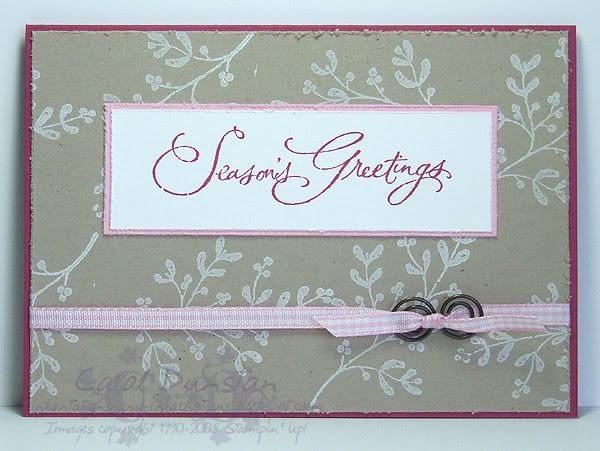
Ever since I did my "Rustic Wishes" card for Regionals swaps I had been wanting to make some for myself. I did that, but on Friday while I was having a stamping session at a friends place I decided to make a pink version, which looks more shabby chic than rustic but I still like the over-all look. Since I had forgotten to take my Cutter Kit with me (I know... how did I manage to step out the door without it???), these are one of those things I have been finishing off over the last few days. I made these in a batch of 12... 3 sheets of Kraft, 6 sheets of Purely Pomegranate, and half sheets (or close to it) of Pretty in Pink and Whisper White. They are quite simple cards, but that works really well for production line construction. I like both these designs so much I am contemplating a blue batch
All supplies by Stampin' Up!
Cardstock:Purely Pomegranate, Kraft, Pretty In Pink, Whisper White
Stamp Sets: Peaceful Wishes, Many Merry Messages
Inks: Whisper White, Purely Pomegranate
Accessories: Cutter Kit (don't leave home without it!), light pink gingham ribbon, Aged Copper Hodgepodge
Tuesday, November 04, 2008
Mistletoe Tradition
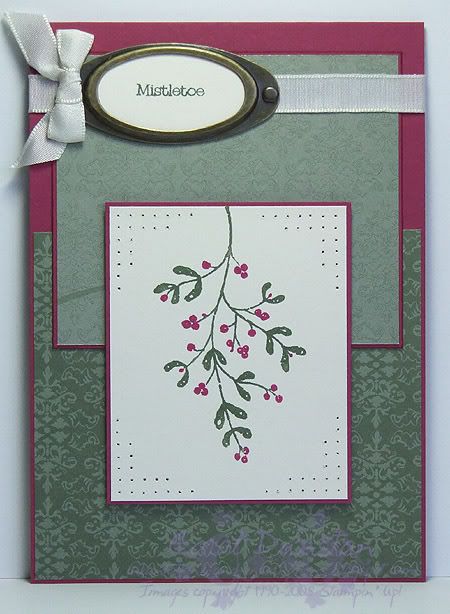
The third challenge from the Inklings October Cyberstamp was simply to use traditional colours. Hmm... there I go, using traditional colours for a change and it was only the last project that I actually needed to do it on!
All supplies by Stampin' Up!
Cardstock: Purely Pomegranate, Very Vanilla
Stamp Sets: Peaceful Wishes, Many Merry Messages
Inks: none
Accessories: Purely Pomegranate "marker" (blender pen + refill), Always Artichoke marker, Crafters Tool Kit, Very Vanilla taffeta ribbon, Antique Brass hodgepodge, dimensionals
Sunday, November 02, 2008
Cardmaking, Stamping & Papercraft Vol 14 No 4
Cardmaking, Stamping & Papercraft Volume 14 Number 4 is out now and I some cards in this one too! The cards are all Christmas cards featuring The Snowflake Spot stamp set. There are four cards in the article, but I'll share just one with you here. I've picked this one because it was a bit out of left field - a tree made of snowflakes - and I love the stamping behind the sentiment. It is such a small touch but it looks so soft and pretty.
Saturday, November 01, 2008
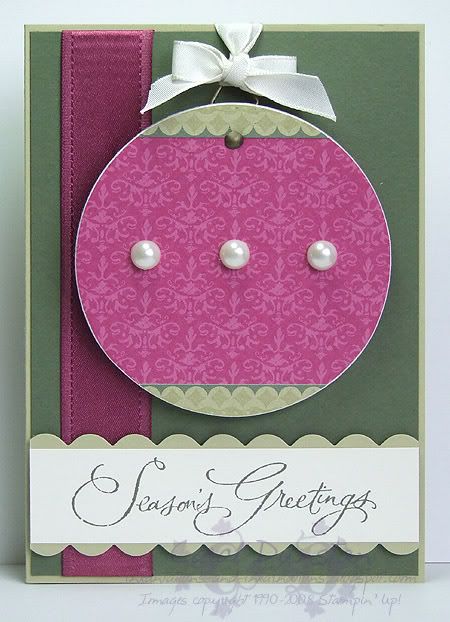
Chipboard Ornament
All supplies by Stampin' Up!
Cardstock: River Rock. Always Artichoke, Very Vanilla
Stamp Set: Many Merry Messages
Inks: Always Artichoke
Accessories: Purely Pomegranate satin ribbon, 3/16" corner rounder, slit punch, On Board Accents chipboard, Pretties Kit, mini glue dots, Very Vanilla taffeta ribbon, Antique Brass hodgepodge, dimensionals
Show watched while creating: Moonlight (well, it was Halloween and I needed a Mick fix)
Tuesday, October 07, 2008
7 Loves of Card Making - Versatility
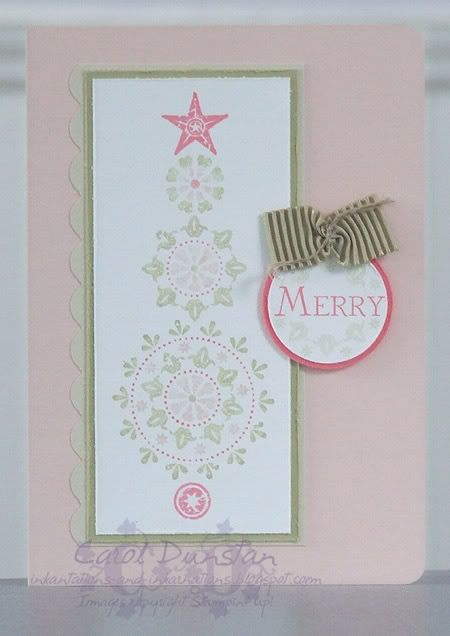
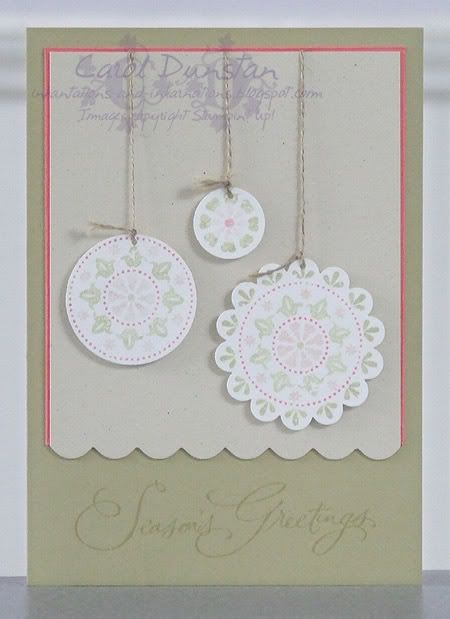
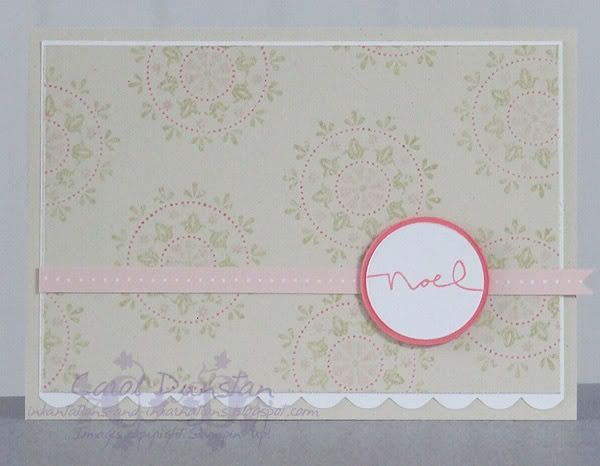
There are lots of beautiful stamps out there, and as nice as it might be to have all the ones you want it's not always feasabile. It makes sense to buy stamps you are going to get a lot of use out of, but you can also increase the value of a set by using for occasions other than waht it was intend. I actually do this quite a bit, by using general sets for Christmas (for example, this card with Big Pieces to make a random background, or this card also using Big Pieces for baubles). I also like to use alphabet sets for Christmas cards. However, I gave myself the added challenge of using something that was a little more specific in it's intended style and making a Christmas card with it. I ended up making three:


Using Christmas sentiments, colours that were similar to traditional colours and at least for the first two cards I used the stamps to make common Christmas images, baubles and trees, so the cards looked a little more obviously festive.
All supplies by Stampin' Up!
Cardstock: Blush Blossom, Groovy Guava, River Rock, Whisper White, Ivory Naturals
Stamp Sets: Wanted, Many Merry Messages
Inks: Groovy Guava, River Rock
Accessories: 3/16" corner rounder, River Rock "marker" (blender pen + reinker), Groovy Guava "marker" (blender pen + reinker), Blush Blossom marker, Beachside Ribbon Originals, white gel pen, Scallop circle punch, 1 3/8" circle punch, 3/4" circle punch, 1/16" circle punch, linen thread, cutter kit, dimensionals
I then decided that a real challenge would be to use a Christmas set for a non-Christmas card. I've used Season of Joy for this card, inspired by Jodi Sutherland. I recieved a card from Jodi in a team swap and as soon as I saw it I thought "wow - I've gotta try that!" The flower from Season of Joy is non-descript enough that you can easily use it for other occasions.
All supplies by Stampin' Up!
Cardstock: Old Olive, So Saffron, Blue Bayou, Whisper White
Stamp Sets: Season of Joy, So Swirly
Inks: So Saffron, Old Olive, Groovy Guava
Accessories: Groovy Guava double-stitched ribbon, Rich Regals brads, dimensionals
My challenge to you is to use a non-Christmas set to make a Christmas card or use a Christmas set to make a card for an occasion other than Christmas. Put a link to your card in the comments for this post and at the end of the week I'll pick my favourite one and send a little something to that person. Australian residents only, SU! demos welcome.
All supplies by Stampin' Up!
Cardstock: Blush Blossom, Groovy Guava, River Rock, Whisper White, Ivory Naturals
Stamp Sets: Wanted, Many Merry Messages
Inks: Groovy Guava, River Rock
Accessories: 3/16" corner rounder, River Rock "marker" (blender pen + reinker), Groovy Guava "marker" (blender pen + reinker), Blush Blossom marker, Beachside Ribbon Originals, white gel pen, Scallop circle punch, 1 3/8" circle punch, 3/4" circle punch, 1/16" circle punch, linen thread, cutter kit, dimensionals
All supplies by Stampin' Up!
Cardstock: Old Olive, So Saffron, Blue Bayou, Whisper White
Stamp Sets: Season of Joy, So Swirly
Inks: So Saffron, Old Olive, Groovy Guava
Accessories: Groovy Guava double-stitched ribbon, Rich Regals brads, dimensionals
My challenge to you is to use a non-Christmas set to make a Christmas card or use a Christmas set to make a card for an occasion other than Christmas. Put a link to your card in the comments for this post and at the end of the week I'll pick my favourite one and send a little something to that person. Australian residents only, SU! demos welcome.
Thursday, August 14, 2008
Merry Baroque
All supplies by Stampin' Up!
Cardstock: Garden Green, Purely Pomegranate, Whisper White
Stamp Sets: Baroque Motifs, Frames With A Flourish, Many Merry Messages
Inks: Purely Pomegranate, Wild Wasabi
Accessories: Garden Green marker, dimensionals, Pretties Kit, 2-Way glue pen, Dazzling Diamonds glitter
Friday, November 30, 2007
Brad happy
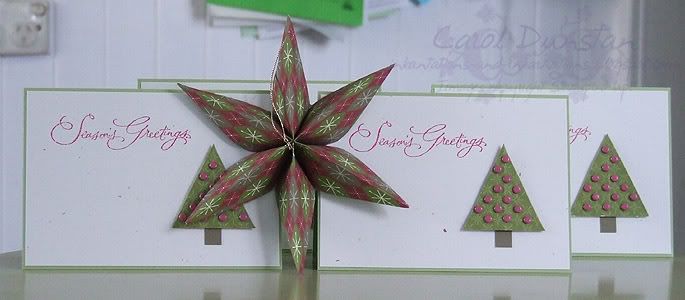
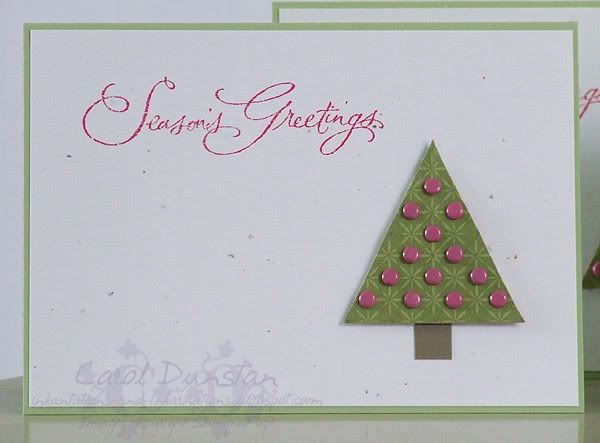
Another decoration... that expanded! I made the star decoration from a piece of 6x6 Holiday Thyme paper, and as I was cleaning up I noticed 4 triangle shapes that would look pretty good as Christmas trees... So I turned them into four simple Christmas cards:
The pattern on the green side of the paper has True Thyme dots between each of the lighter green sparkles/stars, so I punched a circle through them (unless they were too close to the edge) and put in a Rose Red brad. Yes, it did use a few brads but I think they look pretty nifty!
I gave the trees and True Thyme trunk, mounted them on Confetti White cardstock and gave the card sentiment from Many Merry Messages in Rose Red and mounted it all on Certainly Celery.
So before throwing the scraps out, think twice: you may just have some Christmas cards in your hands
Sunday, November 25, 2007
Peaceful Pop-Up
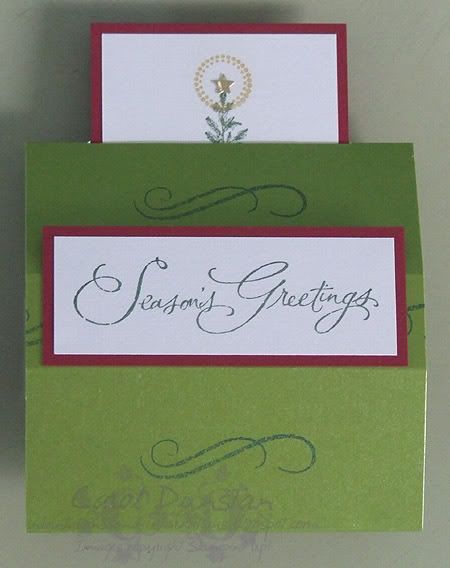
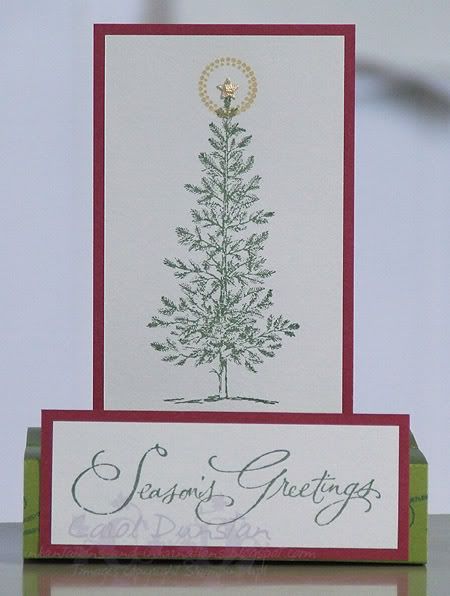
I've wanted to make one of these free-standing pop-up cards for years, but always thought they'd be a bit tricky. Last night I finally bit the bullet and had a go... and it really wasn't that hard, they are a lot easier than they look. I found instructions on Dawn's website, but I ended up looking at a few of them for different photos etc (though the two glasses of Kahlua may have had something to do with that too). This is what my card looks like "closed":
And here it is "open":
I've used Lovely As A Tree and Many Merry Messages sets for my main images, along with Finest Flourishes and Sweet Spot for some finishing touches. The tree, sentiment and flourish have been stamped using Brilliance Pearlescent Ivy (after yesterday's blingy card I stepped back a bit to just shimmery), and I used VersaMark to stamp the circle around the tree top, then applied Brilliant Gold Pearl Ex. The tree is topped with a star punchie. Cardstock is all shimmery stuff though I'm not sure of the brands now, it was bought from Eckersley's a few months back and efficiently stored on the table...
Thursday, November 08, 2007
Lovely Season's Greetings
Wednesday, November 07, 2007
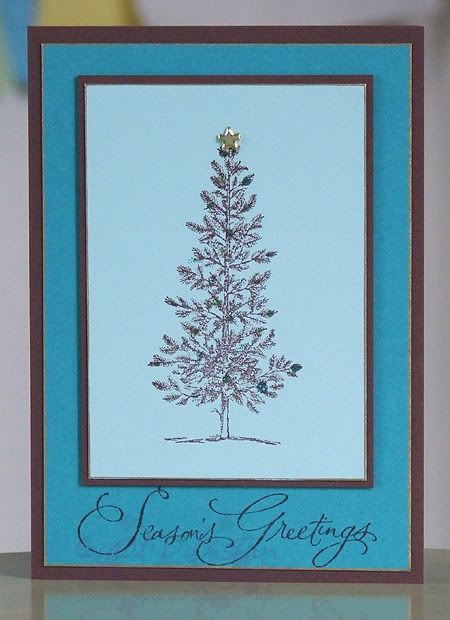
Cool Season's Greetings
Saturday, July 28, 2007
Sketch Greetings
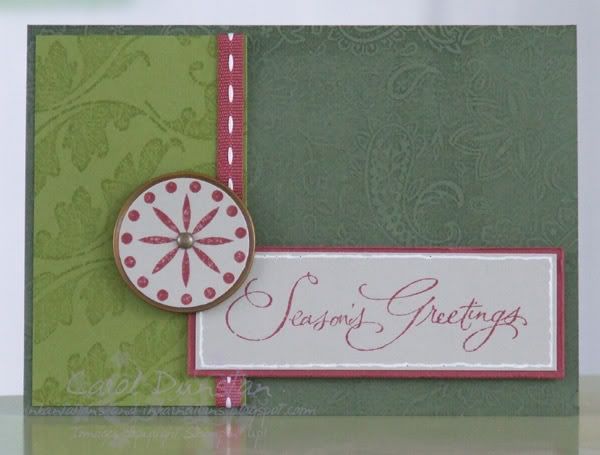
I noticed Beate's sketch challenge yesterday and I had ideas sparking off all over my brain. This is what I came up with:
The cardbase is Always Artichoke, stamped with a roughly VersaMarked Paisley background stamp. Down the left is Old Olive, with some Finest Flourishes VersaMarked on and a strip of stitched Cranberry Crisp grossgrain ribbon (available from the Spring Mini). The sentiment (from Many Merry Messages) and circle detail (from Big Pieces, available from the Spring Mini) are stamped in Cranberry Crisp on Sahara Sand. I added some faux stitching around the sentiment and mounted it on Cranberry Crisp cardstock, then roughed up the edges with the Cutter tool. The circle detail is attached to a small gold metal rimmed tag that had discoloured nicely, the brad in the centre is from the Aged Brass hodge podge and is popped up on dimensionals.
Monday, July 09, 2007
Pine Thyme
Friday night was a cyber night over at The Inklings forum. The first challenge was a sketch challenge, I decided to go very simple.
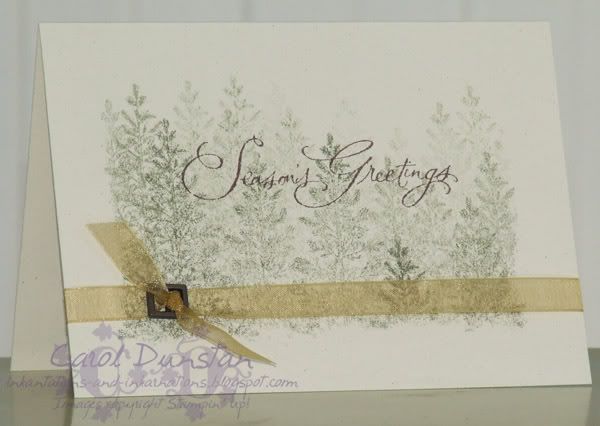
The card base is Naturals Ivory. I made a mask for the cardfront by tearing the centre out of a scrap of paper. The tree (from Lovely As A Tree) was inked in True Thyme, stamped off once then stamped on the cardfront (sometimes stamping a second time on the cardfront). I also stamped some in Mellow Moss. The sentiment, from Many Merry Messages, was stamped with Chocolate Chip. The gold organdy is wrapped around the whole cardfront and tied through a buckle from the Aged Copper Hodge Podge tin. I love how this turned out, and so simple it could well be the design of a heap of my Christmas cards this year.
On a completely different note... has anyone seen Shrek The Third? There was a song in it that I thought I knew, but I just couldn't recall. That really bugs me. So I finally looked up the songs on the soundtrack, and as soon as I saw Led Zep's "The Immigrant Song" listed I knew that was it. I'm obviously not a huge Led Zep fan, but I know the song thanks to the Viking Kittens. It was done about 5 years ago, but it still cracks me up... so here is the Viking Kittens video for The Immigrant Song
Subscribe to:
Posts (Atom)