Showing posts with label Mint Macaron. Show all posts

Tuesday, December 29, 2015

Enjoy Your Day

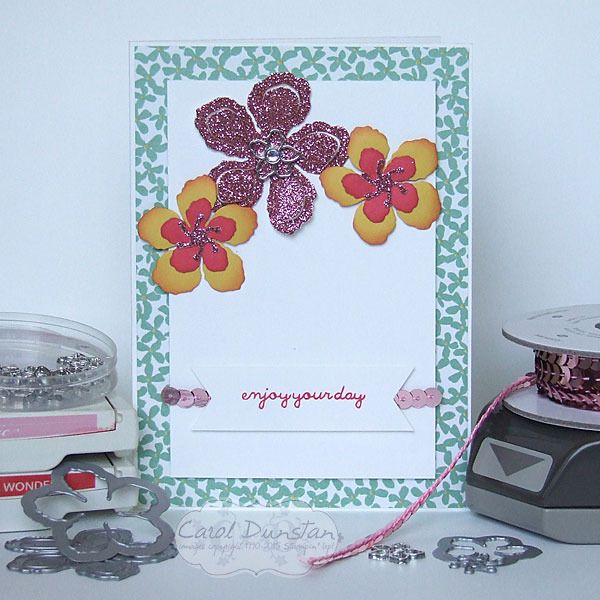
Hello again! Today I have a card featuring a number of products from the up-coming Occasions catalogue.
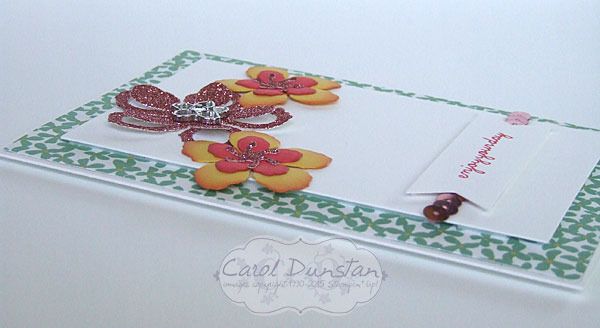
Oooh! That gorgeous Blushing Bride shimmer paper again! I'm really not one for wearing pink, but I do often enjoy creating with it. The flower dies are from the Botanical Builders Framelits dies. There are so many dies in this set, the envelope is jam packed with flowers and leaves. I've used three different flowers dies and one stamen die here, and if you look closely you might be able to pick out that these flowers all have the exact same shape - I love that! With the two that I layered I positioned them so that the petals lined up with the matching petals on the other flower, but you can always have things more hap-hazard.


I also love the large flower I have used here, with it's petals being cut with an inner and outer section. And then there are the coordinating Botanical Garden Jewels! The Mint Macaron flowers in the background are from the Botanical Gardens designer series paper, another style of flower that you will also find in the framelits set. There are so many wonderful coordinating items in this suite.

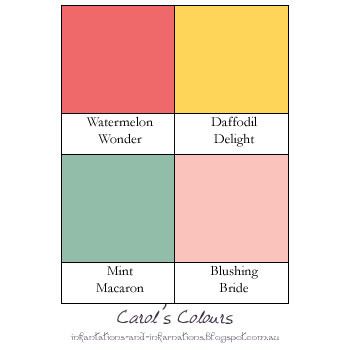
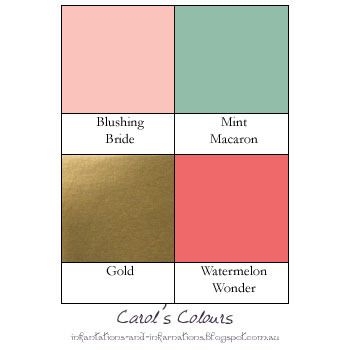
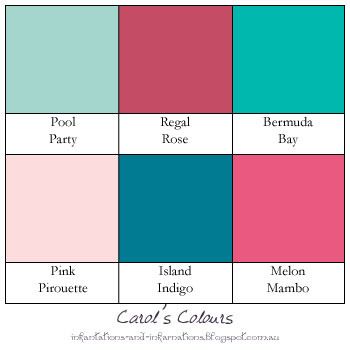
It was only when I was putting together my colour graphic that I realised these colours are very similar to those I used on the Pink and Gold Delicate Ornament card, so it's a nice demonstration of how different something can look with changing one colour, and how you use the colours.

Built for Free Using: My Stampin Blog

Monday, December 21, 2015

Pink & Gold Delicate Ornaments

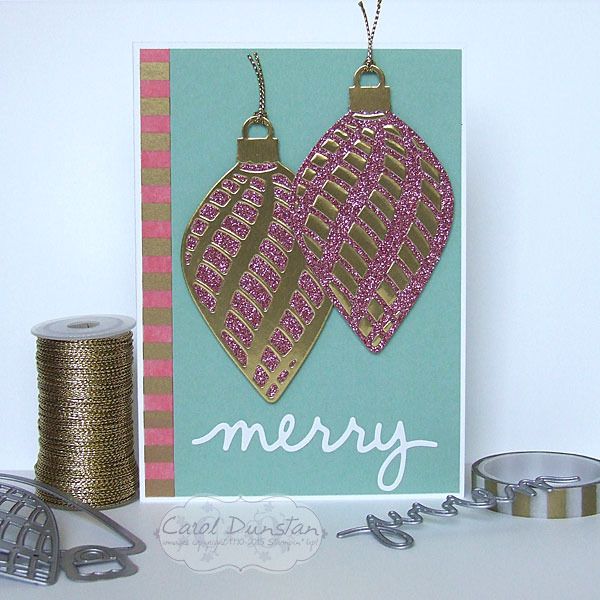
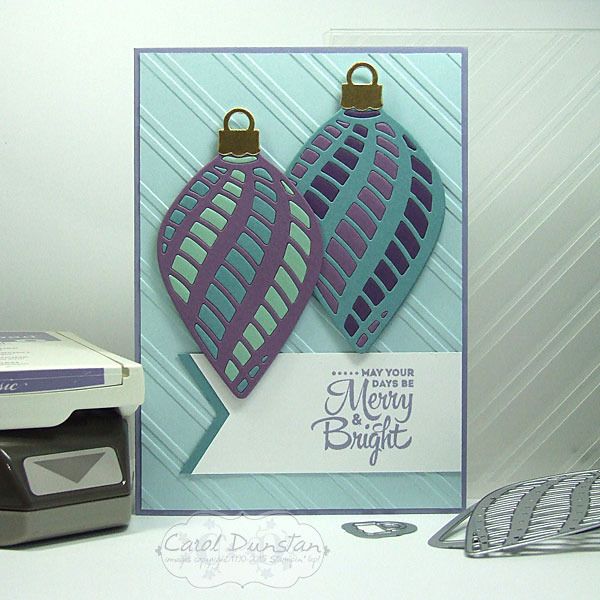
Hello again! With Christmas just days away, I have one last Delicate Ornaments card to share with you.
This card  came into being rather differently to my usual process. I had originally cut the gold ornaments for the Colourful Delicate Ornaments, but when I changed tack with those ornaments the gold ornaments were left sitting around unused. Do you see the glimmer paper I have used on this card? It's another sneak peek from the up-coming Occasions catalogue. I had thought I might use the gold ornaments with silver or Dazzling Diamonds glimmer paper ones, but as soon as I saw the Blushing Bride glimmer paper I knew the fate of the gold ornaments was sealed! While making this card I paid more attention to the clock, for those who have been curious about how long it takes to make these ornaments. For these particular ornaments they took about 10 minutes each, though as I have said before these are the simplest of the three so the other styles would take a little longer.

The other interesting part of this card is the strip down the right hand side. I was working to include some plain Blushing Bride cardstock to coordinate with the Blushing Bride glimmer paper, and I wanted to work ina  little more gold. The Winter Wonderland washi tape (on the Holiday catalogue retiring list, less than two weeks left to order it) over Blushing Bride cardstock only let a tinge of colour show through, so I went with Watermelon Wonder cardstock instead. The washi tape over Watermelon Wonder is a few shades darker than Blushing Bride, but the pop of colour works in well.

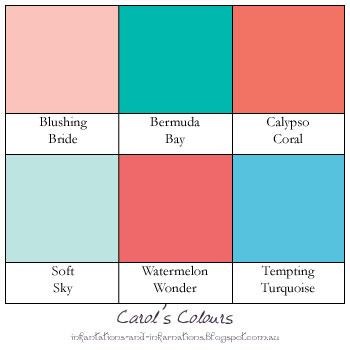
The colours for todays card:

Built for Free Using: My Stampin Blog

Monday, December 07, 2015

Colourful Delicate Ornaments

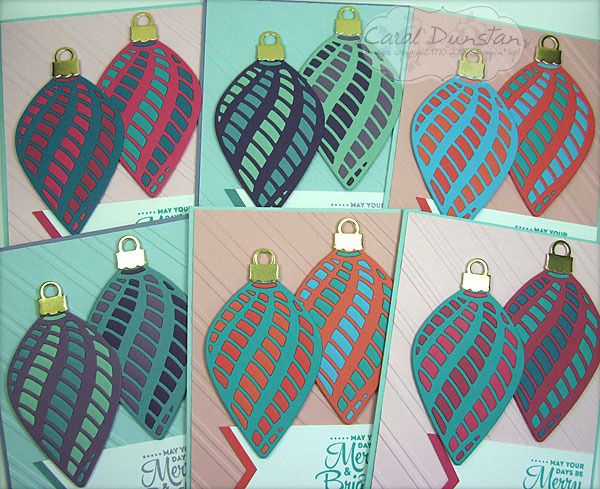
I have more Delicate Ornament cards to share with you today. These ones use the long ornament dies.


Once again I made a set of six cards, however my plans changed drastically once cutting a lot of the dies out. With some of the little pieces popped out I could start positioning them where I wanted them on the ornament and I decided that things weren't going to look quite how I wanted them. So Plan B was to change the colour combinations a little and cut more ornaments so there were two on each card.


 All of the ornament cards I have posted over the last few weeks I actually started on the same day. On the Saturday I cut all of the ornaments out (except for the extra ones I did for this once I changed my mind), and on the Sunday I started putting them together - as you can see in these Instagram photos. These are definately the easiest of the ornament dies to do this technique with as the majority of the pieces are a decent size - easier to pop out and easier to handle. I did start with these when putting them together, but they were the last to be made into actual cards. I did finish them all over the space of a few days but wanted to spread out the posts for them so you weren't looking at ornament cards for a whole week! After preparing this post I saw a card by Mary Brown on Pinterest that is remarkably similar - clearly a case of great minds think alike! I'm really glad to see someone else doing this :D

Very non traditional colours in these!


Built for Free Using: My Stampin Blog

Monday, July 27, 2015

Festival of Triangles

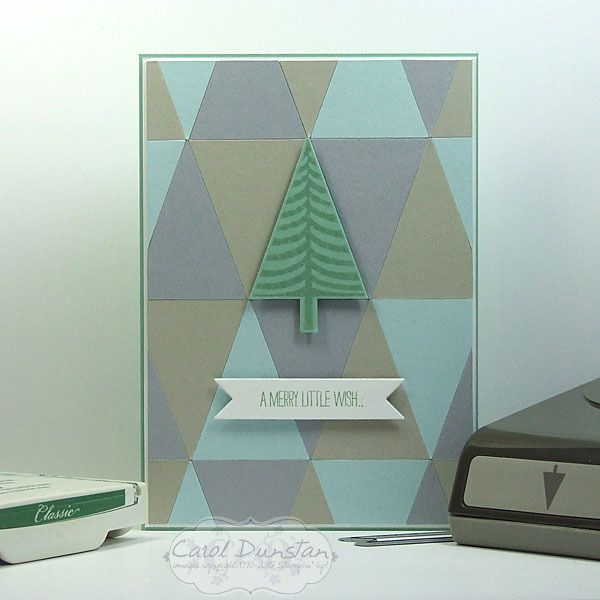
Sorry not a lot of creations to look at lately, been busy again! I started this card last month before the school holidays... and only finished it last week. Then it took me a few more days to take a proper photo of it! It was inspired by my last card, the Petite Pennants birthday card, but using all current products.
The background was created using the Tree punch. There were two ways to go about this: punch the whole tree out and trim the trunk off afterwards, or line the edge of my cardstock up with the bottom of the main tree section so there was no cardstock in the trunk to be punched. I opted for the later as it made it a little easier for using up cardstock scraps and fitting more trees into the limited space. Normally when making a background like this I would line one edge of the piece up with a straight edge of a base layer. This time though I wanted the stamped tree to line up with a triangle underneath it, and I could tell doing that my normal method would result in the tree being in an odd position. So instead I decided where I wanted the tree to go, lined up a ruler along the bottom of the main tree section, and then started placing the triangles up against this. It did mean I was having to trim off bits of triangle hanging off all four edges instead of three like I normally would have, but the overall result is far more satisfying so it's a small price to pay.

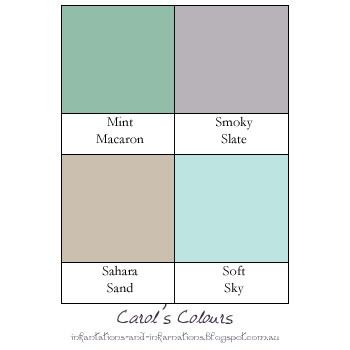
Here are the colours I used:

Built for Free Using: My Stampin Blog

Saturday, June 27, 2015

Butterfly Basics One Layer Card

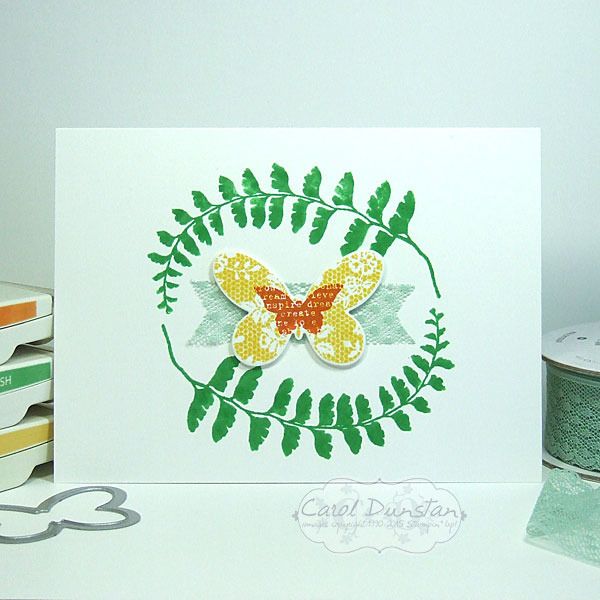
When the new Stampin' Up! catalogue launched the new thick Whisper White cardstock was an insta-buy, but I haven't actually done a lot with it yet. One thing I was very keen to do was use it for a card base. Then old thin Whisper White was a little flimsy for a card base, and while I haven't stacked heaps on this card I can tell the card holds up better than it would have with the thin.

I think I have totally got into the mindset of not thinking of the bottom layer of a card being white unless there is minimal embellishment, but I'm sure I will get there! Thanks to the wonders of polymer stamps I was able to bend the fern frond image around more than it's natural curve and get more of a circle from it when stamping a second one opposite. I'm a little annoyed I didn't notice till I was editting the photos that the lace isn't exactly centered - it's not that noticable is it???

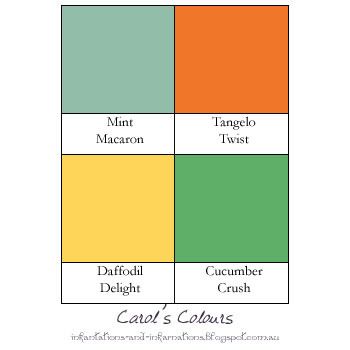
Today's colours are definitely not my usual choices, but I figured if I was making yet another card with butterflies I should mix it up with the colours at least!

Built for Free Using: My Stampin Blog

Monday, June 22, 2015

The Festival Of Trees Continues

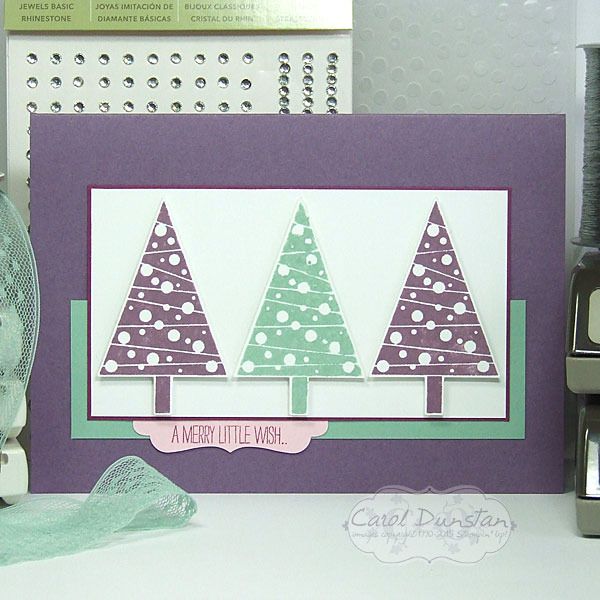
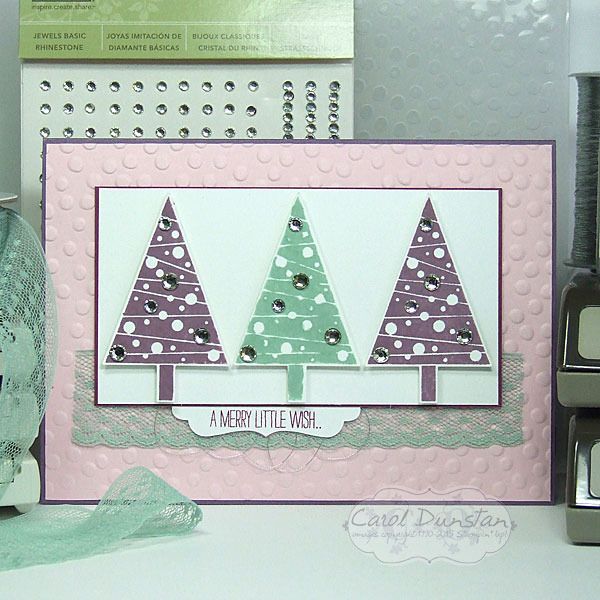
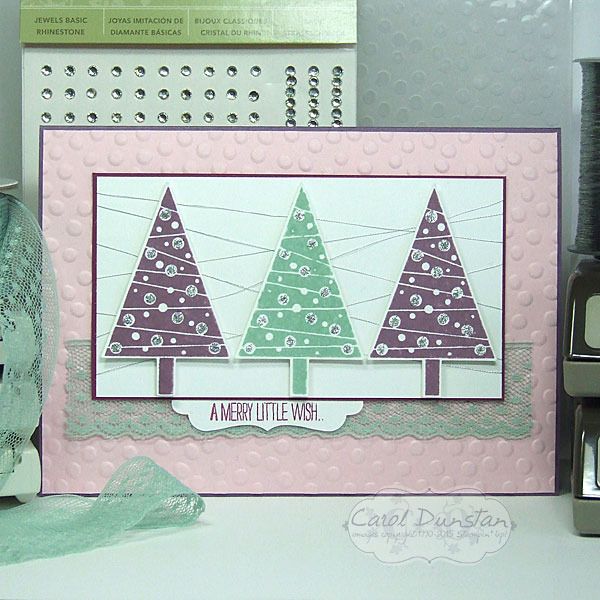
The Festival Of Trees stamp set was released in the Holiday catalogue last year, was carried over to the Occasions catalogue and is now included in the new annual catalogue! I'm sooooo happy that the Christmas section has returned to the annual catalogue, and having the option of Christmas sets available all year round... because let's face it, it's never too early to start on your Christmas cards! With that in mind, I thought I would get started on mine in June, and hopefully I won't end up in what has become a mad rush the last few years. The worst part about that isn't so much the "chasing your tail" feeling, but the burn-out I often feel afterwards, and needing a break from stamping for a while. Anyway, enough jibber-jabber, here's the cards:
yep... I couldn't settle on one design so I made four. Design is based on Sweet Sunday Sketch #272.

I also kept with my tradition of non-traditional Christmas colours... it felt a little too soon in the year for that!


Built for Free Using: My Stampin Blog

Friday, June 05, 2015

A Day Stacked With Ice Cream

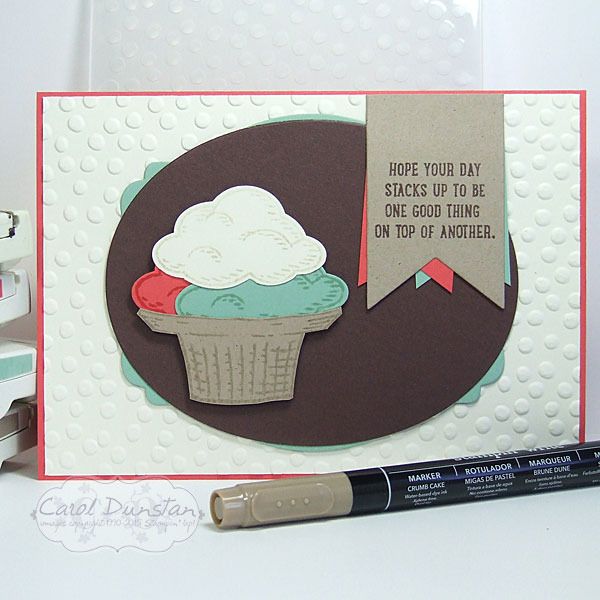
It's been pretty chilly here lately, and the only way I usually do ice cream in this weather is on the side of some hot dessert (mmm, pie). However, with the new set Sprinkles Of Life I can have the ice cream without the extra chill! Well, I do also miss out on the delicious flavour... I might have to do something about that later...

So for this card, I wanted three scoops, but just to be difficult I wanted the card in the landscape orientation. To help accomodate that I teamed the basket stamp with part of the cone stamp, which I inked up using the Crumb Cake marker. This stamp set is a transparent photo-polymer one, but using such a light colour it was still hard to line things up perfectly, so the handy-dandy Stamp-a-ma-jig ably assisted with that :) To get a light impression on the Vanilla cardstock, since we don't have Vanilla ink I inked the stamp with Crumb Cake and stamped it off on scrap paper a couple of times before stamping on the cardstock.

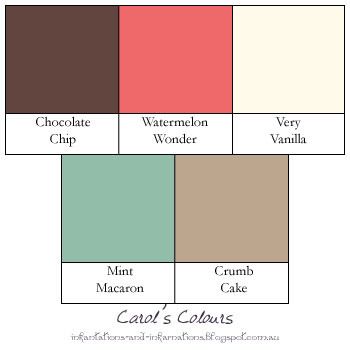
The ice cream theme dictated the colours they used - they had to be yummy!

Built for Free Using: My Stampin Blog

Monday, June 01, 2015

Flower Potpourri Farewell

Tomorrow is the last chance you will have to order products from the current Stampin' Up! catalogue, and the Stampin' Up! Occasions catalogue. Fabulous products like these...
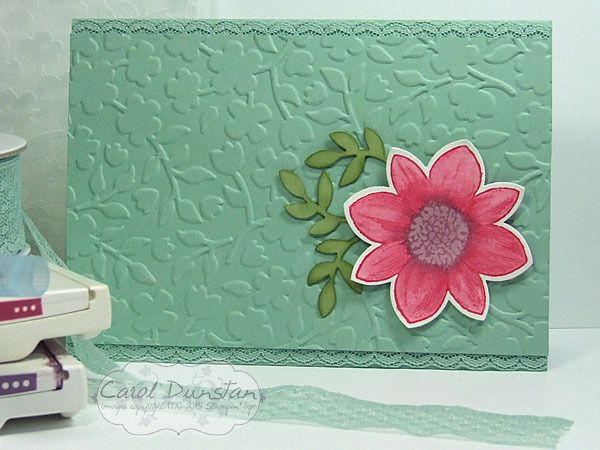
I so so love the Spring Flowers embossing folder, and I am really sad it isn't carrying over to the next catalogue. The Petal Potpourri set also won't be in the new catalogue either, nor will the coordinating Flower Medallion punch. I loved the variety of styles in Petal Potpourri, and of course I am a punch fanatic so always sad to see one go. As sad as that is, tomorrow will be your first opportunity to purchase new items, like the Mint Macaron cardstock and Dotted Lace Trim! There's so many things I love in the new catalogue that it does ease the pain of what we'll be saying goodbye to.

This card is pretty straight forward, the flower was stamped on watercolour paper in the Rose Red and Perfect Plum ink, then the aquapainter was used to just spread the colour to fill in the petals and flower center. I also picked up a bit of ink from the inkpad itself to add a bit more to the base of the petals to make the colour there more intense and add a bit more depth to them. I also sponged a little bit of Pear Pizzazz around the edges of the punched leaves to help them stand out against the Mint cardstock.

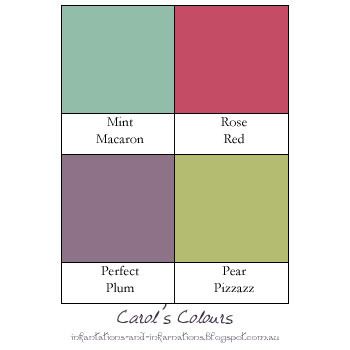
And today's colours are...

Built for Free Using: My Stampin Blog

Friday, May 29, 2015

I Have A Mint Crush

I've been busy busy busy again, so here's TWO cards I managed to make a few days ago.

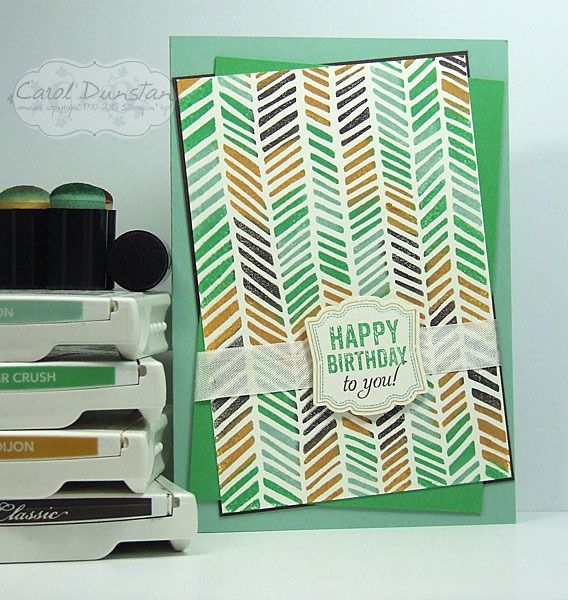
I'm sad about a number of stamps that are retiring, and this Handcarved background stamp is one of them. I love it's informal chevron-ish look. I sponged the colours on with daubers and didn't worry about being too neat - but also didn't want to be overly messy and get some horribly muddied colours. I teamed this background with some more retiring products, the Label Love set and coordinating Artisan Label punch.
For the next card I decided to stick with the same colour scheme but go for a completely different look. I don't have a lot of Thank You cards in my stash, so decided to make one with the Because You Care set. If you haven't noticed it, it's a hostess set in the Occasions Catalogue and won't be available after June 2. I let a piece of Mint Macaron cardstock take centre stage on this card, it's definitely my favourite of the new In Colors, so expect to see a lot of it! Some of the items used in these cards, like that yummy Mint Macaron cardstock, can't be ordered until June 2nd, but don't forget June 2nd is a wonderful day when you can order from the current catalogue, the Occasions catalogue and the new 2015-2016 catalogue! That said, any retiring items you like you really shouldn't wait to order as they are only available while stocks last.

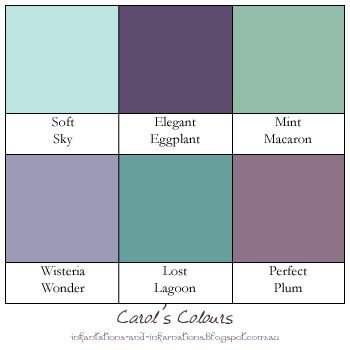
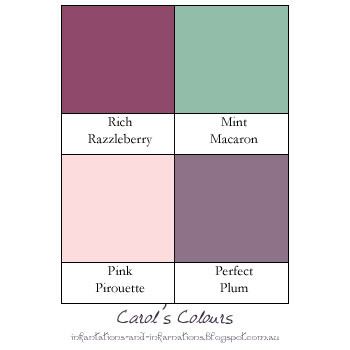
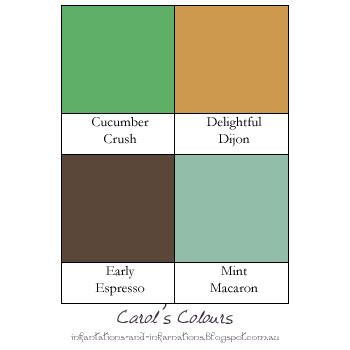
And the colour combination for both cards:

Built for Free Using: My Stampin Blog