Showing posts with label Wisteria Wonder. Show all posts

Monday, December 07, 2015

Colourful Delicate Ornaments

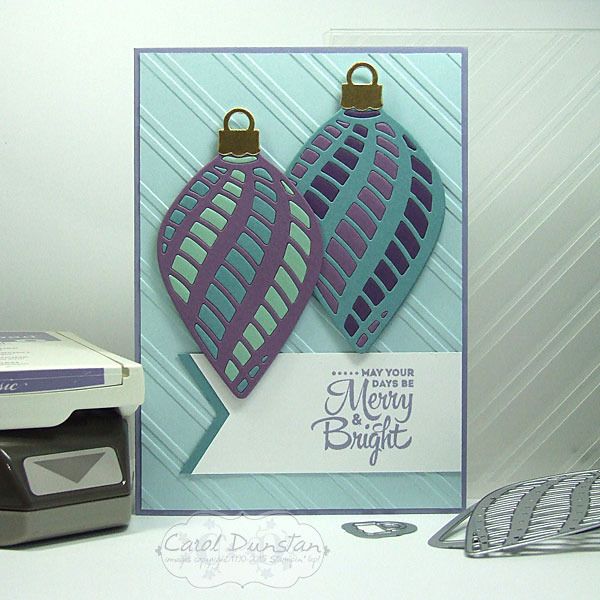
I have more Delicate Ornament cards to share with you today. These ones use the long ornament dies.


Once again I made a set of six cards, however my plans changed drastically once cutting a lot of the dies out. With some of the little pieces popped out I could start positioning them where I wanted them on the ornament and I decided that things weren't going to look quite how I wanted them. So Plan B was to change the colour combinations a little and cut more ornaments so there were two on each card.
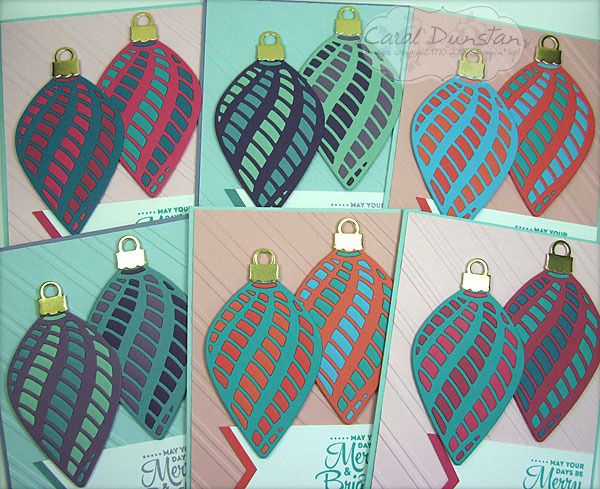

 All of the ornament cards I have posted over the last few weeks I actually started on the same day. On the Saturday I cut all of the ornaments out (except for the extra ones I did for this once I changed my mind), and on the Sunday I started putting them together - as you can see in these Instagram photos. These are definately the easiest of the ornament dies to do this technique with as the majority of the pieces are a decent size - easier to pop out and easier to handle. I did start with these when putting them together, but they were the last to be made into actual cards. I did finish them all over the space of a few days but wanted to spread out the posts for them so you weren't looking at ornament cards for a whole week! After preparing this post I saw a card by Mary Brown on Pinterest that is remarkably similar - clearly a case of great minds think alike! I'm really glad to see someone else doing this :D

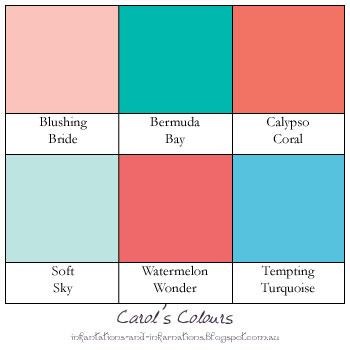
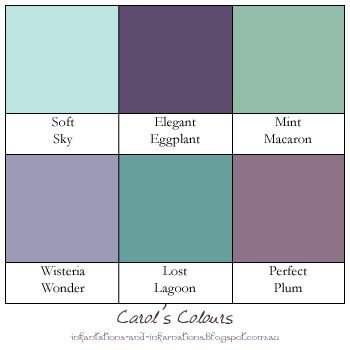
Very non traditional colours in these!

Built for Free Using: My Stampin Blog

Thursday, November 26, 2015

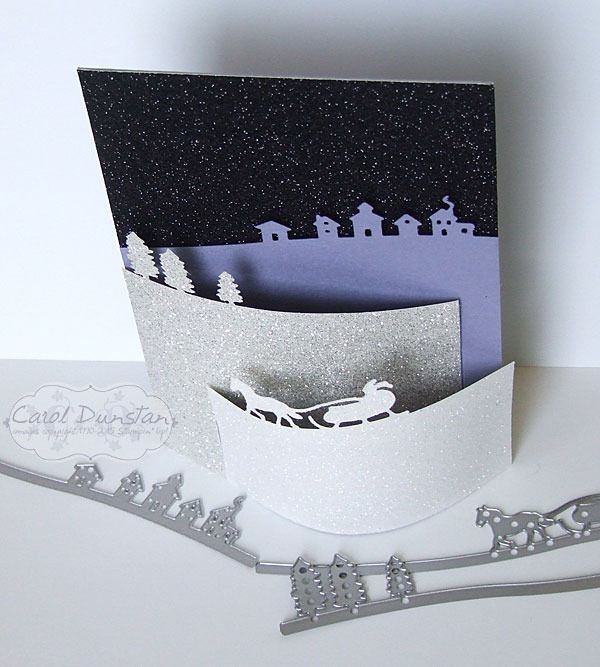
Glimmering Sleigh Ride

Sometimes I can be a real doufus. For weeks now I have been admiring other peoples cards using the Jingle All The Way stamp set and Sleigh Ride edgelits, and kicking myself for not ordering them. Then the other day I finally noticed the edgelits in amongst all my other framelit dies... I'd completely forgotten they were in a square envelope instead of the more regular rectangular envelope. I was still a doufus though, as I hadn't ordered them as a bundle to get the coordinating stamp set! Annoying as that was, I was determined to come up with a card that rendered this mistake a moot point. Glimmer paper to the rescue!
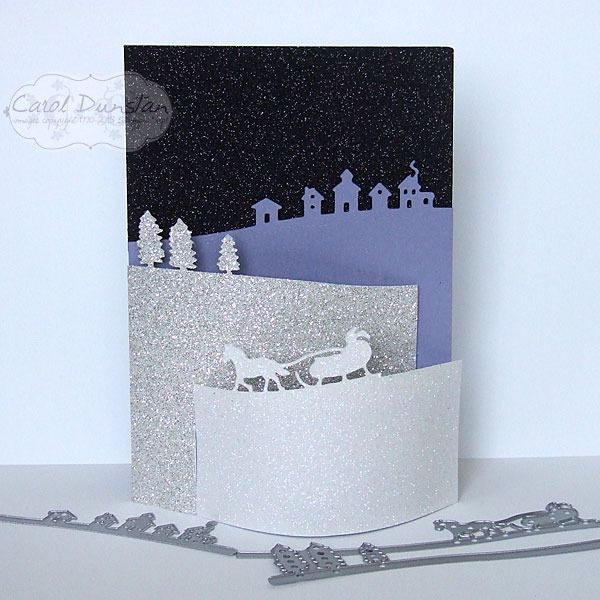
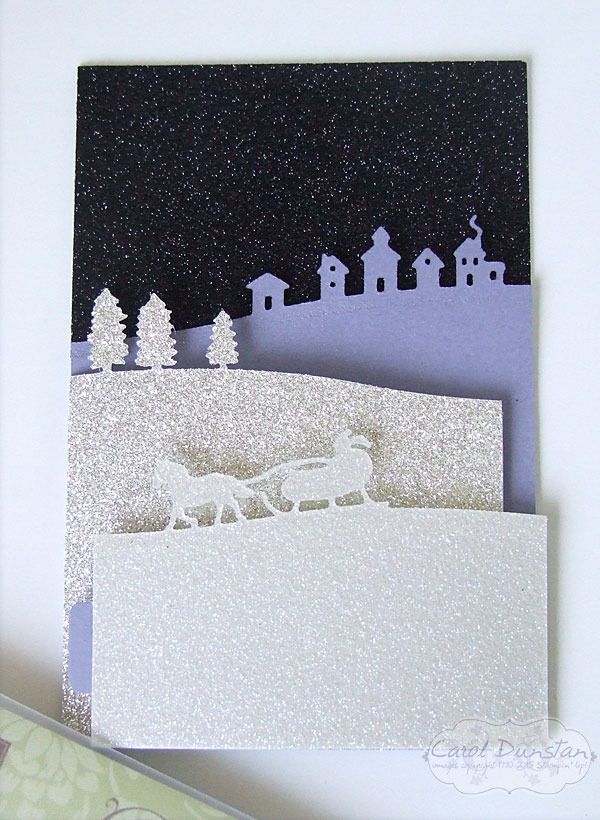
This style of card is called a bendy card, which I hadn't seen until the Holiday catalogue came out and it seemed everyone was using the Sleigh Ride edgelits for it - they are wonderfully suited to it! The tutorial I looked at was written by Beccy Muir, though I changed it a little so I could use an A4 sheet of cardstock. I'd been wanting to use the black glimmer paper for a night sky ever since I ordered it, and finally I had the perfect project for it. From there I thought it obvious to use the Dazzling Diamonds glimmer paper for snow, and then the silver glimmer paper for distant snow... and well, I needed purple on the card too but alas there is no purple glimmer paper. So the Wisteria Wonder layer didn't feel left out I gave it a spritz with the retired Vanilla Shimmer Smooch Spritz.

This is what the card looks like laying flat.

And here it is opened. You probably still can't really see the shimmer on the Wisteria layer, but it looks a little speckled. I haven't sorted out a sentiment for the inside yet, I tend to do that to most if not all my Christmas cards in bulk just before I write on them. Once the tabs are placed into the slits the card stands up on it's own.

Both the black glimmer paper and the Sleigh Ride edgelits are on the Holiday catalogue retiring list, so it you are thinking of buying them you'll need to get in quick as they are only available while stocks last!

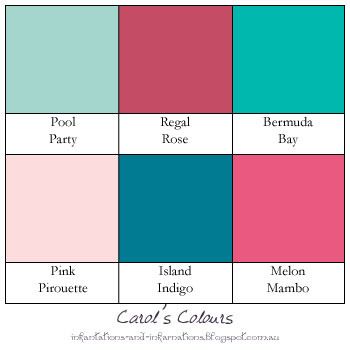
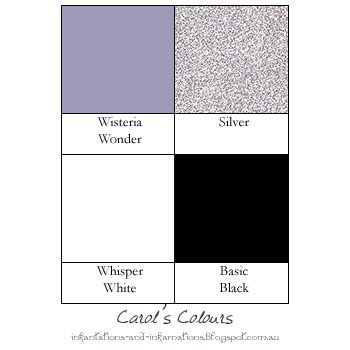
Today's colours:

Built for Free Using: My Stampin Blog

Wednesday, November 18, 2015

Occasions Catalogue Sneak Peek

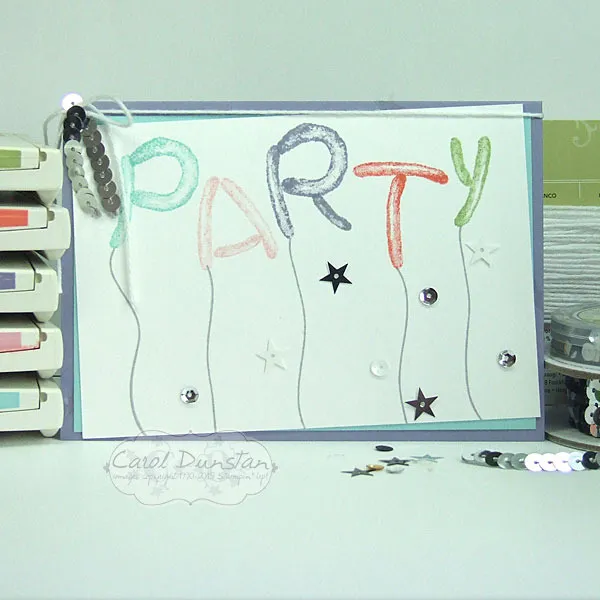
As I mentioned last week, over the weekend I attended one of the new events put on by Stampin' Up!, OnStage Local in Melbourne. Other than the usual catching up with old friends and making some new ones, we got to see a lot of new product from the upcoming Occasions catalogue - oh boy I think this one is going to be as popular as the current Holiday catalogue! We also got to see product the upcoming Sale-a-Bration catalogue. Everyone received a few of the new goodies, and I had to get stuck in and have a little play yesterday. Another perk of attending was being able to purchase more product before the pre-order period offically begins, so I am crossing my fingers that arrives before the weekend so I can have more of a play. I know, I know, I am teasing you horribly. So here's a glimpse of what is in store:


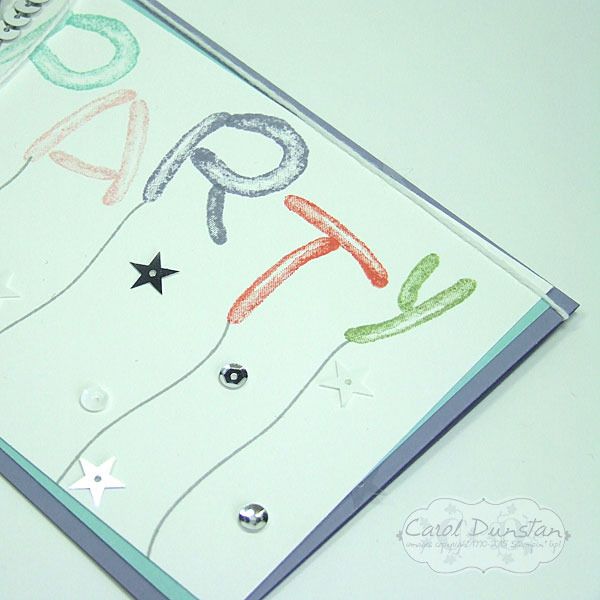
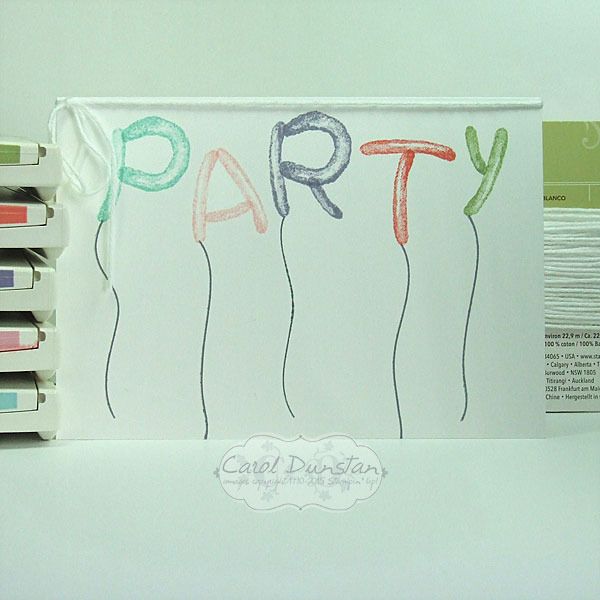
This is the Balloon Builders set, which has a variety of balloon shaped stamps that are fabulous for combining to create other images - it's a great one for letting your imagination run wild! Along with the stamped images I used some sequins (just like those that were scattered on the tables at OnStage, that felt fitting) to jazz the card up a little. I even tucked some clear ones behind my cardstock layers, which you might be able to see a little better below (above the T and diagonally up to the left from my watermark):

I also decided to make a stripped back version, for those who don't like the jazzing-up:


Like what you see? Let me know if you'd like to receive a catalogue, when they become available I can pop them in the mail for you to drool over. If you book a workshop you could even earn some of the products for free!

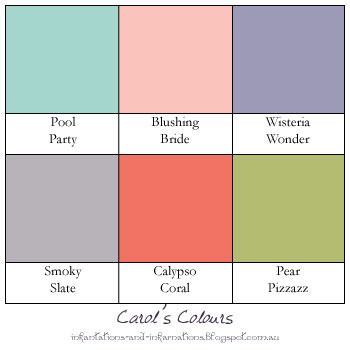
Colours used:

Built for Free Using: My Stampin Blog

Monday, October 19, 2015

Cupcake At The End Of The Rainbow

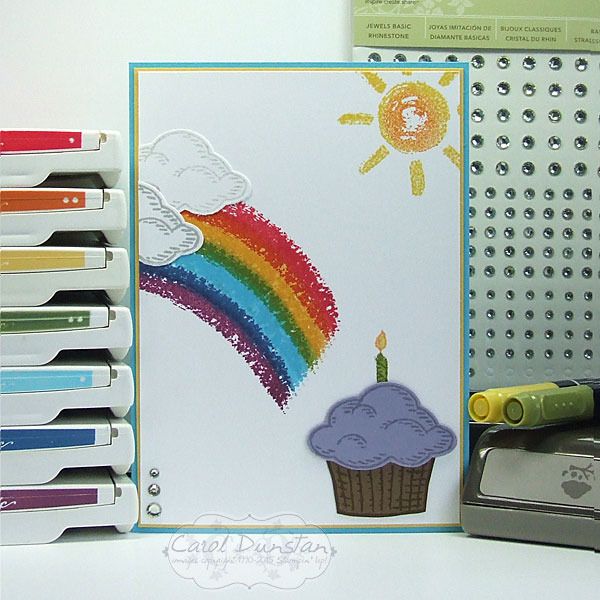
It's well past time I cracked open my Over The Rainbow set, and once I got this idea I just had to make it...
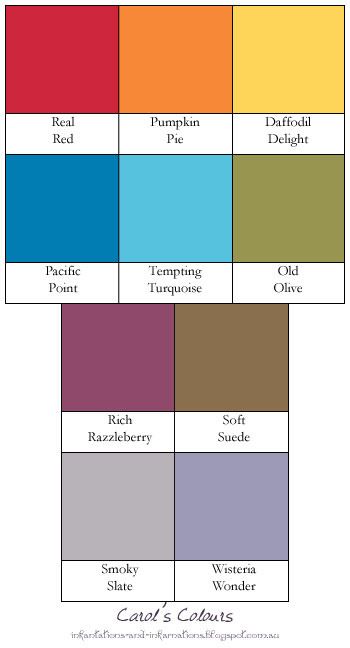
A cupcake is a far tastier treat to find at the end of a rainbow! Most of this card is pretty straight forward, but I got a little creative to make the rainbow. I inked up the rainbow "stripe" stamp from Over The Rainbow in one colour, then wiped a lot of the colour off with a tissue before sponging on the next colour. When I stamped the subsequent "stripes" I overlapped them. So for the first stripe I inked in Real Red, wiped some off the lower edge and sponged on Pumpkin Pie in it's place. I then cleaned the stamp, inked up in Daffodil Delight and wiped off some ink from the upper edge and sponged on Pumpkin Pie in it's place... and so on to finish the seven colours of the rainbow. For the sun I sponged a little Pumpkin Pie in the center after inkling it up with Daffodil Delight ink.

Todays loooong list of colours:

Built for Free Using: My Stampin Blog

Saturday, August 15, 2015

Peaceful Pines Sneak Peek

On September 1st Stampin' Up! will be launching this years Holiday Catalogue, and to whet your appetite here is a card featuring some products you will be able to order once September arrives.
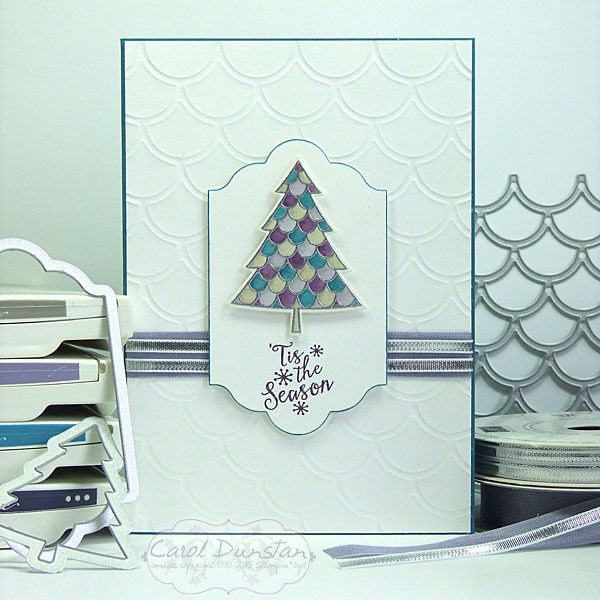
There are so many gorgeous items in this catalogue it's almost hard to know where to start! For today's card I have used the Peaceful Pines stamp set, which you can buy on it's own or bundled at a discount with the coordinating framelits dies. There are eight tree images in the set, with 3 different sized dies to cut them out, along with a number of accessories to go with the trees. I've been hankering to use the Striped Scallop die, so I decided to pair it with one of the tree images that also featured scallops. I stamped the tree on shimmery white cardstock using VersaMark ink then embossed it in silver. After cutting the tree out, I watercoloured the scallops with my aquapainter by picking up the ink from the lid of the inkpads. If you've never watercoloured like this before, it may surprise you how some colours come out. Depending on how the ink is made up, you may find you get quite a variation in colour from a single ink. In this card, the Sahara Sand ink has come out with quite a green tinge.

To create my background I used the Striped Scallop die but instead of layering the cardstock on top of a cutting plate before putting it into the Big Shot, I used the crease pad to emboss the cardstock rather than cut it. I had actually forgotten I had even purchased it until recently, so I'm keen to make up for lost time and use it quite a bit to turn dies into embossing folders. Of course the direction I wanted the scallops to go meant I had to reposition the die after embossing part of the card to emboss the rest of it. Having the reverse of the cardstock facing up (that is, the opposite side to where the die was pressing into the cardstock) helps to hide when you don't line things up perfectly.

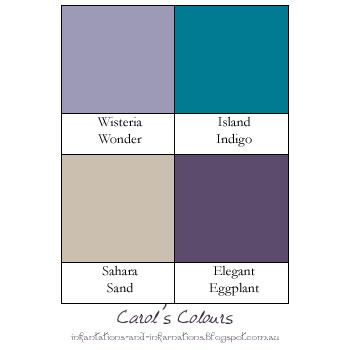
As is pretty standard for me, I used non-traditional colours in this Christmas card:

Built for Free Using: My Stampin Blog