Showing posts with label Rich Razzleberry. Show all posts

Thursday, December 10, 2015

Santa's Gifts

We are moving ever closer to the end of the year, and the end of the 2015 Holiday catalogue. Remember that many of the products in the catalogue are retiring and are only available while stocks last, so your chance to snap them up is growing smaller every day. Santa's Gifts is on that list, a very cute set that is great for watercolouring, like I did for the card I am sharing today:


Aw, look at that adorable reindeer... how can you say no to this guy? I still have a few sheets of the old watercolour paper floating around, so I used a full piece for this. I stamped Santa and the reindeer with Basic Black archival ink, then made a little mask for Santa's hand by stamping the image on a sticky note so that when it was cut out I had some of the sticky on the back and it would stay in place while I stamped the gift. Masking is such a nifty little technique! Once I had all of these stamped on the water colour paper I did a wash of Bermuda Bay in the background. Yep, all of that is Bermuda Bay. By using a lot of water and little ink I could achieve a nice pale colour. While I had the Bermuda Bay ink out I did the reindeer's scarf, using a lot less water and a lot more ink to get a more intense colour. For Santa's face I used Blushing Bride ink, which I left out of the colour combo graphic because... well it was such a small bit and doesn't stand out that much. For Santa's suit I used Rich Razzleberry. Such a lovely colour, and true to it's name - rich! It's a nice middle ground between the traitional red for Santa, and my favourite colour of purple. Santa's boots, and belt, along with the reindeer hooves, were done with Early Espresso - lots of ink and little water in the brush for those so the colour is so dark it is nearly black. The body of the reindeer is all Early Espresso. I know I have talked in the past about how brown shades in particular are made up of a mix of colours and tend to separate into these when you watercolour with them. I deliberately made use of that this time, the side taking on a warm reddish-brown tone and the face and inner ear a tan with a tinge of pink where I pulled the colour into areas where I already had a lot of water on the cardstock so the colour became quite diluted. To finish off the watercolouring, and for some real "pop" on the card, I used Tangelo Twist on the present.

Built for Free Using: My Stampin Blog

Saturday, November 14, 2015

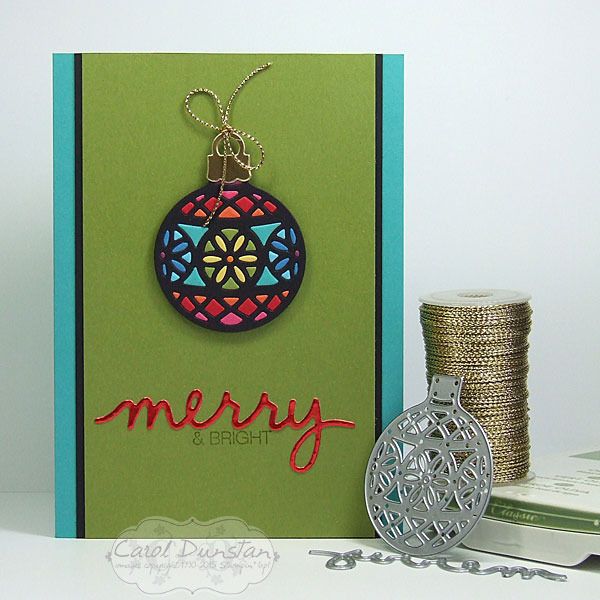
Stained Glass-esque Delicate Ornament

There are many beautiful products in the Stampin' Up! Holiday Catalogue, but the one thing I absolutely knew I would be top of my list was the Delicate Ornaments framelit dies. The coordinating Embellished Ornaments stamp set is of course lovely as well and available in a bundle with the dies for a 15% saving (which is what I bought!), but I was itching to get my hands on the dies in particular so I could play jigsaw with the little pieces, like I have in the past with the Lace Ribbon Punch and Butterfly Thinlets.
 I'll be popping this card in to go on the display boards at OnStage Local today, and will have a bit of a tutorial up in a few days showing my process for creating things like this. For now, I am off to enjoy my day of Stampin' Up! activities - including some sneaky peeks at the upcoming Occasions catalogue!

Colours used are:

Built for Free Using: My Stampin Blog

Saturday, October 31, 2015

Boo! Howl-o-ween Treat

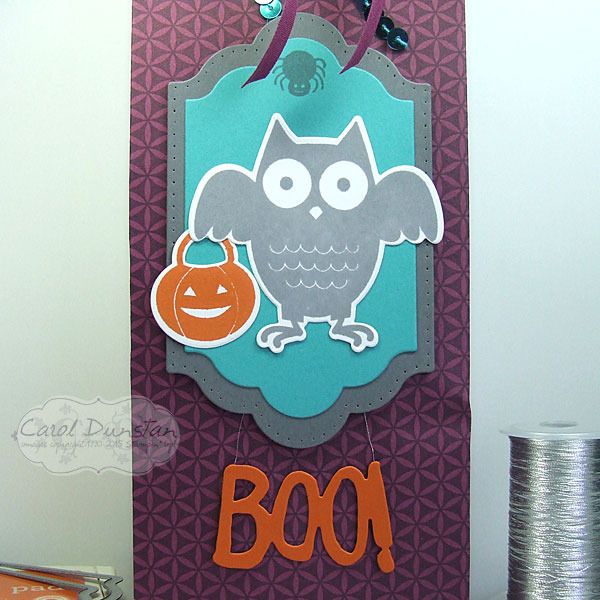
The other item I made this week were some bags for my kids for Halloween. They are kind of a trick AND treat bag with both chocolates and plastic bats and spiders inside, hehehehe.
It was hard to get a good, full length shot of this as it was made from a full 12x12 sheet of patterned paper. The bag itself was made using the giftbag punch board and following the score lines for the large bag. While the paper was obviously larger than the board, and thus score lines didn't go right to the edge, you can turn it around and line things up to finish each score line, use your paper trimmer or the stampin' score to finish off the score lines, or just not worry about it and carefully fold along the bits that are scored then continue the fold to the edge (just make sure things are lined up at the edge nice and square). Being owl fans I had to use the fab owl image from the Howl-o-ween Treat set for their bags. The sentiment is literally hanging by a thread, being attached only in the middle behind the owl layers so it will swing around on it's silver thread.

Here's a close up

And the colours used were...

Built for Free Using: My Stampin Blog

Monday, October 19, 2015

Cupcake At The End Of The Rainbow

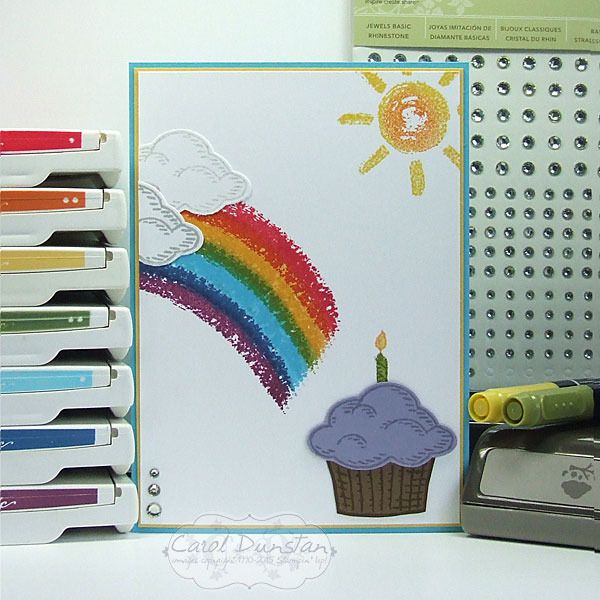
It's well past time I cracked open my Over The Rainbow set, and once I got this idea I just had to make it...
A cupcake is a far tastier treat to find at the end of a rainbow! Most of this card is pretty straight forward, but I got a little creative to make the rainbow. I inked up the rainbow "stripe" stamp from Over The Rainbow in one colour, then wiped a lot of the colour off with a tissue before sponging on the next colour. When I stamped the subsequent "stripes" I overlapped them. So for the first stripe I inked in Real Red, wiped some off the lower edge and sponged on Pumpkin Pie in it's place. I then cleaned the stamp, inked up in Daffodil Delight and wiped off some ink from the upper edge and sponged on Pumpkin Pie in it's place... and so on to finish the seven colours of the rainbow. For the sun I sponged a little Pumpkin Pie in the center after inkling it up with Daffodil Delight ink.

Todays loooong list of colours:

Built for Free Using: My Stampin Blog

Sunday, September 13, 2015

Happy BeeDay

What kind of card do you make for someone who loves making puns? A very punny one of course!
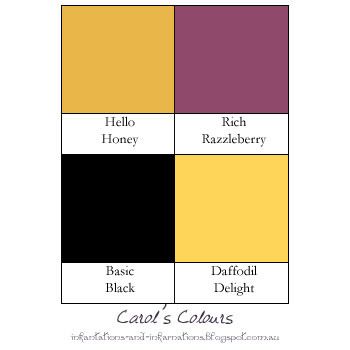
And what colour must you use on a card about bees? Hello Honey of course! After coming up with the idea for a "BeeDay" card, those other elements fell into place pretty quickly - the Honeycomb embossing folder, the bee stamp from Garden In Bloom, and I thought the Brushstokes background stamp would tie in well with the stripes on the bee. Once I had cut the "happy" and D, A and Y and laid them over the striped background I realised it was a little busy and hard to read, so I cut a piece of vellum to lay over the top and was much happier with the result. Of course I then had to deal with attaching the vellum that I hadn't planned for. While I could pretty easily hide some adhesive behind the words and bee, that left the top and bottom edges pretty free. To avoid possible curling I came up with the idea for some candy dots and was happy with how that came out too! So with all that done the spacing felt a little off, which I fixed by adding some black satin ribbon that I folded over to make a little skinnier.

Here are the colours I used:

Built for Free Using: My Stampin Blog

Thursday, July 02, 2015

TBT - Petite Pennants

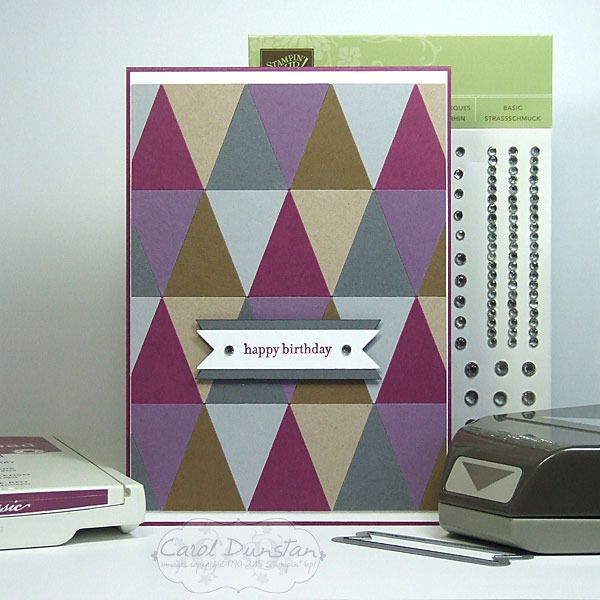
My desk is generally tidy - I've got no space to create otherwise - but I was doing some more tidying last week and camea cross a background piece I had made quite some time back and decided it was time to actually make it into a card.

I used the straight edge pennant from the Petite Pennants punch to make a bunch of triangles and then arranged them into this background. With the background already made, this card was pretty quick to put together. Though I remember the longest part of making the background was just deciding where I wanted each colour... the actual sticking them down went together much faster! I do remember at the time I deliberately avoided using the triangle punch for this effect as they would be smaller and take longer to put together, but in true Carol style that idea is grawing at me from the back of my head so I might end up giving it a go one day. Both the pennant and triangle punches are now retired, but you can pick up the triangle punch from the Clearance Rack while stocks last.

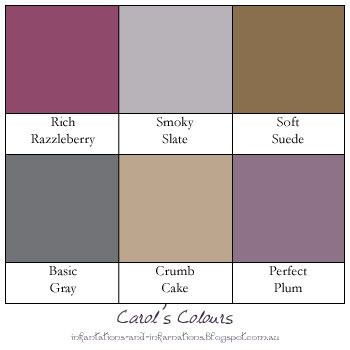
Some what amazingly, all the colours I used are still current!

Built for Free Using: My Stampin Blog

Monday, June 22, 2015

The Festival Of Trees Continues

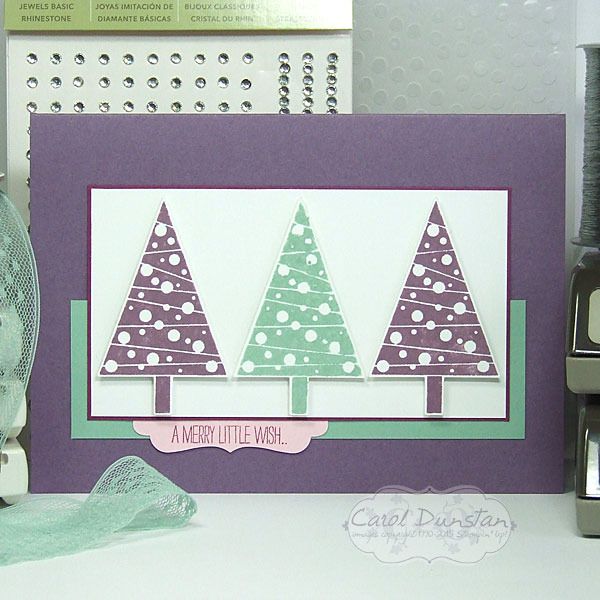
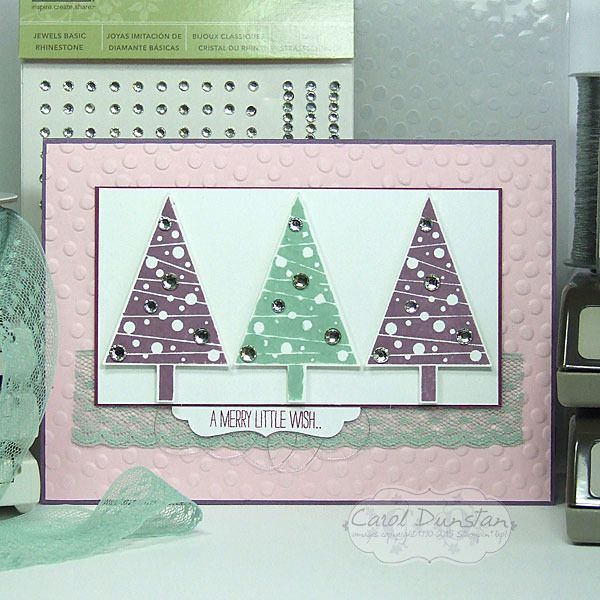
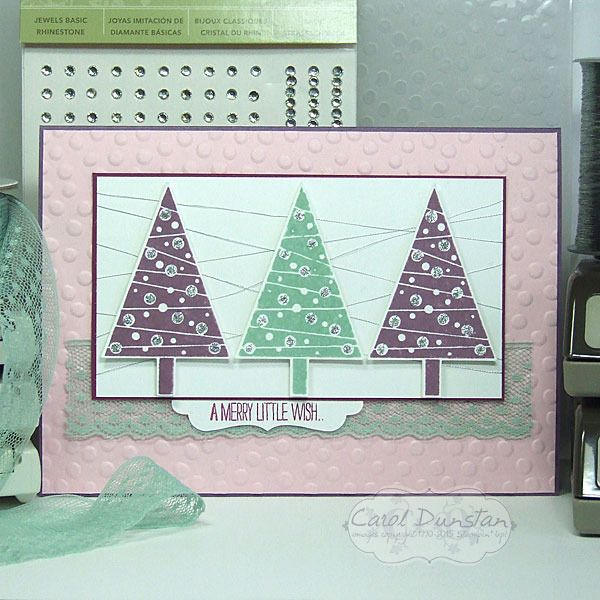
The Festival Of Trees stamp set was released in the Holiday catalogue last year, was carried over to the Occasions catalogue and is now included in the new annual catalogue! I'm sooooo happy that the Christmas section has returned to the annual catalogue, and having the option of Christmas sets available all year round... because let's face it, it's never too early to start on your Christmas cards! With that in mind, I thought I would get started on mine in June, and hopefully I won't end up in what has become a mad rush the last few years. The worst part about that isn't so much the "chasing your tail" feeling, but the burn-out I often feel afterwards, and needing a break from stamping for a while. Anyway, enough jibber-jabber, here's the cards:
yep... I couldn't settle on one design so I made four. Design is based on Sweet Sunday Sketch #272.

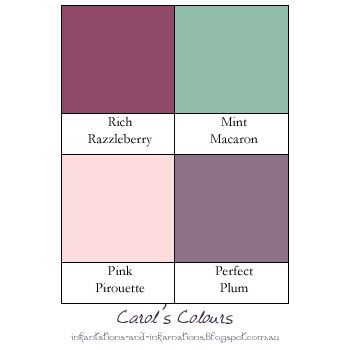
I also kept with my tradition of non-traditional Christmas colours... it felt a little too soon in the year for that!


Built for Free Using: My Stampin Blog

Thursday, June 11, 2015

Mojo Monday 401

It's been a very long time since I played along with a sketch challenge, this week I finally got back into that swing of things with the Mojo Monday sketch.

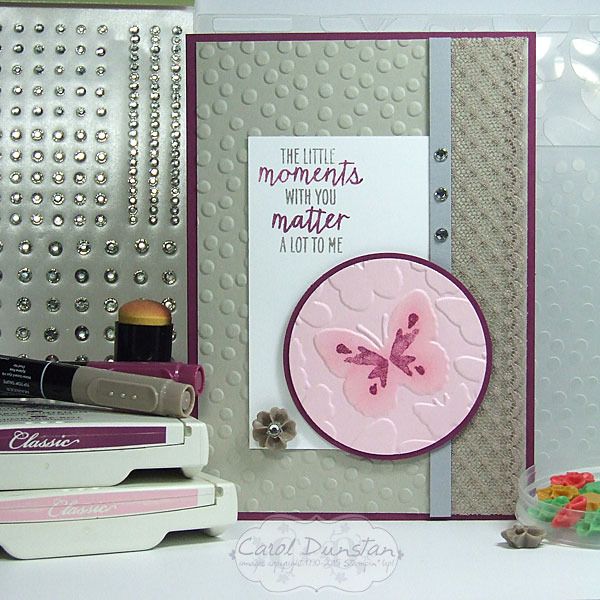
When my order from the new catalogue arrived last week I immediately noticed that one of the stamps from the Watercolor Wings could fit on some of the butterflies of the Fluttering embossing folder. I thought this sketch would suit highlighting that, so the rest of the card fell into place around that focal point. To really emphasise the butterfly I sponged some Pink Pirouette ink over the raised butterfly.

Here are the colours I played with for this card:

Built for Free Using: My Stampin Blog

Monday, June 08, 2015

Taupe Is Tops

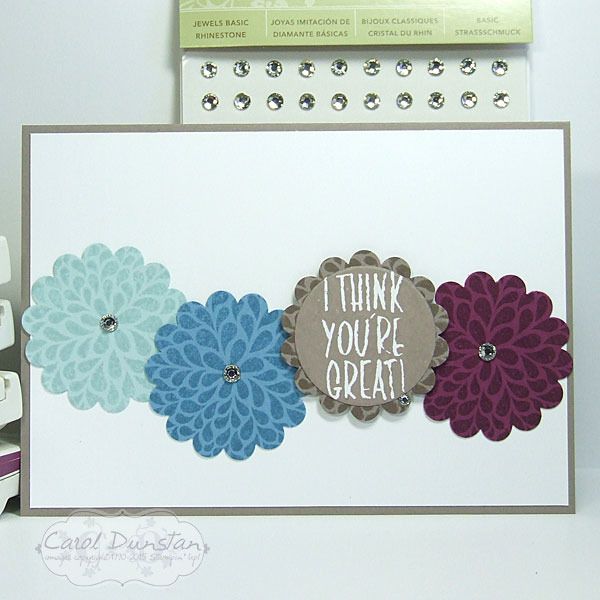
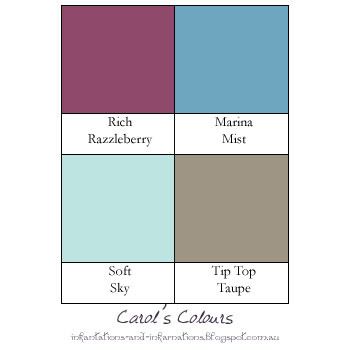
One of the new In Colours I haven't shared yet is Tip Top Taupe. Browns often get a bad rap, but Taupe really is a lovely grey-brown shade. This card is pretty straight forward, with the pattern stamped on cardstock in the matching colour then punched out with the 1 3/4" scallop circle, and the sentiment stamped on Whisper White with Taupe and cut out with a cricle die. To dress it up a little each "flower" has a rhinestone.

And here are today's colours:

Built for Free Using: My Stampin Blog

Tuesday, June 02, 2015

Welcome Best Thoughts!

The day has come! From today you can order products from the 2015-2016 Stampin' Up! catalogue :D The set I have used today, Best Thoughts, is one you can only get from hosting a workshop or placing an order that qualify for Stampin' Rewards - or Hostess Dollars under the old system. All these changes can be a little confusing, but playing with this new product is definitely fun!

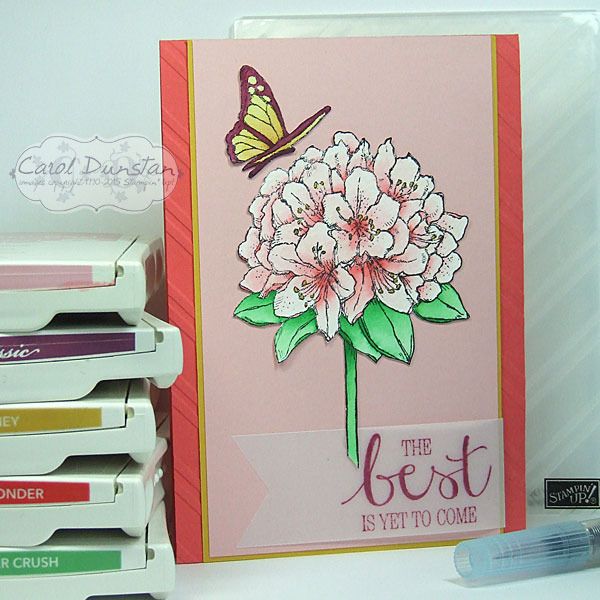
After I did my Petal Potpourri card I've really been bitten by the watercolouring bug again, so these stamps were perfect to let me have another play with it. The butterfly and flower were both stamped on watercolour paper with black StazOn, watercoloured, then cut out.

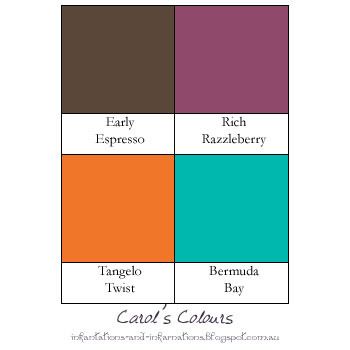
Just the two new In Colors in this card, here's the colour graphic for easy reference -

Built for Free Using: My Stampin Blog