Showing posts with label Island Indigo. Show all posts

Tuesday, November 24, 2015

Lovely As A Wonderland

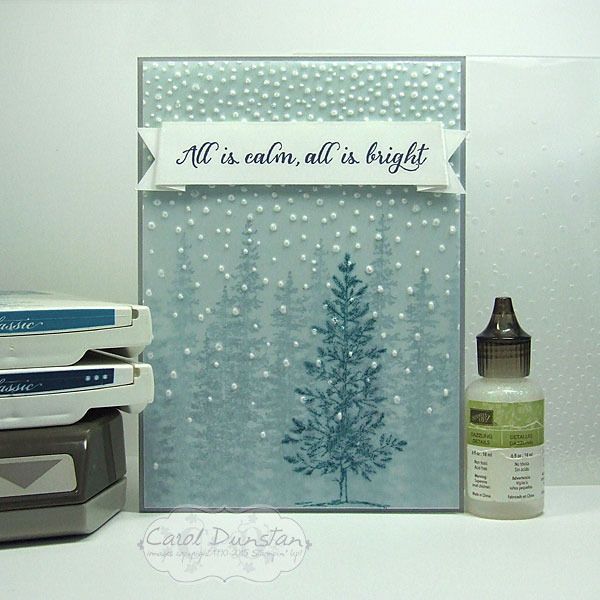
Back today with another Wonderland card for you. It really is going to be sad to see this one go, it pairs so nicely with Lovely As A Tree.


For this card I started off with a piece of Soft Sky cardstock and using Island Indigo ink stamped the Wonderland trees on it a few times side by side, then I stamped them inbetween after first stamping off on scrap paper to make the colour less intense. I then stamped the Lovely As A Tree image on a piece of vellum cardstock with the Island Indigo ink. Dye based inks are quick drying, except when you stamp them on something like vellum that won't absorb the ink straight away. While I was waiting for that to dry I stamped the sentiment on a strip of Whisper White cardstock and marked in some slightly slanted score lines so that when the banner was folded you would see a little underneath and the ends wouldn't be in-line with the main part. Once I had those score lines in place I could work out where I wanted the banner ends to go. The Triple Banner punch is made with guides for cardstock that is 1" (approx. 2.5cm), 1 1/5" (approx 3.8cm) and 2" (approx 5cm) wide. The strip I  was using was 2cm wide, but by holding it steady in the Triple Banner punch I was able to get a nice even banner finish to my cardstock. By now the ink on the vellum was dry so I was able to run it through the Softly Falling embossing folder in the Big Shot. It came out exactly how I hoped it would, the embossed dots turning the vellum white and looking a lot like snow. I put a bit of Fast Fuse behind the banner to attch the vellum at the top, then also placed a glue dot behind the tree, with a couple of little bits of glue dot snipped off and positioned behind and embossed dot to help hold the corners down. Once the card was all stuck together, I looked at it and thought "it's nice... but it needs a snowy sparkle" so I added just a touch of Dazzling Details glitter glue to the embossed dots - which of course doesn't show up int he photo but trust me it's there!

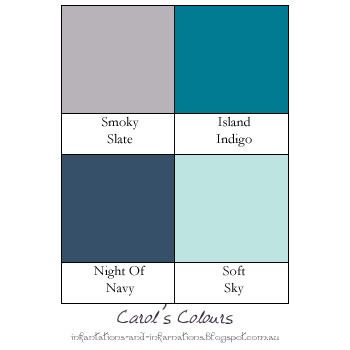
The colours for this card were inspired by Catelyn Stark from Game Of Thrones (Winter Wonderland is coming? hehehehe):
Built for Free Using: My Stampin Blog

Saturday, August 29, 2015

Sponged Scallops

I have't quite finished playing with the Striped Scallop die, and have used it in a more expected way for this card (another Father's Day card, but works just as well for a birthday card if you wanted).
Well... a little more expected than using it to embossing the design into cardstock. I did use it to diecut this time, but have used the little cut out pieces to create my background this time. I cut the die out three times from Shimmery White cardstock to give myself plenty of scallops to play with. I then applied some temporary adhesive to my grid paper, laid down the scallop "frame" and placed the scallops back into it and getting them to stick. I then lifted the "frame" up and sponged the scallops. I thought I had taken a photo of the grid paper once I was finished as the effect was equally cool, but alas there was no such photo when I connected my camera to my computer :( After my scallops were all sponged I laid the "frame" onto the cardstock and stuck all the little scallops down before removing the frame and leaving the scallops all perfectly spaced. I was so happy with how this came out! Here's a close up of the scallops so you can see the shimmer better.
And here are the colours I used:

Built for Free Using: My Stampin Blog

Saturday, August 15, 2015

Peaceful Pines Sneak Peek

On September 1st Stampin' Up! will be launching this years Holiday Catalogue, and to whet your appetite here is a card featuring some products you will be able to order once September arrives.
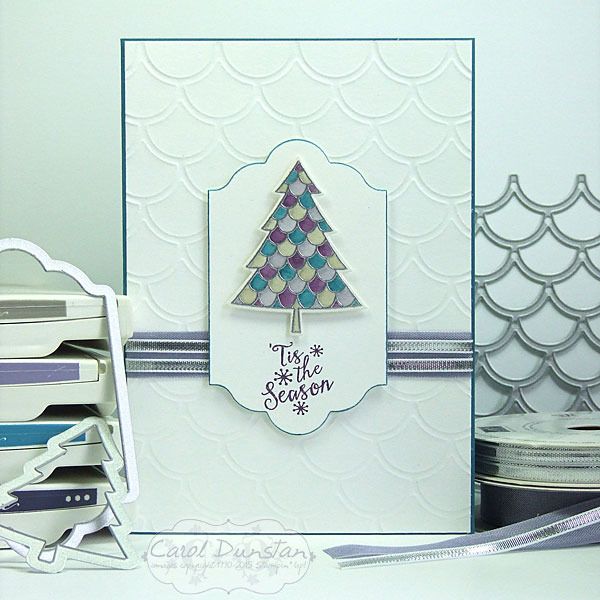
There are so many gorgeous items in this catalogue it's almost hard to know where to start! For today's card I have used the Peaceful Pines stamp set, which you can buy on it's own or bundled at a discount with the coordinating framelits dies. There are eight tree images in the set, with 3 different sized dies to cut them out, along with a number of accessories to go with the trees. I've been hankering to use the Striped Scallop die, so I decided to pair it with one of the tree images that also featured scallops. I stamped the tree on shimmery white cardstock using VersaMark ink then embossed it in silver. After cutting the tree out, I watercoloured the scallops with my aquapainter by picking up the ink from the lid of the inkpads. If you've never watercoloured like this before, it may surprise you how some colours come out. Depending on how the ink is made up, you may find you get quite a variation in colour from a single ink. In this card, the Sahara Sand ink has come out with quite a green tinge.

To create my background I used the Striped Scallop die but instead of layering the cardstock on top of a cutting plate before putting it into the Big Shot, I used the crease pad to emboss the cardstock rather than cut it. I had actually forgotten I had even purchased it until recently, so I'm keen to make up for lost time and use it quite a bit to turn dies into embossing folders. Of course the direction I wanted the scallops to go meant I had to reposition the die after embossing part of the card to emboss the rest of it. Having the reverse of the cardstock facing up (that is, the opposite side to where the die was pressing into the cardstock) helps to hide when you don't line things up perfectly.

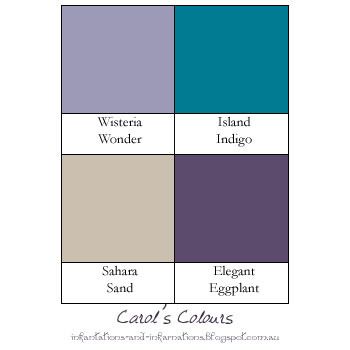
As is pretty standard for me, I used non-traditional colours in this Christmas card:

Built for Free Using: My Stampin Blog

Saturday, June 06, 2015

Fluttering Wings

Lucky me received my order from the new Stampin' Up! catalogue on Thursday afternoon, and I hopped straight in to playing. Watercolor Wings and the coordinating Bold Butterfly framelits (which are available in a bundle) were one thing I was especially excited about... and then there was the Fluttering embossing folder, a full 6"x6" embossing folder - how awesome is that! When the designs have a definite direction to them it's handy to have them in a large square size so you can use it on a card which ever way you want! One other new product on this card is the white cardstock used for the sentiment. It might not look any different to regular Whisper White, but it's Stampin' Up!'s new thick Whisper White cardstock. This will be fabulous to use for cardbases, but I am also loving it for raised layers. In the past if I was wanting to raise Whisper White up on dimensionals I would put another layer underneath it to give it that little bit extra support, but I won't have to with the new thick stuff. Woohoo!

I wanted to keep this card pretty simple to show off the embossed background, so just did one butterfly and the sentiment. One tip with these butterflies, it might be better to stamp the body after you have die-cut the wings. I tested stamping these images a few times on paper before I commited to cardstock.
When I laid the die over these images I found I had stamped the body a little too low. So when I was stamping my proper ones, I stamped the body a little higher...
which resulted in decapitated butterflies! So I stamped some bodies by themselves and cut them out to preform a little paper surgery...
There, you can (hardly) tell the difference! Just call me Stamper Frankenstein ;)

As well as the square card I decided to make a more postage-friendly standard size version:

Here are the colours I used -

Built for Free Using: My Stampin Blog