Yes, I know I said it'd be a while before I had another card with the Rose Garden dies, but I have to slip in this one even though it is very early for Mother's Day. I usually start thinking about Mother's Day cards when it's Easter as that is the next "big day" on everyone's calendar, aside from all the birthdays that are scattered (or clumped...) through the year. Easter Sunday is tomorrow, though it is at the "early" end of the possible timeframe for Easter.
The main reason that I had to share this now is that awesome glitterly strip down the right side of the card will not be available very soon. Sale-a-bration ends March 31, less than a week away! So you have less than a week to earn fabulous free goodies like the Metallics Glitter Tape. This was just the sort of thing I was wanting last year when working on Christmas cards, so I let out a huge "YES!" when it was released among the second wave of Sale-a-bration products. It will not be carrying over into the new Stampin' Up! catalogue so if you don't want to miss out you have only a few days left to snap it up. Sale-a-bration items can be earnt on any order for any products that total $90 and over.
Back to the oranges and yellows for this one!
Teeny Tiny Sentiments wood-mounted stamp set 130042, Rose Wonder stamp set & Rose Garden thinlits dies bundle 140804, Cucumber Crush A4 cardstock 138342, Pool Part A4 cardstock 124391, Tangelo Twist A4 cardstock 133684, Crushed Curry A4 cardstock 131288, thick Whisper White A4 cardstock 140490, Pool Part stamp pad 126982, Cucumber Crush stamp pad 138324, Metallics Glitter Tape 141020 (free with qualifying order), fine-tip glue pen 138309, dimensionals 104430
Showing posts with label Cucumber Crush. Show all posts
Saturday, March 26, 2016
Monday, February 15, 2016
Wordy Rose Wonder
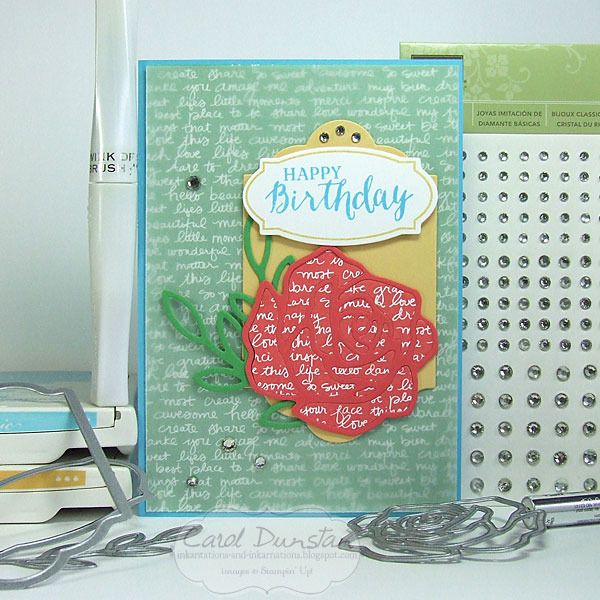
Another set I've been hankering to play with is the Rose Wonder stamp set and dies. Considering what I did with the Delicate Ornaments and Butterfly thinlits, I think it was obvious what I would do with these dies.
Rather than try the rainbow effect with a rose, I cut the rose out in both Watermelon Wonder cardstock and a sheet of Watermelon Wonder patterned paper. Just like the Delicate Ornaments, I mounted the rose frame on a base before putting in the other pieces. The 2" circle punch is a great size for a base for the the small rose die, though you will need to cut a small notch out as a small bit will stick out.
After mounting the rose, leaves and sentiment on a Lots Of Labels die cut, I felt the the leaves didn't stand enough from the Cucumber Crush patterned paper I was planning to use as a background, so I layered a piece of vellum over the top. I attached the vellum to the card behind the label, since adhesives show through the vellum. However, in the humid weather we have been having lately the vellum was curling up a bit at the edges. To minimise this I wanted to attach it in more places and closer to the edge, so a few rhinestone jewels help to hide the glue.
I did brush the clear Wink Of Stella over the Watermelon Wonder patterned paper pieces, but I failed to get a good photo of it :/
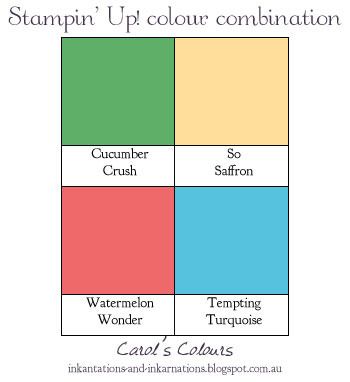
A very primary colour scheme for me today:
Rose Wonder stamp set & Rose Garden thinlits bundle 140804, Tempting Turquoise A4 cardstock 108598, So Saffron A4 cardstock 108611, Cucumber Crush A4 cardstock 138342, Watermelon Wonder A4 cardstock 138341, thick Whisper White A4 cardstock 140490, 2015-2017 In Color Designer Series Paper stack 138432, So Saffron stamp pad 126957, Tempting Turquoise stamp pad 126952, clear Wink Of Stella glitter brush 141897, Rhinestone basic jewels 119246, Lots Of Labels framelits 138281, Fine Tip Glue pen 138309, Fine-tip glue pen 138309, dimensionals 104430
Tuesday, January 05, 2016
One Two Red Blue
Happy New Catalogue Day! Today the teasing stops and you can finally order some of the fab goodies in the Occasions and Sale-a-bration catalogues for yourself!
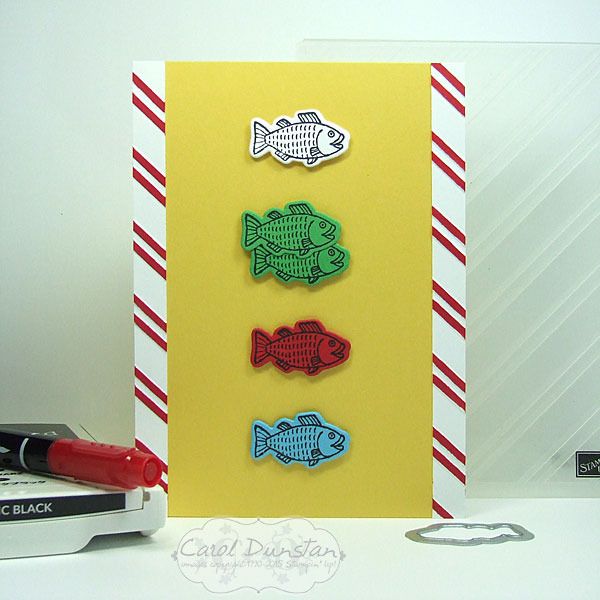
One of my must-have sets from the Occasions catalogue was the Bear Hugs set and the matching dies (gotta love those 15% off bundles!). While I do have a whole bunch of bear related card ideas going through my head (warning: many puns may be involved), once this little idea came to me I thought I really must make it straight away...
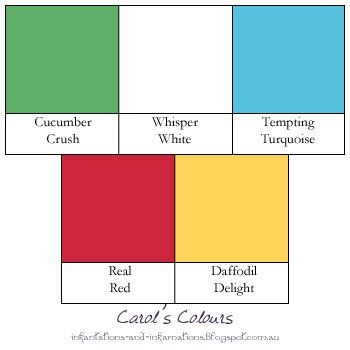
I contemplated adding text to make the One Fish, Two Fish, Red Fish, Blue Fish book connection more obvious, but I knew the font of the ABC Rotary Stamp wasn't a close style to that used on the book cover. It would also lead to much time being spent on contemplating the card design while I debated where to put the text, so I took the easy way out and left it off. The red stripes are a nod at the Cat In The Hat, and for those I put 1cm wide stripes of Whisper White into the Stylish Stripes embossing folder, and then went over the raised stripes with a marker just like I did with the Bombers Christmas card. I've also put as strip of the red stripes on the inside of the card.
Thursday, December 03, 2015
Lighthearted Christmas
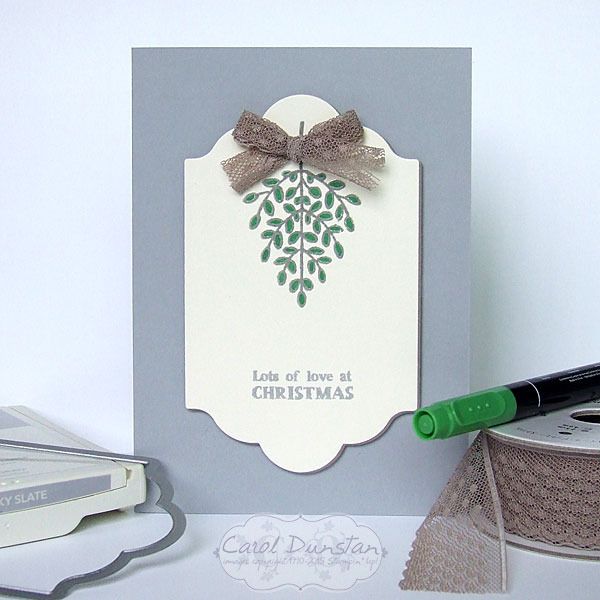
We still have a month left of the Holiday catalogue, but the items on the Holiday catalogue retiring list are only available while stocks last. Today I am sharing a card using two of the retiring sets, Santa's Gifts and Lighthearted Leaves.
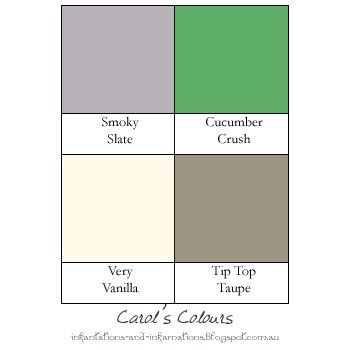
If it hasn't been said enough before, I'm adding another voice to the chorus: Lighthearted Leaves is such a versatile set! While the set comes with sentiments, the leaf images can easily be used for a wider variety of occasions. For this card I have used one of the images as mistletoe. For something different, I wanted the outline to be Smoky Slate. So the colour wouldn't run, I stamped the image in Smoky Slate first, then stamped over the top with VersaMark and then embossed the image with clear embossing powder. One of the great things about photo-polymer stamps, as this set is, is being able to see through and see exactly where you are stamping. This is a little complicated when you are stamping with VersaMark as you can't see the clear ink! So to make it all easier, the Smoky Slate image was stamped with the assistance of the Stamp-a-ma-jig, which I left in place while cleaning the stamp and reinking with VersaMark. By keeping the Stamp-a-ma-jig in position when stamping both images it makes it even easier to have things line up exactly.
Todays colours are...
Saturday, June 27, 2015
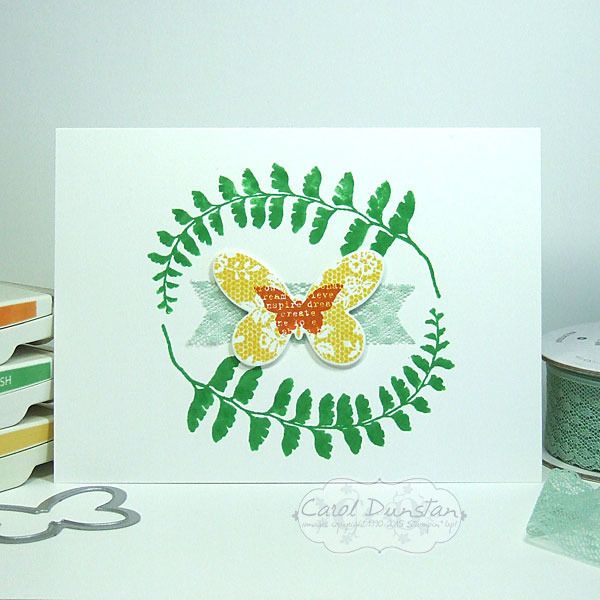
Butterfly Basics One Layer Card
When the new Stampin' Up! catalogue launched the new thick Whisper White cardstock was an insta-buy, but I haven't actually done a lot with it yet. One thing I was very keen to do was use it for a card base. Then old thin Whisper White was a little flimsy for a card base, and while I haven't stacked heaps on this card I can tell the card holds up better than it would have with the thin.
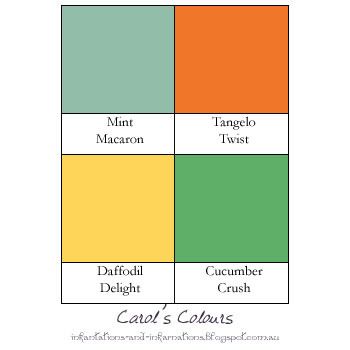
I think I have totally got into the mindset of not thinking of the bottom layer of a card being white unless there is minimal embellishment, but I'm sure I will get there! Thanks to the wonders of polymer stamps I was able to bend the fern frond image around more than it's natural curve and get more of a circle from it when stamping a second one opposite. I'm a little annoyed I didn't notice till I was editting the photos that the lace isn't exactly centered - it's not that noticable is it???
Today's colours are definitely not my usual choices, but I figured if I was making yet another card with butterflies I should mix it up with the colours at least!
Saturday, June 06, 2015
Fluttering Wings
Lucky me received my order from the new Stampin' Up! catalogue on Thursday afternoon, and I hopped straight in to playing. Watercolor Wings and the coordinating Bold Butterfly framelits (which are available in a bundle) were one thing I was especially excited about... and then there was the Fluttering embossing folder, a full 6"x6" embossing folder - how awesome is that! When the designs have a definite direction to them it's handy to have them in a large square size so you can use it on a card which ever way you want! One other new product on this card is the white cardstock used for the sentiment. It might not look any different to regular Whisper White, but it's Stampin' Up!'s new thick Whisper White cardstock. This will be fabulous to use for cardbases, but I am also loving it for raised layers. In the past if I was wanting to raise Whisper White up on dimensionals I would put another layer underneath it to give it that little bit extra support, but I won't have to with the new thick stuff. Woohoo!
I wanted to keep this card pretty simple to show off the embossed background, so just did one butterfly and the sentiment. One tip with these butterflies, it might be better to stamp the body after you have die-cut the wings. I tested stamping these images a few times on paper before I commited to cardstock.
When I laid the die over these images I found I had stamped the body a little too low. So when I was stamping my proper ones, I stamped the body a little higher...
which resulted in decapitated butterflies! So I stamped some bodies by themselves and cut them out to preform a little paper surgery...
There, you can (hardly) tell the difference! Just call me Stamper Frankenstein ;)
As well as the square card I decided to make a more postage-friendly standard size version:
Here are the colours I used -
Tuesday, June 02, 2015
Welcome Best Thoughts!
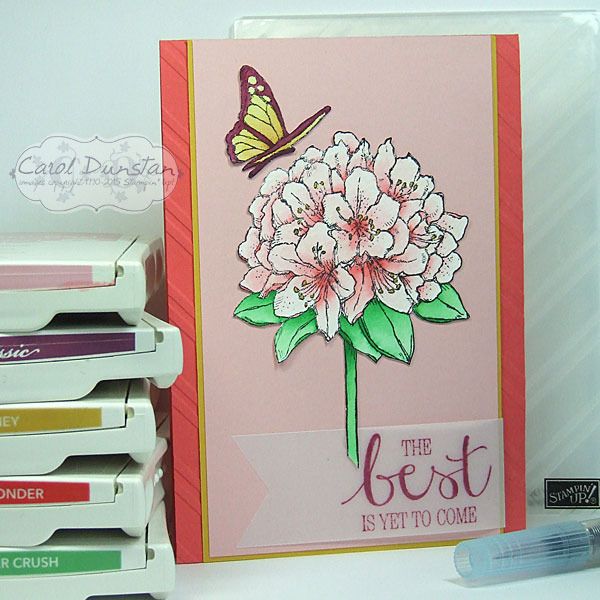
The day has come! From today you can order products from the 2015-2016 Stampin' Up! catalogue :D The set I have used today, Best Thoughts, is one you can only get from hosting a workshop or placing an order that qualify for Stampin' Rewards - or Hostess Dollars under the old system. All these changes can be a little confusing, but playing with this new product is definitely fun!
After I did my Petal Potpourri card I've really been bitten by the watercolouring bug again, so these stamps were perfect to let me have another play with it. The butterfly and flower were both stamped on watercolour paper with black StazOn, watercoloured, then cut out.
Just the two new In Colors in this card, here's the colour graphic for easy reference -
Friday, May 29, 2015
I Have A Mint Crush
I've been busy busy busy again, so here's TWO cards I managed to make a few days ago.
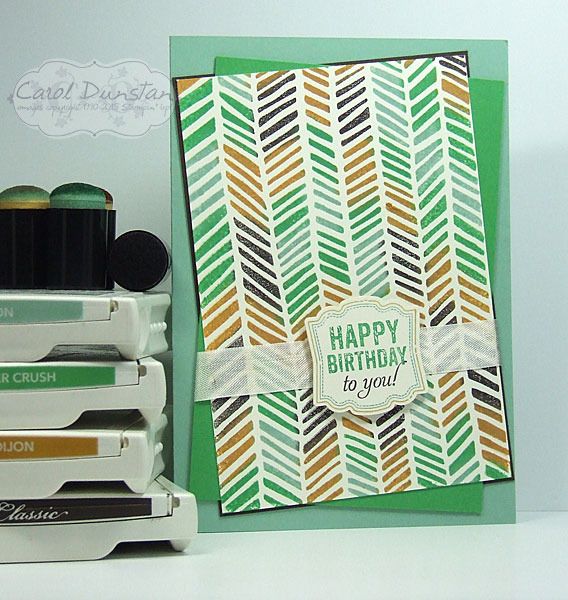
I'm sad about a number of stamps that are retiring, and this Handcarved background stamp is one of them. I love it's informal chevron-ish look. I sponged the colours on with daubers and didn't worry about being too neat - but also didn't want to be overly messy and get some horribly muddied colours. I teamed this background with some more retiring products, the Label Love set and coordinating Artisan Label punch.
For the next card I decided to stick with the same colour scheme but go for a completely different look. I don't have a lot of Thank You cards in my stash, so decided to make one with the Because You Care set. If you haven't noticed it, it's a hostess set in the Occasions Catalogue and won't be available after June 2. I let a piece of Mint Macaron cardstock take centre stage on this card, it's definitely my favourite of the new In Colors, so expect to see a lot of it! Some of the items used in these cards, like that yummy Mint Macaron cardstock, can't be ordered until June 2nd, but don't forget June 2nd is a wonderful day when you can order from the current catalogue, the Occasions catalogue and the new 2015-2016 catalogue! That said, any retiring items you like you really shouldn't wait to order as they are only available while stocks last.
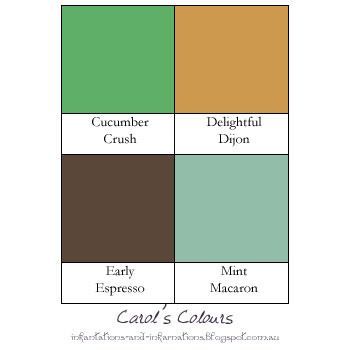
And the colour combination for both cards:
Subscribe to:
Posts (Atom)