Showing posts with label Watermelon Wonder. Show all posts

Saturday, March 19, 2016

Rose Wonder Birthday

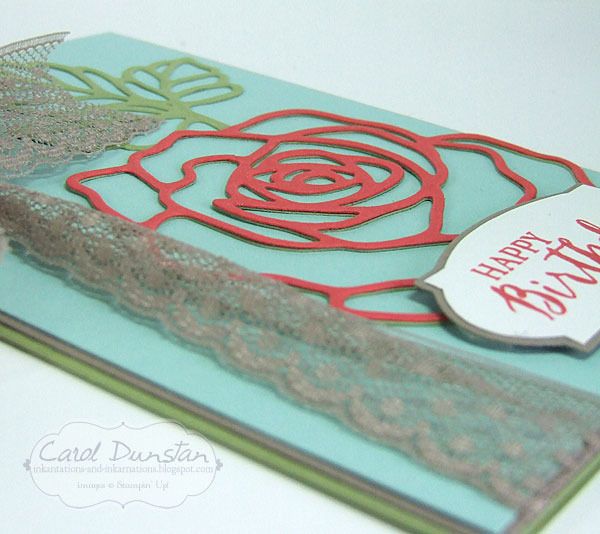
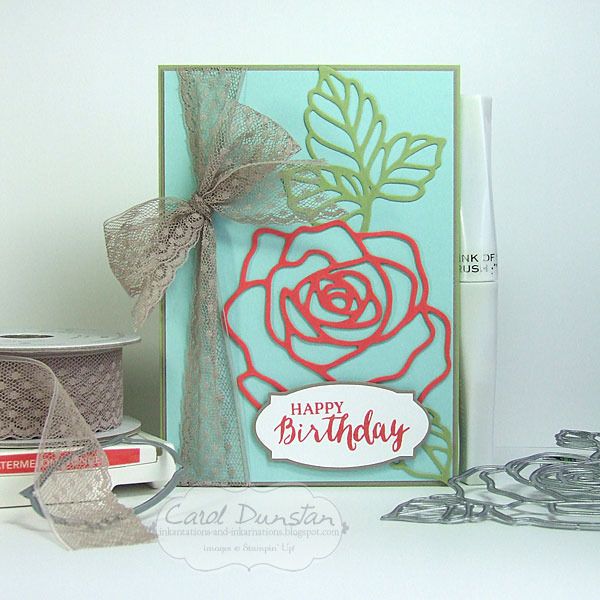
I hope you haven't been getting sick of all the Rose Wonder/Rose Garden cards, but I've had so much fun playing with them. I do promise though that this will be the last for a while. I thought it only fitting that I used Watermelon Wonder for a Rose Wonder card.

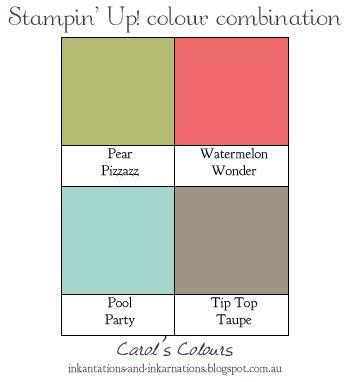
I really am loving Tip Top Taupe as another neutral colour to use. I find it so fascinating how seemingly small differences in colour can affect the overall look of a colour combination - as well as how much of each colour you use!


Once again I cut the rose twice and trimmed one of the pieces down so it was just the flower part, and mounted that right on top of the full piece. The fine tip glue pen is fantastic for jobs like this.


And of course I couldn't call this card complete without some Wink Of Stella.


Rose Wonder stamp set & Rose Garden thinlits dies bundle 140804, Pear Pizzazz A4 cardstock 131290, Tip Top Taupe A4 cardstock 138343, Pool Party A4 cardstock 124391, Watermelon Wonder A4 cardstock 138341, Watermelon Wonder stamp pad 138323, Tip Top Taupe Dotted Lace trim 138422, clear Wink Of Stella glitter brush 141897, Fine-tip glue pen 138309, dimensionals 104430

Monday, February 15, 2016

Wordy Rose Wonder

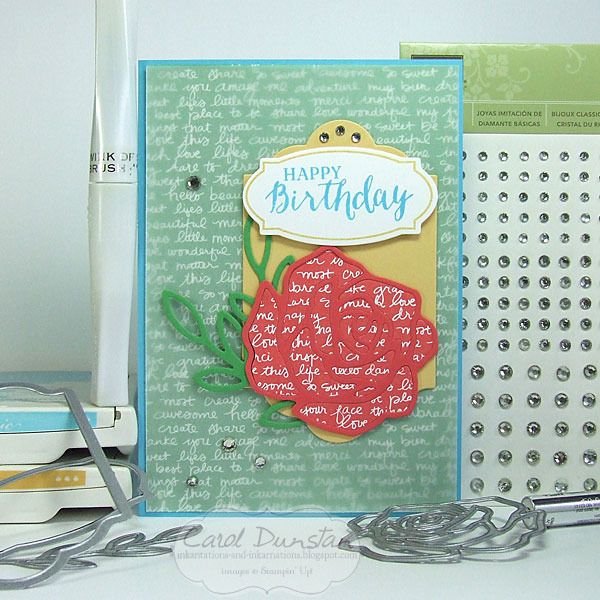
Another set I've been hankering to play with is the  Rose Wonder stamp set and dies. Considering what I did with the Delicate Ornaments and Butterfly thinlits, I think it was obvious what I would do with these dies.

Rather than try the rainbow effect with a rose, I cut the rose out in both Watermelon Wonder cardstock and a sheet of Watermelon Wonder patterned paper. Just like the Delicate Ornaments, I mounted the rose frame on a base before putting in the other pieces. The 2" circle punch is a great size for a base for the the small rose die, though you will need to cut a small notch out as a small bit will stick out.

After mounting the rose, leaves and sentiment on a Lots Of Labels die cut, I felt the the leaves didn't stand enough from the Cucumber Crush patterned paper I was planning to use as a background, so I layered a piece of vellum over the top. I attached the vellum to the card behind the label, since adhesives show through the vellum. However, in the humid weather we have been having lately the vellum was curling up a bit at the edges. To minimise this I wanted to  attach it in more places and closer to the edge, so a few rhinestone jewels help to hide the glue.

I did brush the clear Wink Of Stella  over the Watermelon Wonder patterned paper pieces, but I failed to get a good photo of it :/

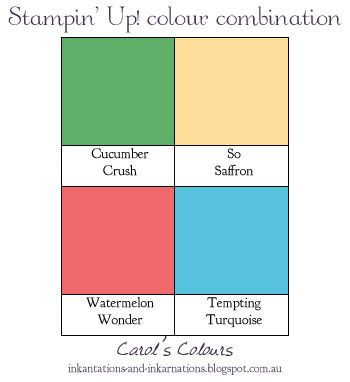
A very primary colour scheme for me today:


Rose Wonder stamp set & Rose Garden thinlits bundle 140804, Tempting Turquoise A4 cardstock 108598, So Saffron A4 cardstock 108611, Cucumber Crush A4 cardstock 138342, Watermelon Wonder A4 cardstock 138341, thick Whisper White A4 cardstock 140490, 2015-2017 In Color Designer Series Paper stack 138432, So Saffron stamp pad 126957, Tempting Turquoise stamp pad 126952, clear Wink Of Stella glitter brush 141897, Rhinestone basic jewels 119246, Lots Of Labels framelits 138281, Fine Tip Glue pen 138309, Fine-tip glue pen 138309, dimensionals 104430

Thursday, December 31, 2015

Enjoy The Little Things

Here's another card with a sneak peek at products from the Botanical Gardens suite in the upcoming Occasions catalogue.
The sentiment on this card comes from the Enjoy The Little Things set that will also be launching in the Occasions catalogue. I love the font, let alone the words themselves! It was stamped in Mossy Meadow ink and punched out before I went around the edge with my Basic Black marker to give it a little more definition. Without a doubt the big thing about this card is the Botanical Gardens products. The designer series paper in the suite has a great mix of images, though this particular design is one of my favourites. Then there is the stamp set and coordinating dies - all of which of course you can get in a bundle for a 15% saving. It really is a fantastic bundle, I know I am going to have a lot of fun with this. For this card I kept the colours in line with the paper, with some Hello Honey and Watermelon Wonder for pop and some gold for a little glitz. The little Watermelon Wonder flower is from the 2015-2017 In Color Blossom Accent pack and is a nice accompaniment to this range, as is the Gold Glitz Dazzling Details I added to the flower center, hehehehe. For the green leaves, I stamped the vein image in Old Olive in on Old Olive cardstock, and once die cut I sponged two of them with more Old Olive ink to create the darker leaves. The Hello Honey flower also has some sponging in it's center, in Watermelon Wonder ink.

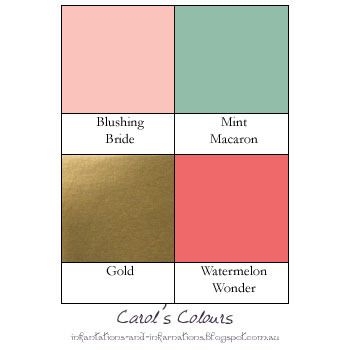
Here's my little graphic for today's colours:

Built for Free Using: My Stampin Blog

Tuesday, December 29, 2015

Enjoy Your Day

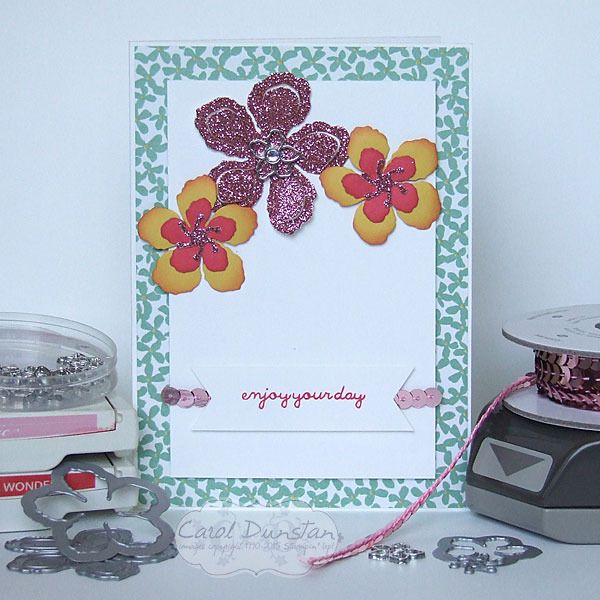
Hello again! Today I have a card featuring a number of products from the up-coming Occasions catalogue.
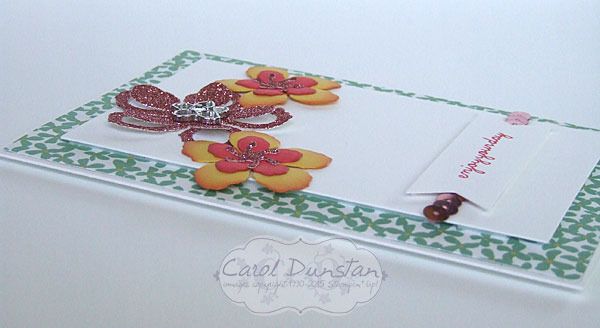
Oooh! That gorgeous Blushing Bride shimmer paper again! I'm really not one for wearing pink, but I do often enjoy creating with it. The flower dies are from the Botanical Builders Framelits dies. There are so many dies in this set, the envelope is jam packed with flowers and leaves. I've used three different flowers dies and one stamen die here, and if you look closely you might be able to pick out that these flowers all have the exact same shape - I love that! With the two that I layered I positioned them so that the petals lined up with the matching petals on the other flower, but you can always have things more hap-hazard.


I also love the large flower I have used here, with it's petals being cut with an inner and outer section. And then there are the coordinating Botanical Garden Jewels! The Mint Macaron flowers in the background are from the Botanical Gardens designer series paper, another style of flower that you will also find in the framelits set. There are so many wonderful coordinating items in this suite.

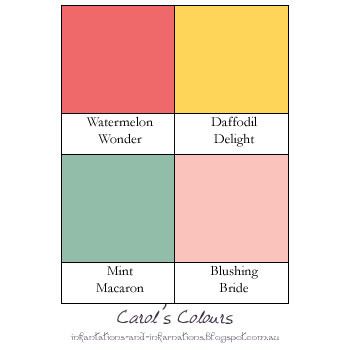
It was only when I was putting together my colour graphic that I realised these colours are very similar to those I used on the Pink and Gold Delicate Ornament card, so it's a nice demonstration of how different something can look with changing one colour, and how you use the colours.

Built for Free Using: My Stampin Blog

Monday, December 21, 2015

Pink & Gold Delicate Ornaments

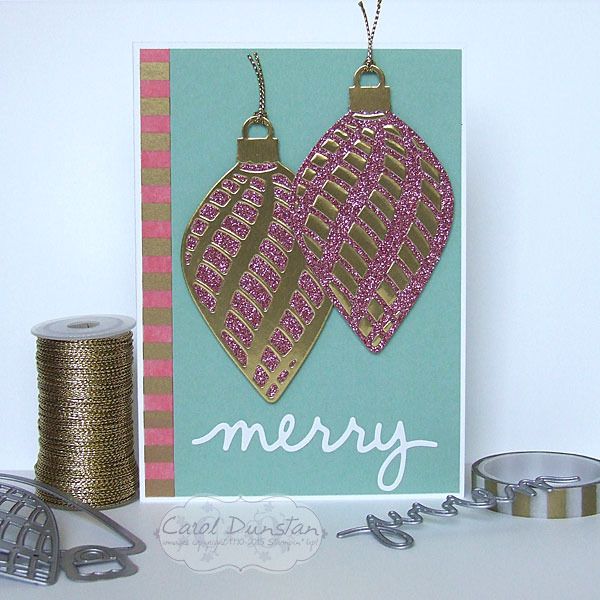
Hello again! With Christmas just days away, I have one last Delicate Ornaments card to share with you.
This card  came into being rather differently to my usual process. I had originally cut the gold ornaments for the Colourful Delicate Ornaments, but when I changed tack with those ornaments the gold ornaments were left sitting around unused. Do you see the glimmer paper I have used on this card? It's another sneak peek from the up-coming Occasions catalogue. I had thought I might use the gold ornaments with silver or Dazzling Diamonds glimmer paper ones, but as soon as I saw the Blushing Bride glimmer paper I knew the fate of the gold ornaments was sealed! While making this card I paid more attention to the clock, for those who have been curious about how long it takes to make these ornaments. For these particular ornaments they took about 10 minutes each, though as I have said before these are the simplest of the three so the other styles would take a little longer.

The other interesting part of this card is the strip down the right hand side. I was working to include some plain Blushing Bride cardstock to coordinate with the Blushing Bride glimmer paper, and I wanted to work ina  little more gold. The Winter Wonderland washi tape (on the Holiday catalogue retiring list, less than two weeks left to order it) over Blushing Bride cardstock only let a tinge of colour show through, so I went with Watermelon Wonder cardstock instead. The washi tape over Watermelon Wonder is a few shades darker than Blushing Bride, but the pop of colour works in well.

The colours for todays card:

Built for Free Using: My Stampin Blog

Friday, June 05, 2015

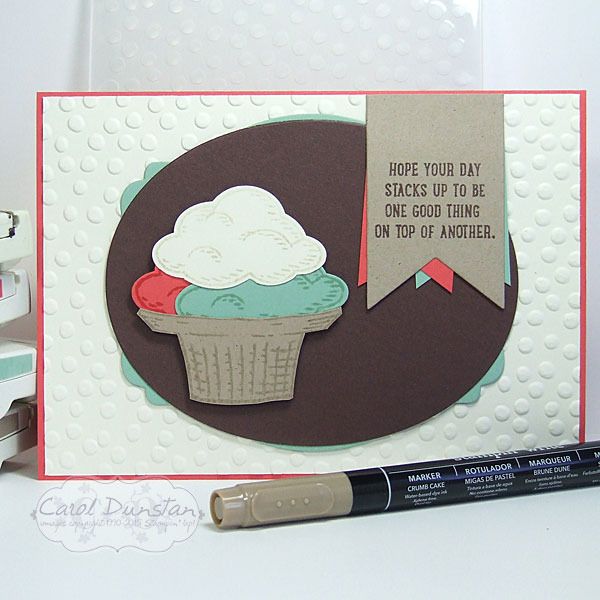
A Day Stacked With Ice Cream

It's been pretty chilly here lately, and the only way I usually do ice cream in this weather is on the side of some hot dessert (mmm, pie). However, with the new set Sprinkles Of Life I can have the ice cream without the extra chill! Well, I do also miss out on the delicious flavour... I might have to do something about that later...

So for this card, I wanted three scoops, but just to be difficult I wanted the card in the landscape orientation. To help accomodate that I teamed the basket stamp with part of the cone stamp, which I inked up using the Crumb Cake marker. This stamp set is a transparent photo-polymer one, but using such a light colour it was still hard to line things up perfectly, so the handy-dandy Stamp-a-ma-jig ably assisted with that :) To get a light impression on the Vanilla cardstock, since we don't have Vanilla ink I inked the stamp with Crumb Cake and stamped it off on scrap paper a couple of times before stamping on the cardstock.

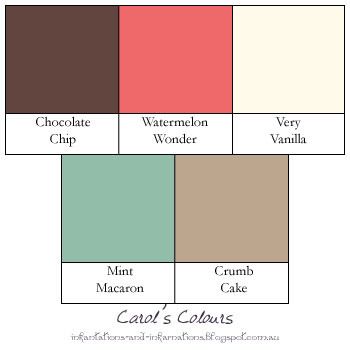
The ice cream theme dictated the colours they used - they had to be yummy!

Built for Free Using: My Stampin Blog

Tuesday, June 02, 2015

Welcome Best Thoughts!

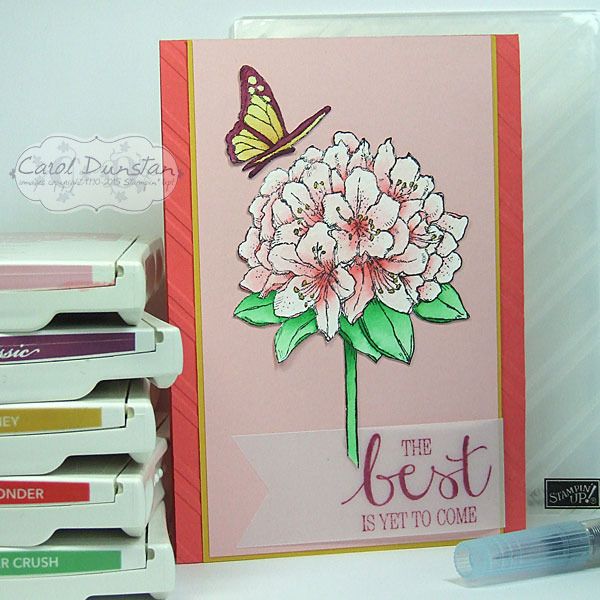
The day has come! From today you can order products from the 2015-2016 Stampin' Up! catalogue :D The set I have used today, Best Thoughts, is one you can only get from hosting a workshop or placing an order that qualify for Stampin' Rewards - or Hostess Dollars under the old system. All these changes can be a little confusing, but playing with this new product is definitely fun!

After I did my Petal Potpourri card I've really been bitten by the watercolouring bug again, so these stamps were perfect to let me have another play with it. The butterfly and flower were both stamped on watercolour paper with black StazOn, watercoloured, then cut out.

Just the two new In Colors in this card, here's the colour graphic for easy reference -

Built for Free Using: My Stampin Blog