Showing posts with label Warm Words. Show all posts

Thursday, October 30, 2008

KW Colour Inspiration #28

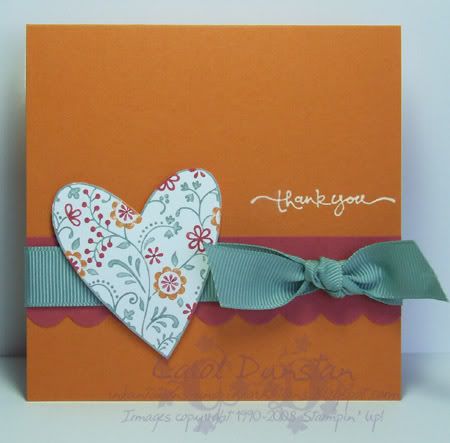
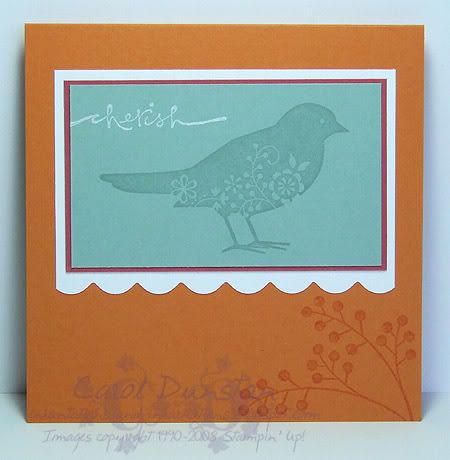
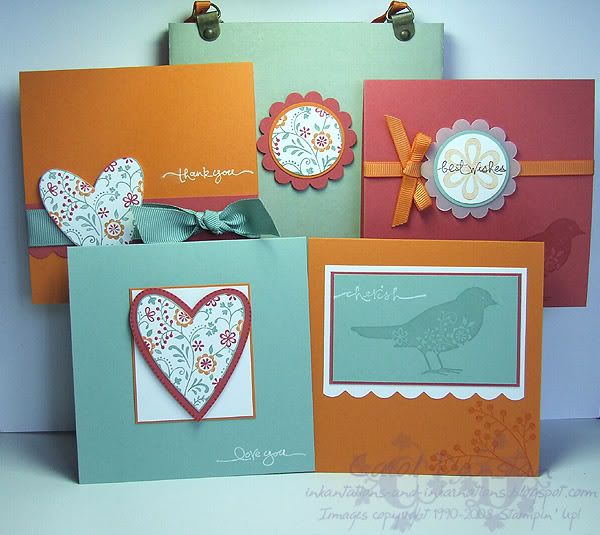
As you can see, I had a lot of fun playing with Kristina's latest colour challenge. The colours are quite autumnal, but the inspiration piece had me thinking of flowers from the get go and I think I was in just the right mood for them too. I started off making one card, then thought "the inspiration piece is a bag, lets make a bag for the card to go in". And if you are making a bag for one card to go in, you may as well make a few more cards to go in it. Above you can see all the items crammed into one little shot, but below are larger images of each item. I think "love you" is my favourite"


All supplies by Stampin' Up!
Cardstock: Pumpkin Pie, Ruby Red, Sage Shadow, Whisper White, Outlaw paper
Stamp set: Always, Short & Sweet, Warm Words
Inks: VersaMark, Whisper White, Pumpkin Pie, Chocolate Chip, Ruby Red
Accessories: Antique Brass Hodgepodge, Pumpkin Pie 1/4" grosgrain, sticky strip, scallop circle punch, 1 3/8" circle punch, 1 1/4" circle punch, 1/16" circle punch, 3/16" corner rounder, District Ribbon Originals, Sage Shadow marker, Ruby Red marker, Pumpkin Pie marker, mini glue dot, dimensionals
Show watched while creating: House

Monday, October 06, 2008

7 Loves of Card Making - Occasions

As I mentioned before, I got into stamping and card making initially so I could making birthday cards for family members. That soon extended to Christmas cards. I don't know what it is about Christmas cards, but every year I love making heaps of them, even when I have left it to the last minute and it's a bit of a mission to get them done in time.
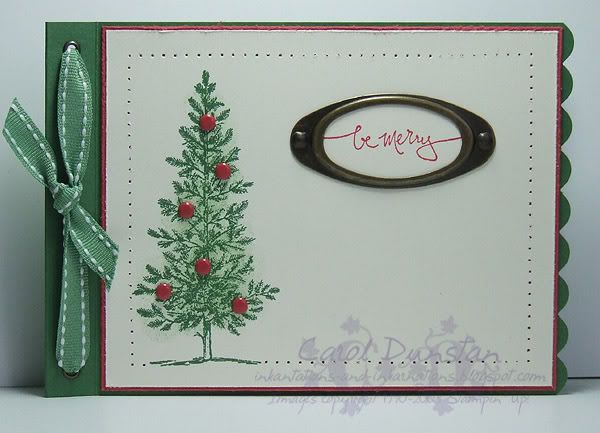
I'm not big on the traditional colours for Christmas, but I know I have relatives who do prefer traditional coloured cards, so this one is for them. The stamping on this is very basic but i have added a lot of little features so it is a little time intensive but if you do it product-line style (complete each step on all cards before moving onto the next step) things do go quicker.

All supplies by Stamping Up!
Cardstock: Garden Green, Ruby Red, Very Vanilla
Stamp Sets: Lovely As A Tree, Warm Words
Inks: Garden Green, Ruby Red, Wild Wasabi (for sponging)
Accessories: 3/16" scallop punch, large oval punch, 1/8" circle punch, metallic eyelets, Wild Wasabi double-stitched ribbon, Earth Elements brads, Crafters Tool Kit, Antique Brass hodgepodge, sponge dauber
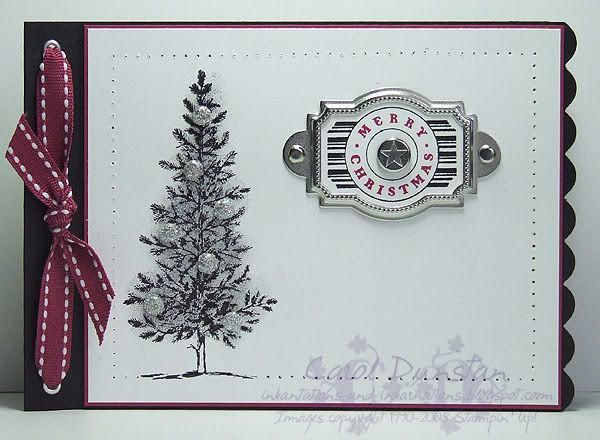
For this card I thought I would go even further than I normally do on the "non-traditional" colour scale. I still think a black Christmas tree looks a little odd, but i have seen a few this year in particular that when decorated look very striking.
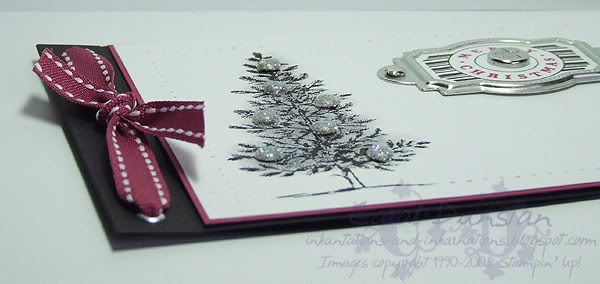
Here's a close-up of the brads. I've attached a mini-glue dot to the top of a silver brad and then dipped the brad in Dazzling Diamonds glitter to get my sparkly brads.

All supplies by Stampin' Up!
Cardstock: Basic Black, Purely Pomegranate, Whisper White
Stamp Sets: Lovely As A Tree, Party Punch
Inks: Basic Black; Basic Gray and Going Gray for sponging
Accessories: 3/16" corner rounder, designer label punch, 1/8" circle punch, metallic eyelets, Purely Pomegranate double-stitched ribbon, Styled Silver hodgepodge, Vintage brads, mini glue dots, Dazzling Diamonds glitter, Basic Black marker, Purely Pomegranate "marker" (blender pen + reinker), sponge dauber

And now for my challenge to you: create aChristmas card using a colour combination you've never used for Christmas before (eg if you usually use red and green, use something non-traditional). Put a link to your card in the comments for this post and at the end of the week I'll pick my favourite one and send a little something to that person. Australian residents only, SU! demos welcome.

Thursday, August 07, 2008

Merry Mistletoe

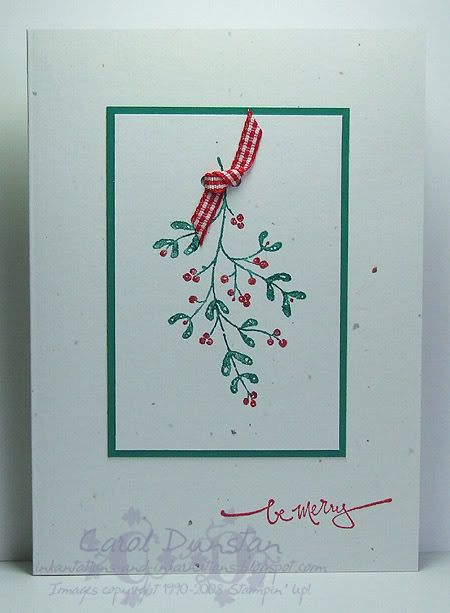
We are down to 20 weeks till Christmas, and if you think about how fast this year has already flown by, then that isn't very long at all! This card is what I designed for the "card in a box" swap on the Inklings team weekend. I provided a sample, instructions and all the bits and pieces to make this card in a box, and everyone else took turns making it. It uses one of my favourite Christmas sets - Peaceful Wishes - with colours I rarely use, Real Red and Glorious Green. I tend to go for a twist on tradition when it comes to Christmas, but I think the traditional colours really suit this card. Being a very simple and quick card, it could easily be used for bulk Christmas card construction.

All supplies by Stampin' Up!
Cardstock: Confetti White, Glorious Green
Stamp Sets: Peaceful Wishes, Warm Words
Ink: Real Red
Accessories: Real Red marker, Glorious Green marker, double circle punch, red gingham ribbon

Thursday, July 24, 2008

KW Colour Inspiration #17

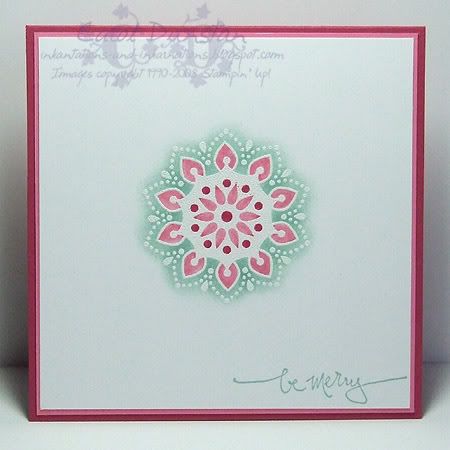
The inspiration pic for Kristina's latest colour challenge is soooo sooo pretty! I got an idea in my head pretty much straight away, but half way through I decided it wasn't quite right... looking back at the inspiration pic my card felt too dark and heavy. So I went back to very simple with lots of white and ended up with a Christmas card! I do think this card is super cute (it's a 10.5cm square card), but it feels like it is lacking something... though that may just be because I have five coordinating ribbons sitting on my desk and I didn't use one of them lol. The central motif, from the upcoming Spring Mini set True Friend, was stamped in VersaMark and embossed with white embossing powder. Then I coloured the Rose areas with markers, wetting each of the larger sections with the aquapainter before colouring to minimise any lines from where the colour overlapped. I then masked this inner section of the motif and sponged Sage Shadow around the outside - I loved the soft outline this provides! With my original card I had this area frames and this soft edge was lost, but I am hoping to go back to it and finish it off when I have distanced myself from the need to be light and airy with it. It's a rather grey and wet day outside, so I'm hoping to play with these pretty colours a bit more and perk myself up.
All supplies by Stampin' Up!

Cardstock: Rose Red, Regal Rose, Whisper White
Stamp Sets: True Friend, Warm Words
Inks: Sage Shadow, Versamark
Accessories: white embossing powder, Rose Red marker, Regal Rose marker, aquapainter, sponge dauber

Friday, June 20, 2008

Mojo #42

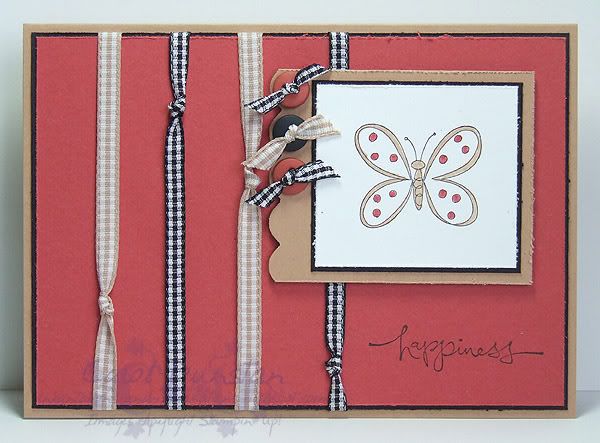
Yes, it's another challenge card! I wasn't sure I was going to get a chance to do this one this week, and just when I had given up an idea hit me and it all fell into place. This card was based on Julee's Mojo Monday sketch #42. The cute little butterfly is from the level 3 hostess set "Time Well Spent" and the sentiment is from Warm Words. I've used StazOn Jet black for the stamping and coloured the butterfly using the Ruby Red and Creamy Caramel markers. With all the fancy ribbons that were introduced in the latest Stampin' Up! catalogue I felt my gingham was being neglected, it also happened to work with my colour scheme (which was based on a shirt I saw a lady wearing one day while I was out shopping... yep, inspiration can come any where!). After making this card I got another idea for the "three somethings" on the sketch, so I made this one as well:

The first card uses the 3/16" corner rounder to round the corners of the layers on the feature piece, the second card uses the same punch with the guard removed to create a scallop edge. Pretty nifty hey? And I love how the small buttons nestle nicely in the scallop.

Sunday, November 11, 2007

Peaceful Merry

How about something peaceful to sooth the eyes after that last card? lol This one is back to a more traditional colour scheme, Cranberry Crisp, Handsome Hunter and Sage Shadow (with some Natural Ivory as well). The sprig of mistletoe was stamped by inking the leaves and stem with the Handsome Hunter marker and stamping, then marking the berries with a VersaMarker and embossing them in white. The pine sprig was stamped on the Sage Shadow using VersaMark ink. The sentiment is from Warm Words, framed with some Aged Copper Hodgepodge.

Sunday, August 19, 2007

Can You Say 'Sparkle'?

This was my response to the third challenge from the Inklings cyberstamp, to use small stamps as the feature of your card. When I looked at my sets I really didn't have that many with a small stamp or two in them, but I picked this flower from Looks Like Spring as it was the smallest in the set and I don't recall using it before. I used Summer Sun, Barely Banana, Lovely Lilac and Almost Amethyst to stamp the flower, some being stamped without reinking to get the graduation of colour. Each flower centre was then treated to a dab of 2-way glue and Dazzling Diamonds. The sentiment, from the Warm Words set, was stamped with Lovely Lilac on Whisper White, punched out with the small oval, layered on a large Barely Banana oval, then holes punched in the ends and attached white organza and Apricot Appeal brads. I then ran the 2-way glue pen around the banana oval and covered it with Dazzling Diamonds before attaching it to the cardfront with dimensionals.

Thursday, August 09, 2007

Scribble-dee-ay

Could I have called this post anything else???
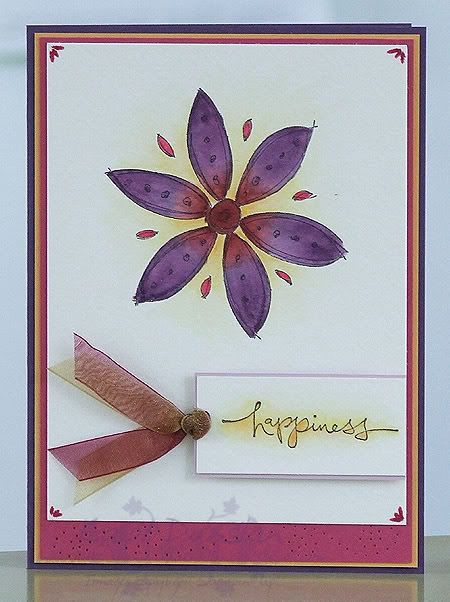
I think this has to be the first card I have made with the large Scribble This flower and not cut it out! It is stamped in StazOn and coloured with ink and aquapainter on watercolour paper. It kinda felt a waste to use the whole piece of watercolour paper, but I wanted it nice and clean, uncluttered, around the flower, so it had to be done. The decoration in the corners is done with the side of the brush tip of the Rose Red marker. Warm Words sentiment stamped in StazOn on watercolour paper with Marigold Morning ink painted around it, layered on Pale Plum then wine and gold organza ribbon attached. The cardbase is Elegant Eggplant with layers of Rose Red and Marigold Morning. The rose layer has some freeform piercing on it

Scribble-dee-doo-dah

No, I've got no idea where that post title came from either...

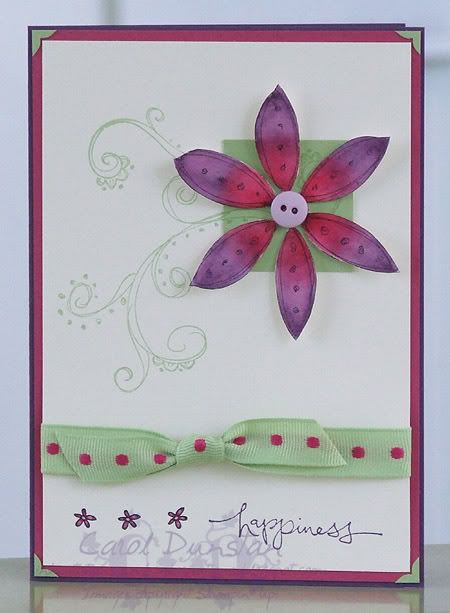
The other day I stamped a few Scribble This flowers on watercolour paper to colour at my leisure. I coloured two with the idea of cutting one out and mounting it over the other, but when it came down to it I liked how I had coloured each so much I couldn't bear to cover one up... so then I could make two cards instead of one. This one ended up being a CASE of a card by JanTink. The flower was coloured using the Elegant Eggplant and Rose Red inkpads (along with a touch of Bravo Burgundy) and an aquapainter, mounted over a Certainly Celery 1 3/8" square with a Pale Plum button for the centre. The celery square was stamped with the swirly scroll stamp from Scribble This in Certainly Celery ink, and then I stamped this on the Whisper White layer twice. At the bottom of the WW layer I stamped the Warm Words sentiment in Elegant Eggplant ink and the three little flowers, the "dot" at the bottom of the question mark from the Scribble alpha, has been stamped in StazOn and coloured like the main flower. A layer of Rose Red on Elegant Eggplant card base, Sweet Shop Ribbon Originals ribbon, and some cute little photo corners and voila! Bet you'll never guess how I did the photo corners...

Tuesday, July 31, 2007

Both Way Blossoms Both Ways

Took a minor break from playing with Spring Mini stamps , but revisted my colour combo from yesterday. This card came out pretty much how I envisioned it... Both Ways Blossom stamped on Sahara Sand using StazOn, also stamped on Whisper White, flower coloured, trimmed and mounted over the flower on the Sahara Sand piece. This was then layered on a piece of Always Artichoke with some paper piercing down the left. Sentiment from Warm Words also stamped on Whisper White, punched with Word Window punch and attached with an artichoke brad, all mounted on an Old Olive cardbase. I really liked how it came out... but wanted to see what it would look like jazzed up a bit more.
On this card the cardbase has been stamped with the Paisley background using VersaMark, and I added some stitched artichoke ribbon from the Ribbon Originals 'Rustic Retreat' collection along with piercing around the Shara Sand piece. I was also really pleased with how this came out. Below you can see them side by side.

Wednesday, July 11, 2007

Bloomin horde

The second challenge over at the Inklings cyber night was to create a card with something you horde. I decided to use a couple things I rare use, and one I'd never used before.

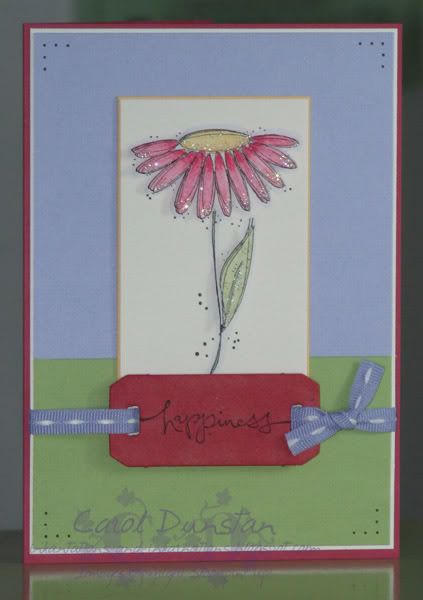
As much as I love shimmery, shiny things, I'd never used Dazzling Diamonds before. But that was pretty much the final step. I decided to use some Ribbon Originals I hadn't touched yet, so broke out the Sweet Shop and got my colours from there. I stamped the In Full Bloom flower head and stem twice in StazOn on water colour paper and coloured them using an aquapainter and watercolour crayons. I cut out one flower head and the leaf to pop up on dimensionals, but I am still getting ahead of myself... I sponged the chipboard with Regal Rose and Rose Red inks, then stamped 'happiness' (from the Warm Words set) over the top with StazOn. I stamped the Almost Amethyst and Certain Celery pieces with the linen background in VersaMark and mounted them on to Whisper White. In the corners of these I pierced some holes and then went over them with the black marker. I layered the flower on Apricot Appeal, then layered this on top, then tied the chipboard on. All this was then mounted on the cardfront. Then I dabbed my cut out flower and leaf with 2-way glue, sprinkled Dazzling Diamonds on top, then mounted them on the Rose Red card front.